


Make this summer a great start
Are you planning your next FileMaker project? Did you ever consider using a starter file to speed things up? Here are some tips and a special offer for this summer.
Using a starter file can considerably change your next FileMaker project. By using a starter file, you choose a tested set of features and functionality to start building with. Whether you start creating your own starter file or rather choose to rely on a product created by someone else, the concept of starting with a solid foundation has many benefits.
Choosing a starter file
Do you know there are different types of starter files? These are different views on how to start a new project. Here is an introduction video on the different viewpoints:
How starter files evolve
Improving starter files is how you stay on top of precious new knowledge. Every piece of software will go through iterations. Bugs are inevitable and can be fixed. Technology changes, you gather valuable experience and learn about new needs.
We replaced much of our starter files over time, just to keep up with current demands and needs. Yet, we carefully avoided packing more and more functionality into our starter files. We do not want to abandon your needs, but rather want to ensure they stay simple enough to learn and good enough to handle changes with ease.

The version numbers of our solutions tell you, that we continuously improve what started already good. Careful design, slow iterations and not hunting for the latest vibes all help to build a solid foundation, you can rely on.
Make this summer a great start
Boost your next FileMaker project. Offer valid until July 31st, 2026
Are you planning your next FileMaker project?
- Quiet Summers can mark a great start for a new project.
- Our starter files help you reduce time and costs.
- Moreover, we run a summer special until the end of July 2026.
- Both our starter files have a substantial discount.

Summer Special 2026
Our summer special for the summer 2026 is all about our starter files. For both options, we offer a substantial rebate. And if you’d like to start with a good set of tools to tackle your dreams, have a look at the Developer Bundle.
- FM Starter is a lightweight, generic starter file for many types of project.
- FrankCRM is a focussed start for new business solutions.
Nothing found.

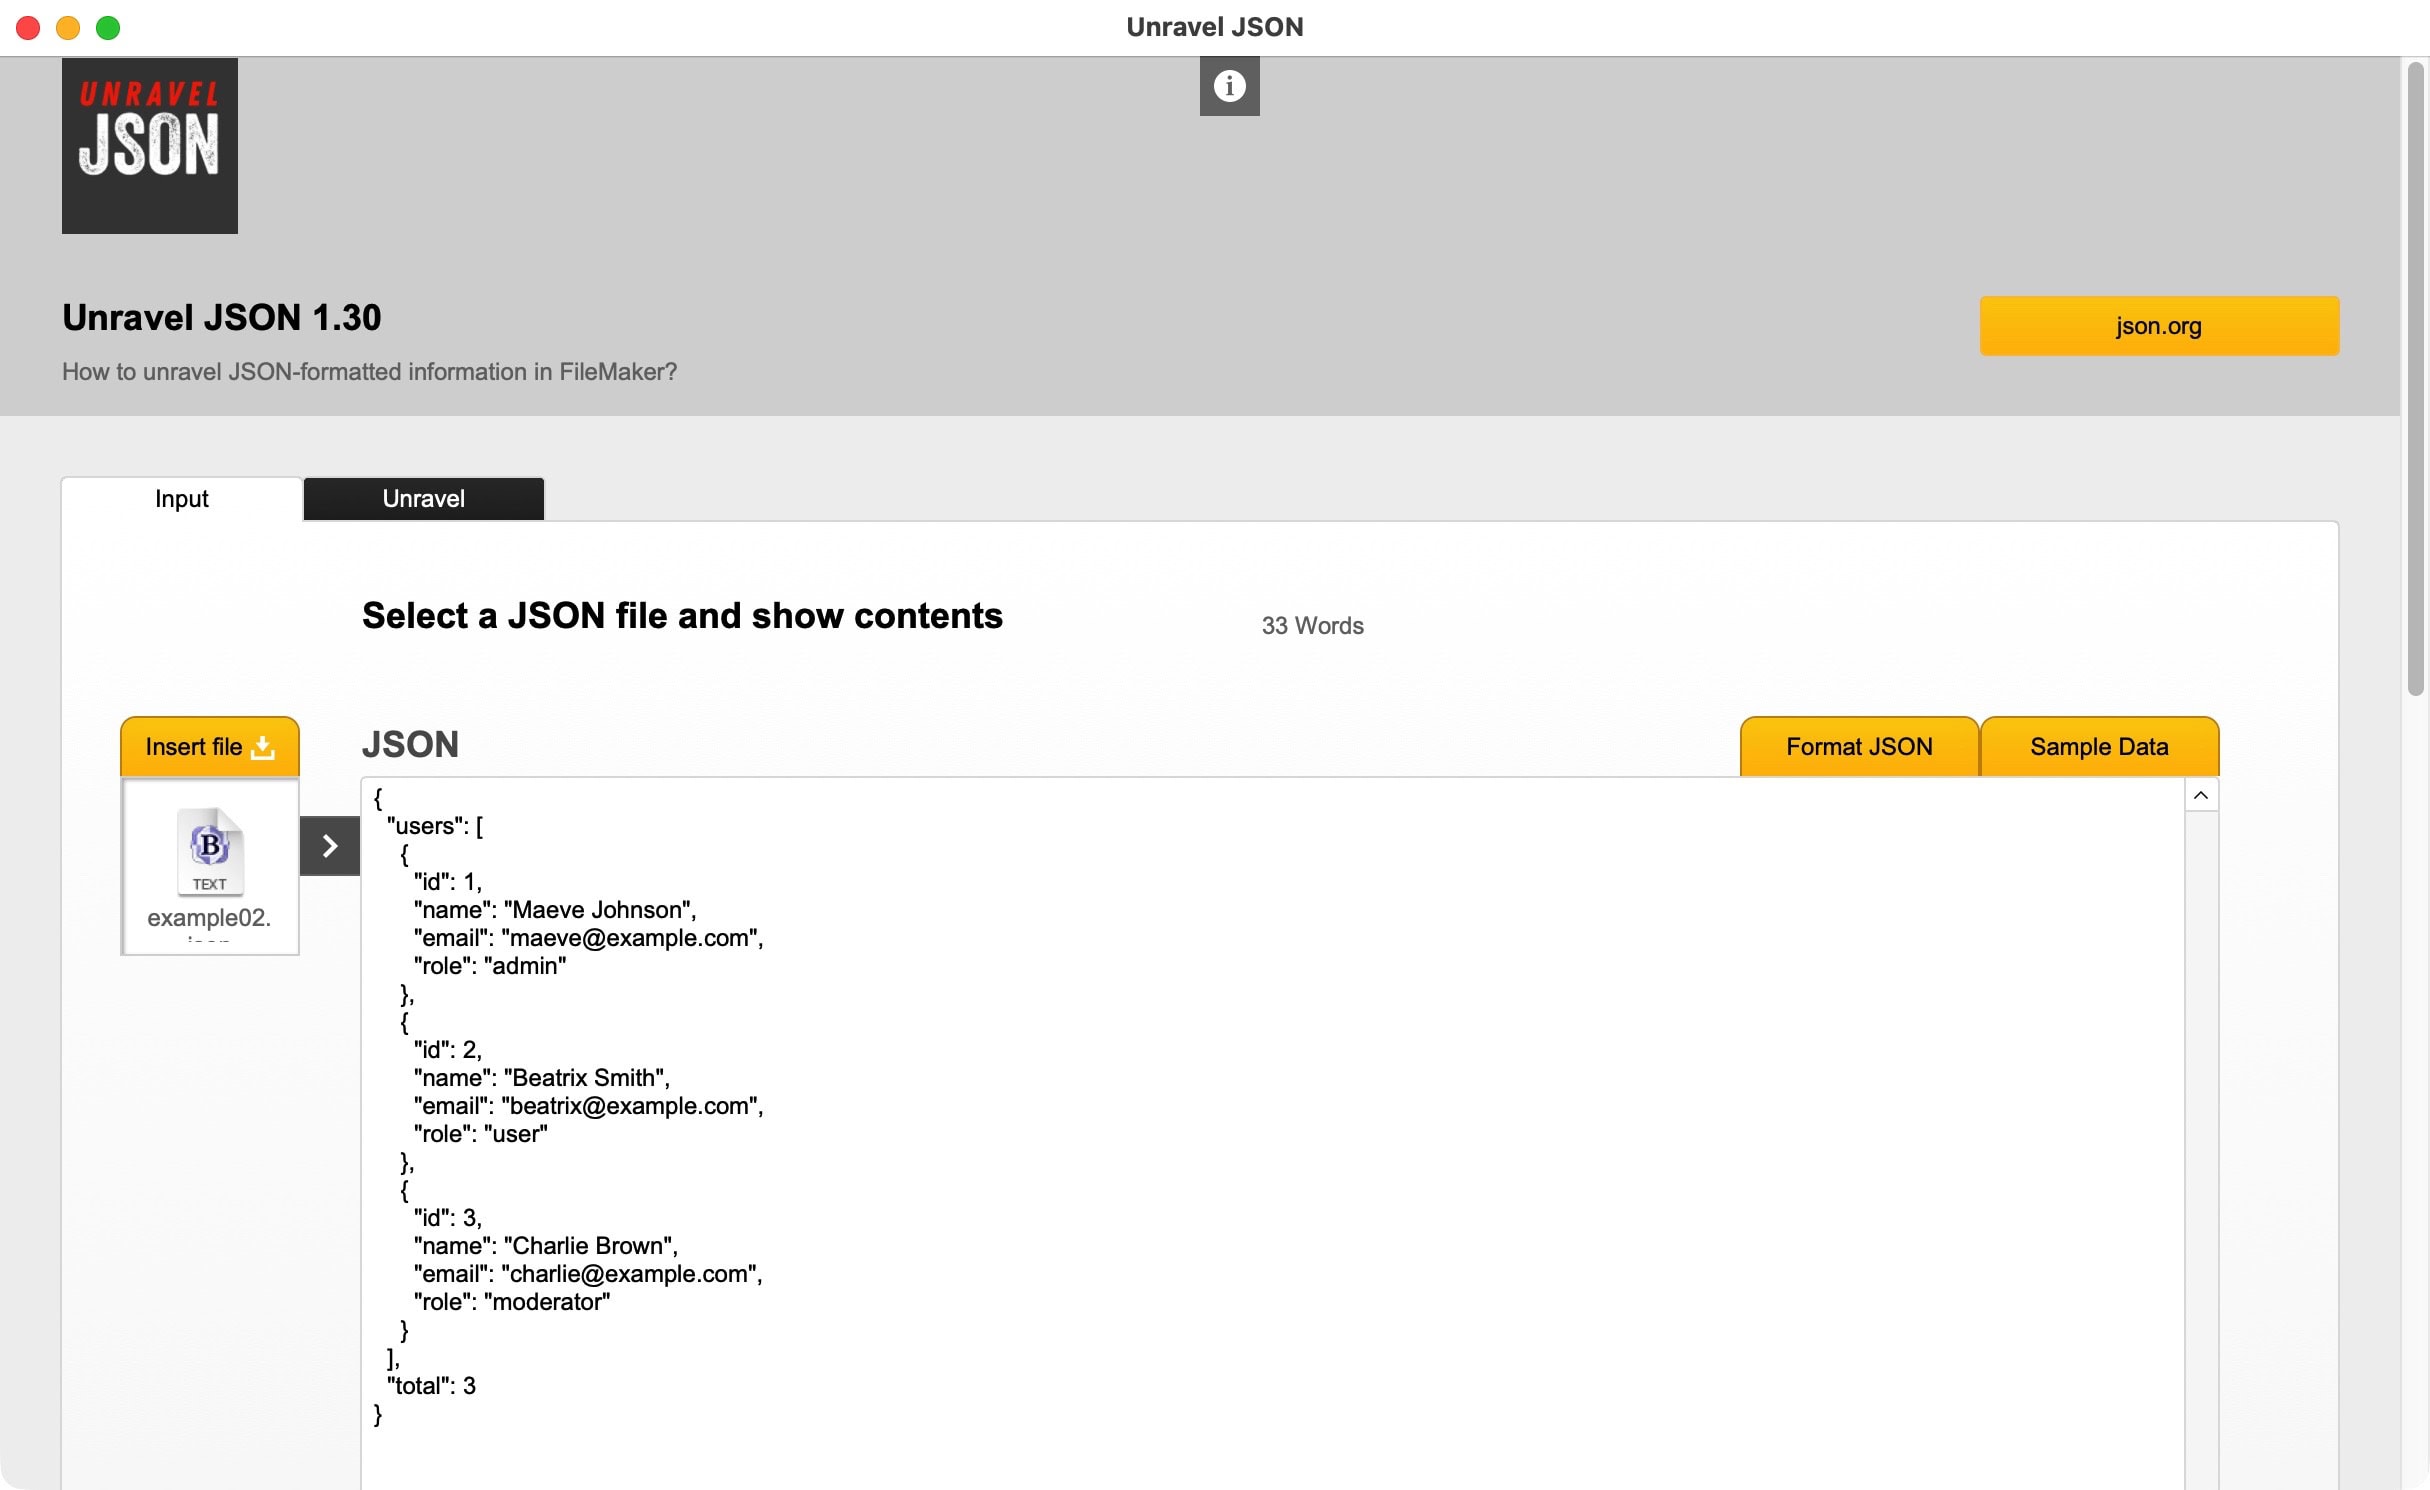
Unravel JSON
JSON is a structure to deliver data. The acronym stands for JavaScript Object Notation and is a widely used method to create simple sets of data. It also makes it easy to grasp a specific part of the data. But how do you do that if you never did that before?
Here is a sample file which shows how to dig into a JSON file. You can choose any file of yourself, or use one of the provided samples. There is not much more to say. Download and explore!

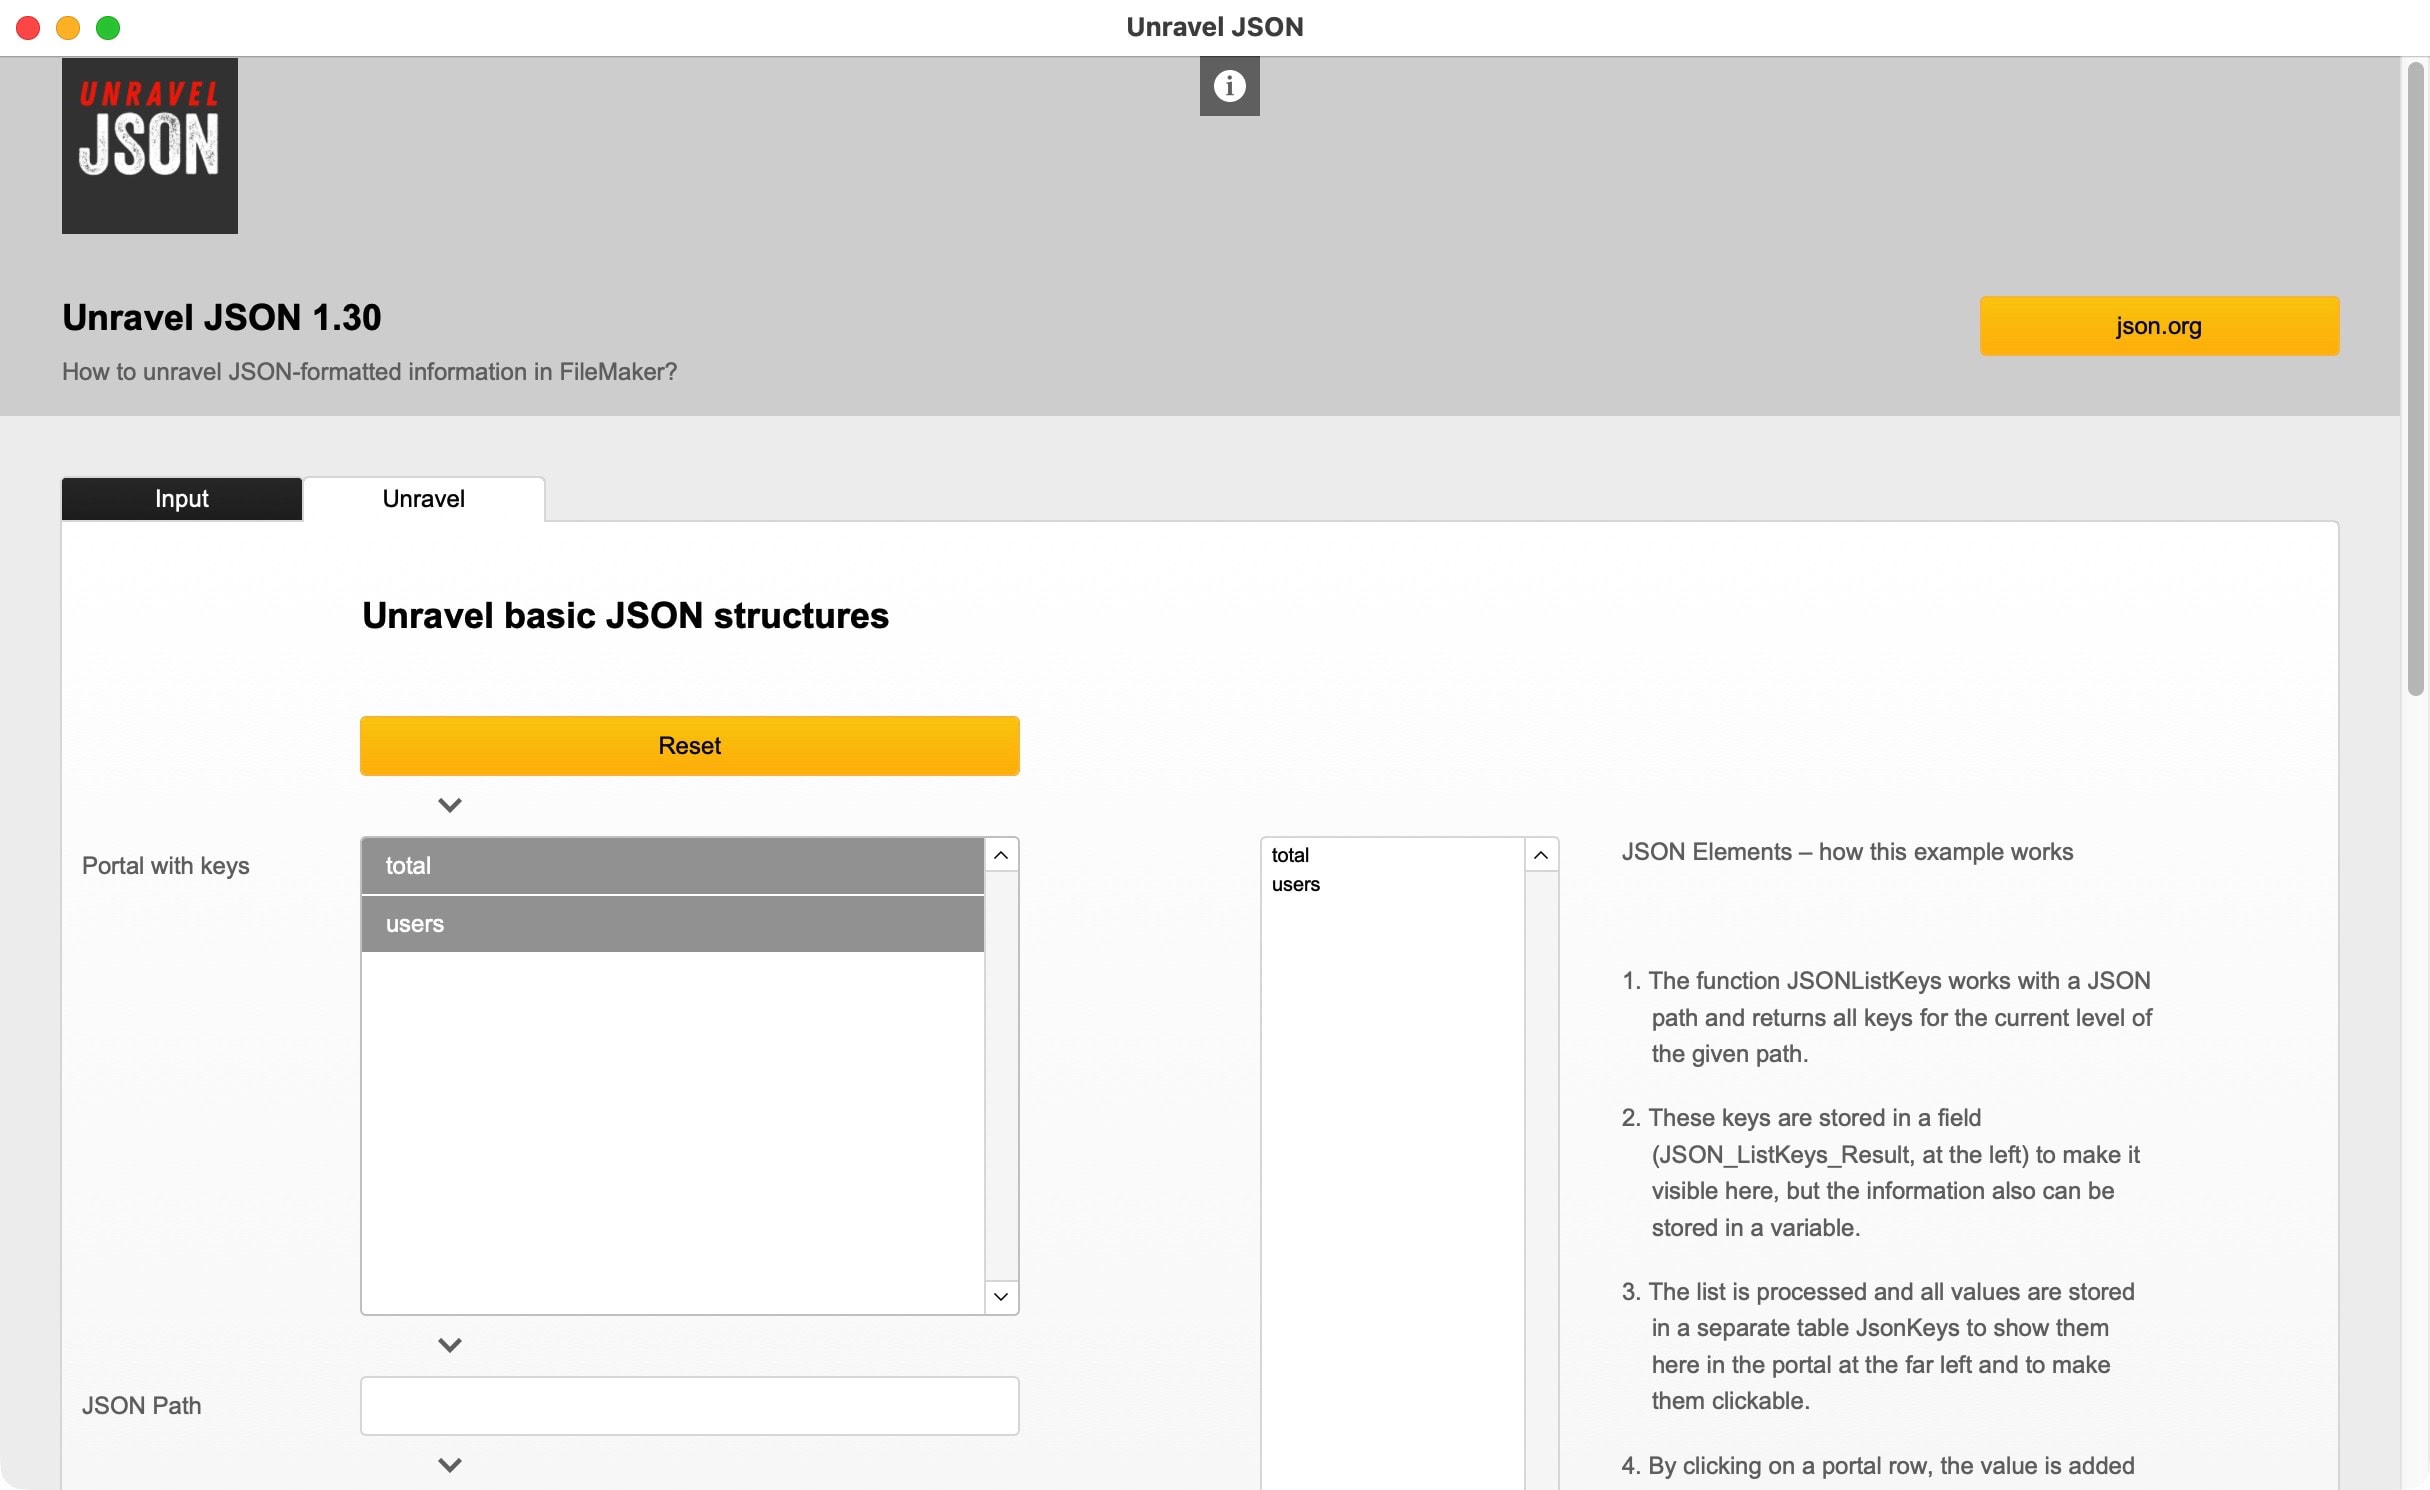
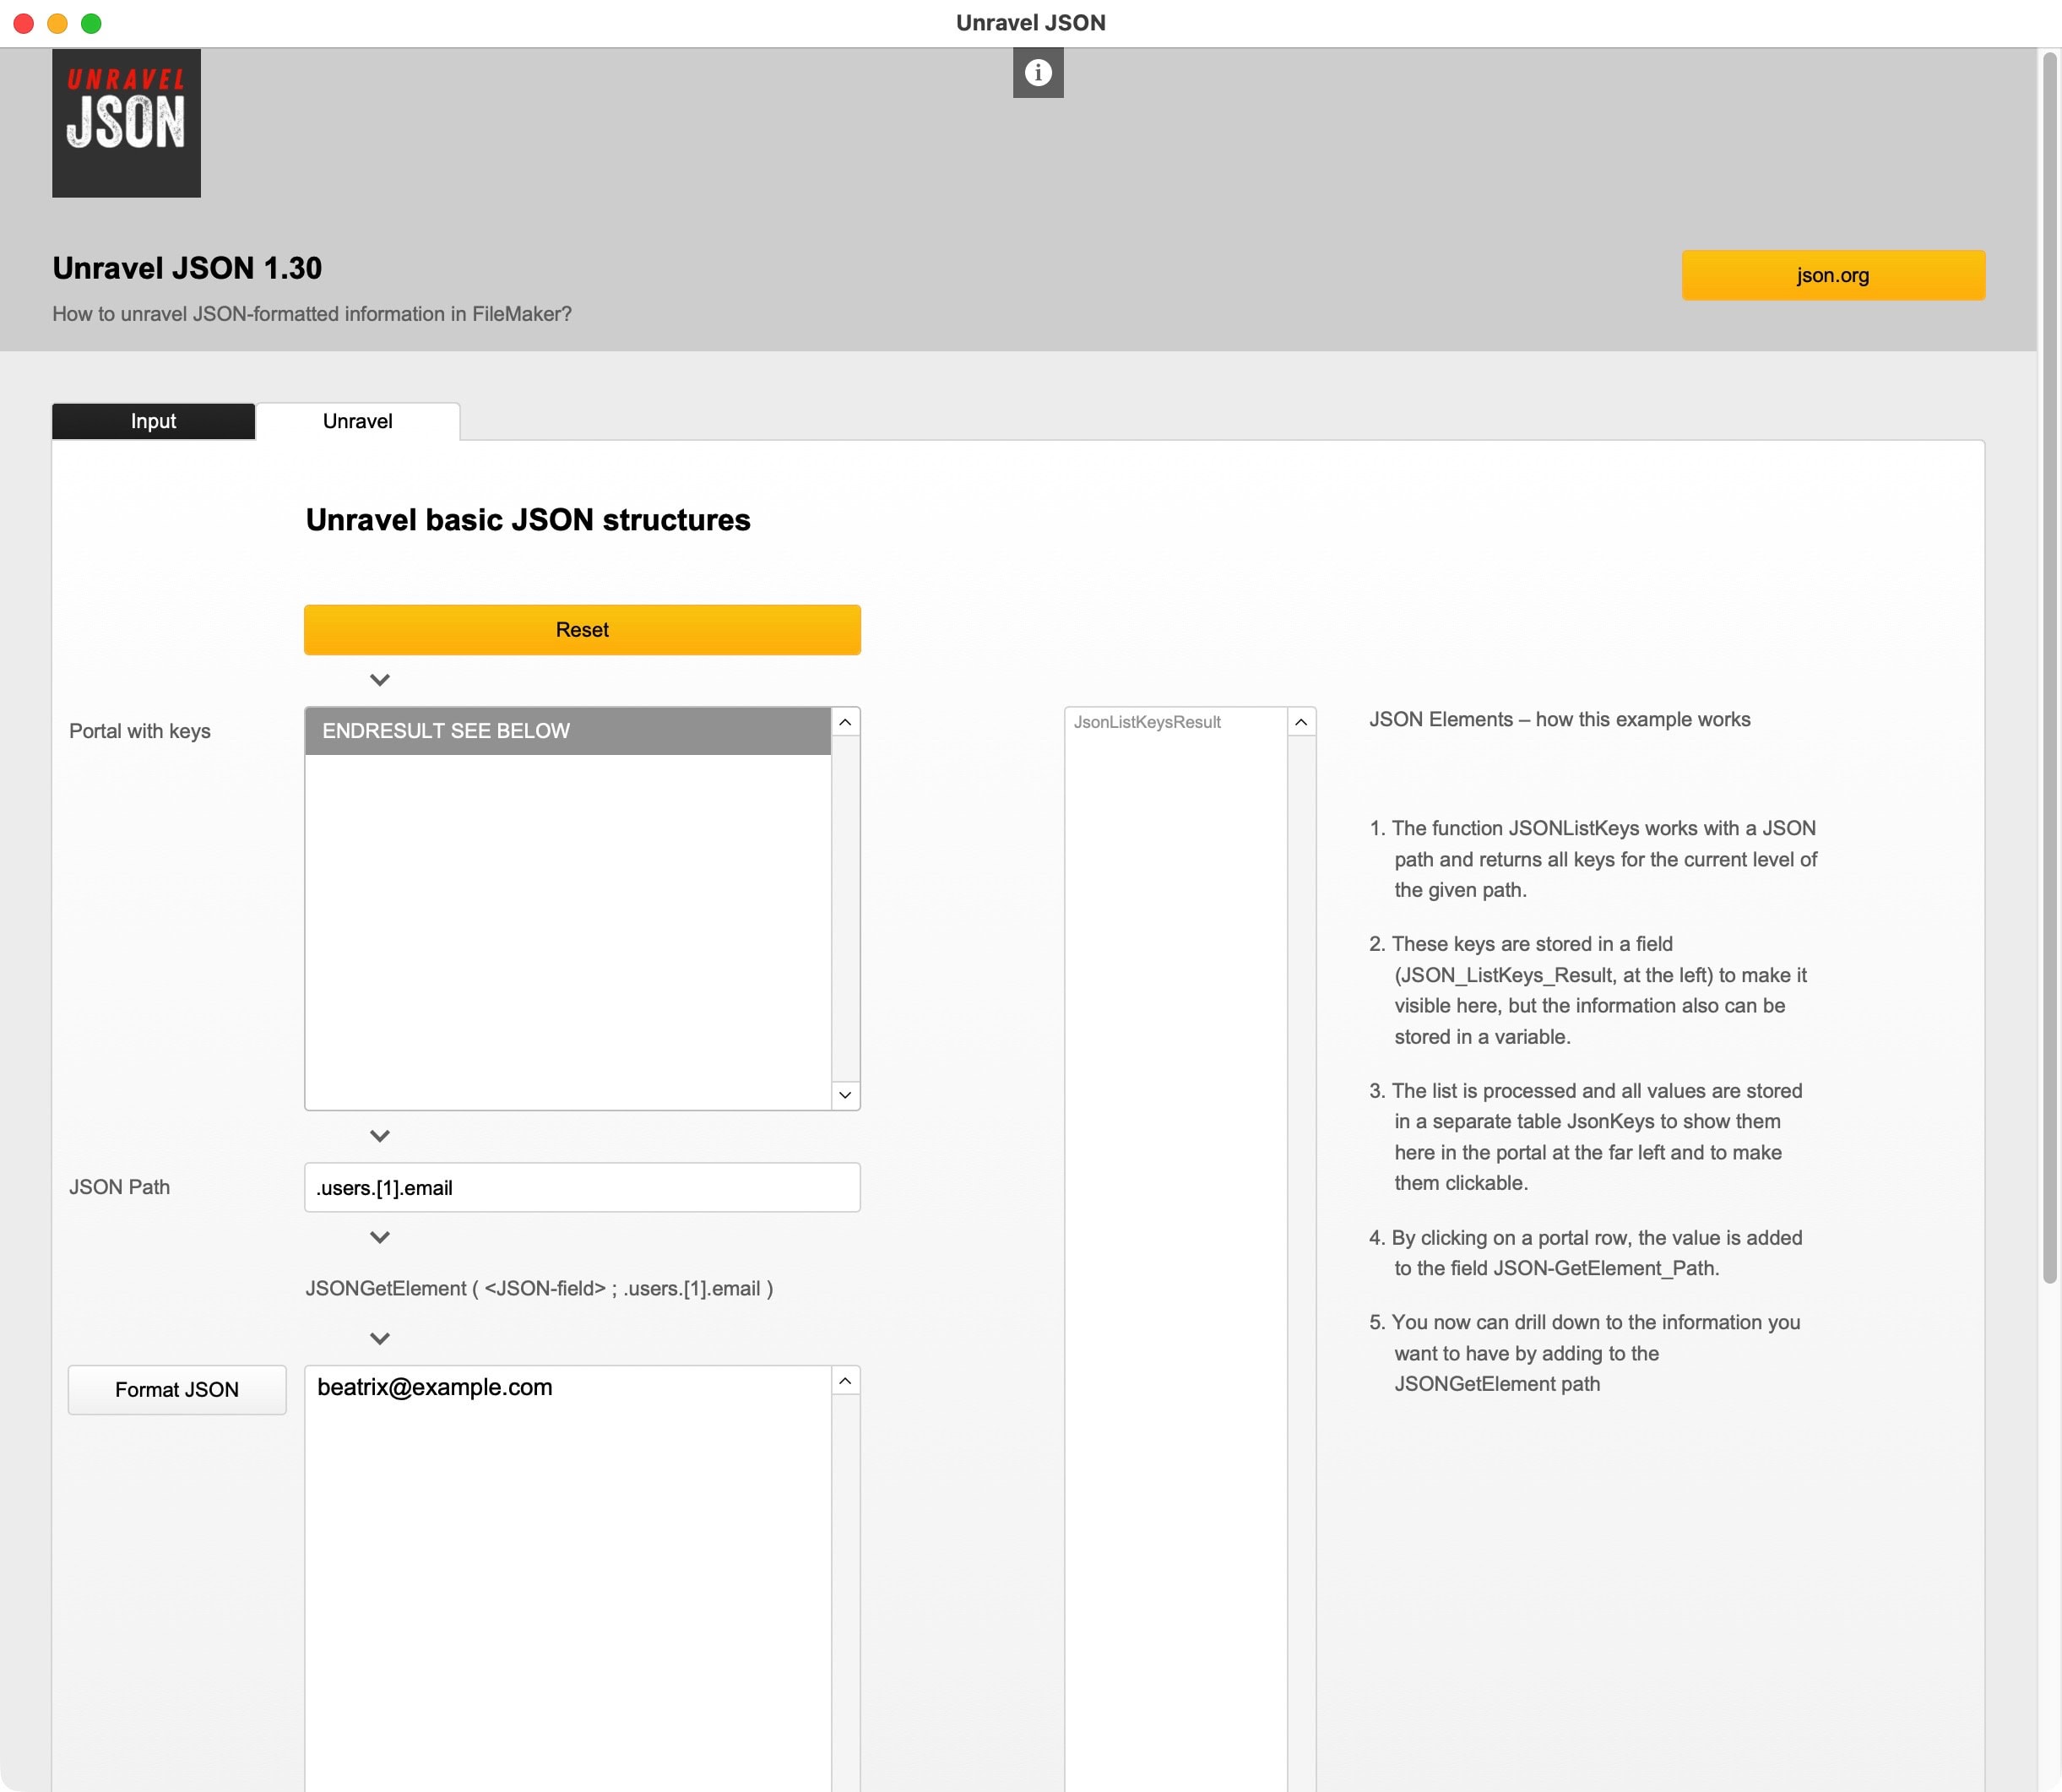
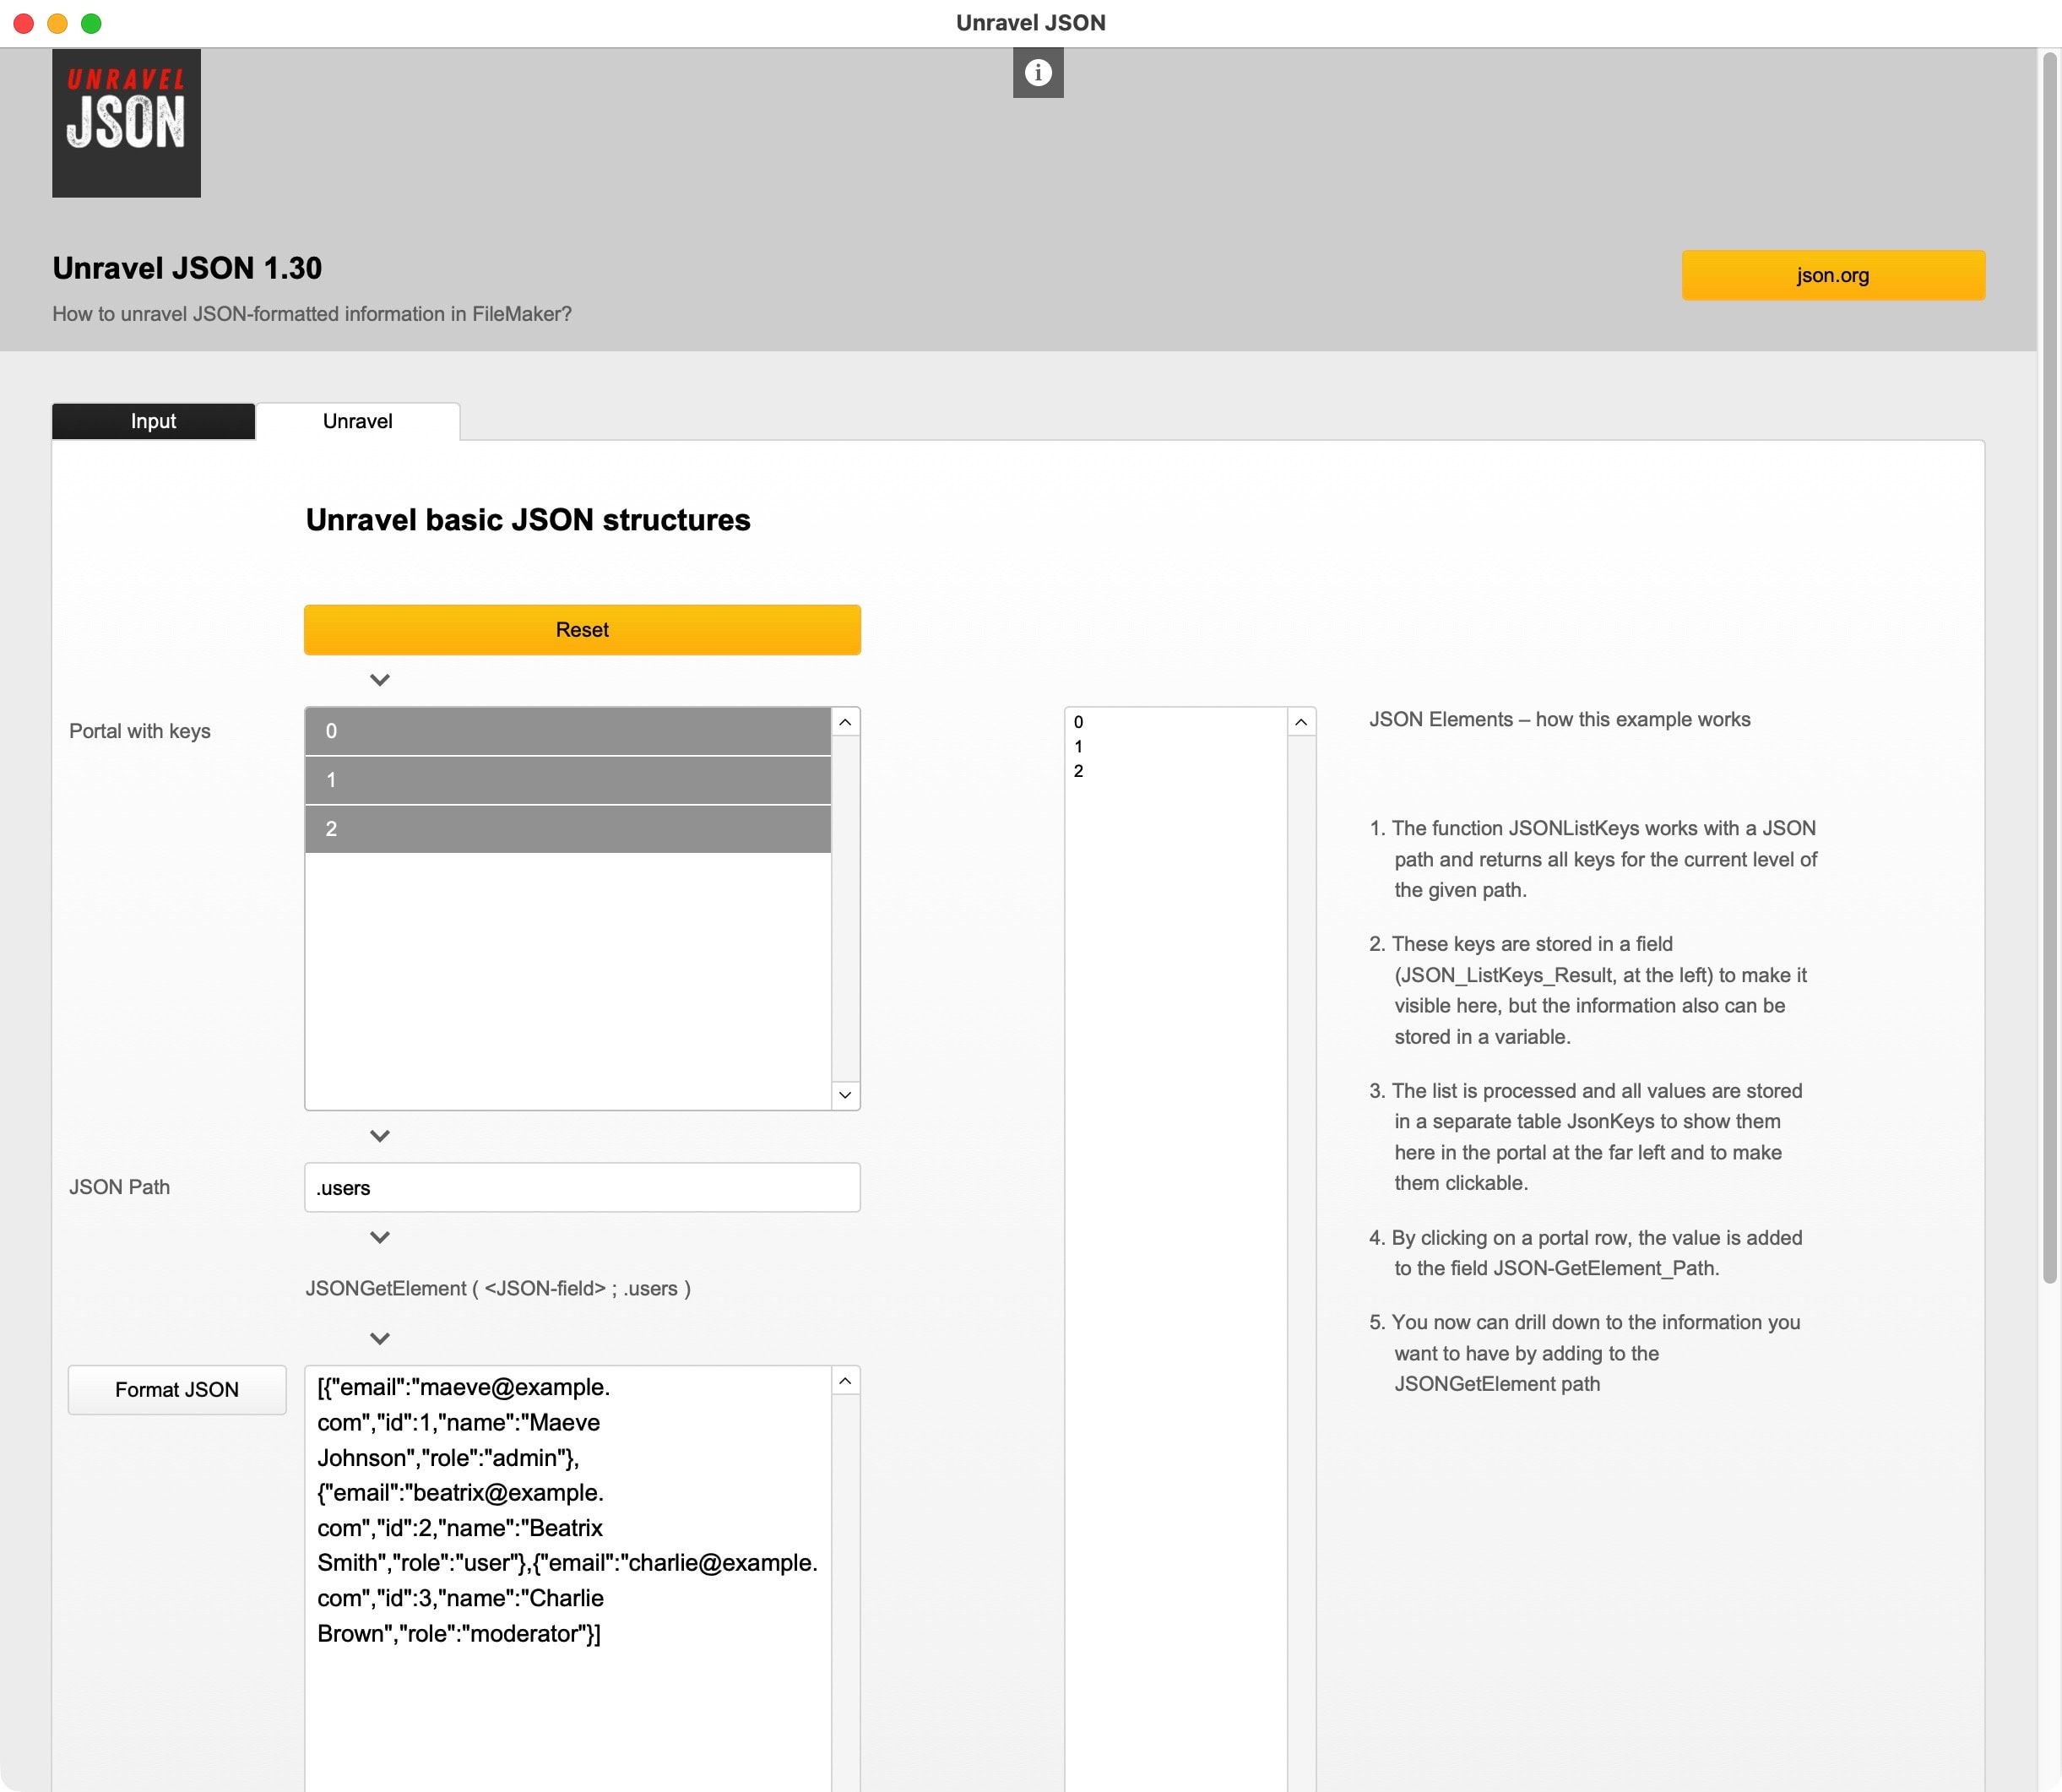

JSON examples
If you need more JSON examples to test with, there are plenty of sites offering all sorts of sample files with JSON-formatted data. A quick search will you show numerous options. If you are new to JSON, checking out the JSON.org website can give you much feedback. Click the button below.
Sample file for FileMaker 20 or newer about unravelling JSON files into useful information.

Experience in a nutshell
Experience comes after trial and error
When creating your first FileMaker projects, you probably start with an empty file or one of the starter options available within FileMaker. You learn what works and realize what you need. Each new project benefits from that experience. Also, it will take quite some time to get through trials and errors.
Over time, you most likely realize that you start reusing concepts and start copying-and-pasting from earlier solutions into the latest project. Things that worked well will be recycled. A generic setup, which easily can be modified, is helpful. The most frequently reused parts are probably a navigation, a basic design, search functions, a user management solution and other basic functions.
Note that these basic options have likely nothing to do with the task your next project will have to perform. No application is created for, let’s say, the purpose of a navigation only. Rather, the navigation is a tool within your final application. Basics are just tools to support the creation of a larger application. As “behind-the scenes” functions, clients will probably never talk about them, as they assume it will all work as silently expected.
These functions have no “sex-appeal”, but are essential nevertheless. Creating these basics is real work you have to count for in your development. Not having covered the basics will leave you with a half-baked solution and experience.
Creating a starter file
After you gained some experience, you will see that you reuse certain parts of previous developments. To implement them into an already existing project frequently takes an exorbitant amount of time and effort. When you start grinding, sparks will fly. Not everything will run smooth. Thus, you look for improvements and come up with better ideas.
Why not putting that experience into a new file, you could use for new projects? Wouldn’t that be easier? Thus, the starter file is born, waiting for your next project to happen. A starter file is something you create by and after experiences you made. The experience is important, as it weeds out what doesn’t work and improves on what works. Starter files are experiences in a nutshell.
“No time, no need”
I spoke with quite a few developers who created their own starter files, yet others take a different stance and will not work with starter files. I typically met the following two reasons for that stance:
- No time
Many developers are too busy with current projects, that no time is left for the creation of a starter file. They might perceive the concept of starter files as helpful, yet do not come to create one themselves. Each new project therefore is started with a lot of copy-and-paste from other projects. That logically requires quite some time. - No need
Many developers will tell you from experience that “every project is different”. That is true, as each client is different, demands are different and as such, you cannot reuse one development for another. They come to the conclusion that there is “no need” for a starter file. Yet, the same developers most likely will reuse parts of earlier developments as it will shorten the way to a new project.
In both cases, the question could be: If you profit from your experience and older projects, could that be put into a starter file? Well-tested basics, combined in a starter file, could have massive impact. Would that speed up your next project? And: If you do not have time to develop your own starter file, could you profit from a starter file from another developer? What would it take to make that attractive?
Leaping forward
Working with a starter file will help you skip months in development and probably years in experience. It will help you to jumpstart a project and solve basic requirements instantly. That does not limit you, but helps you to create a workable setup simply by opening a starter file and move from there.
Basics or specifics?
There are different approaches to starter files. We speak about the differences in another post.
You choose a starter file according to your focus. I found it to be helpful to look at a project and differentiate between the basics and specifics. The basics can be covered by a starter file. The specifics are different per project. While some starter files present themselves with as many specifics as possible, the starter file I consider most helpful is covering the basics and setting me up for flexibility. Would you see that similar or differently, and why?
Once you arrive at this stage, the questions become: what is most helpful and why?
FrankCRM 2 released
We just released a new version of FrankCRM. Version 2 comes with a great deal of smaller and larger improvements. This article lists the highlights.
Continuous improvements create the quality you need. This upgrade is no different. Here is a list of things we implemented in FrankCRM, version 2:
- Minimal FileMaker requirement: Version 20.
- Multilingual text labels now have translation domains to separate usages.
- DocMaker is a new module to create manuals and guidelines within FrankCRM.
- DeepL translation requests have been updated to reflect the latest methods.
- Sales document types now can have unique counters per type.
- Cash Discount has been added to the sales documents.
More information is to be found in the application, in the ToDo-window. Additionally, many small bug fixes and improvements have been implemented. Code no longer used was removed. This is the most versatile FrankCRM version we ever created.
Download
- The free version of FrankCRM can be downloaded from our website (here).
- The full version can be downloaded from your account as part of your purchase.
Downloads expire a year after purchase, but can be renewed with a large discount. Information is to be found in your account: fmstarter.com/my-account/
Upgrade your current version
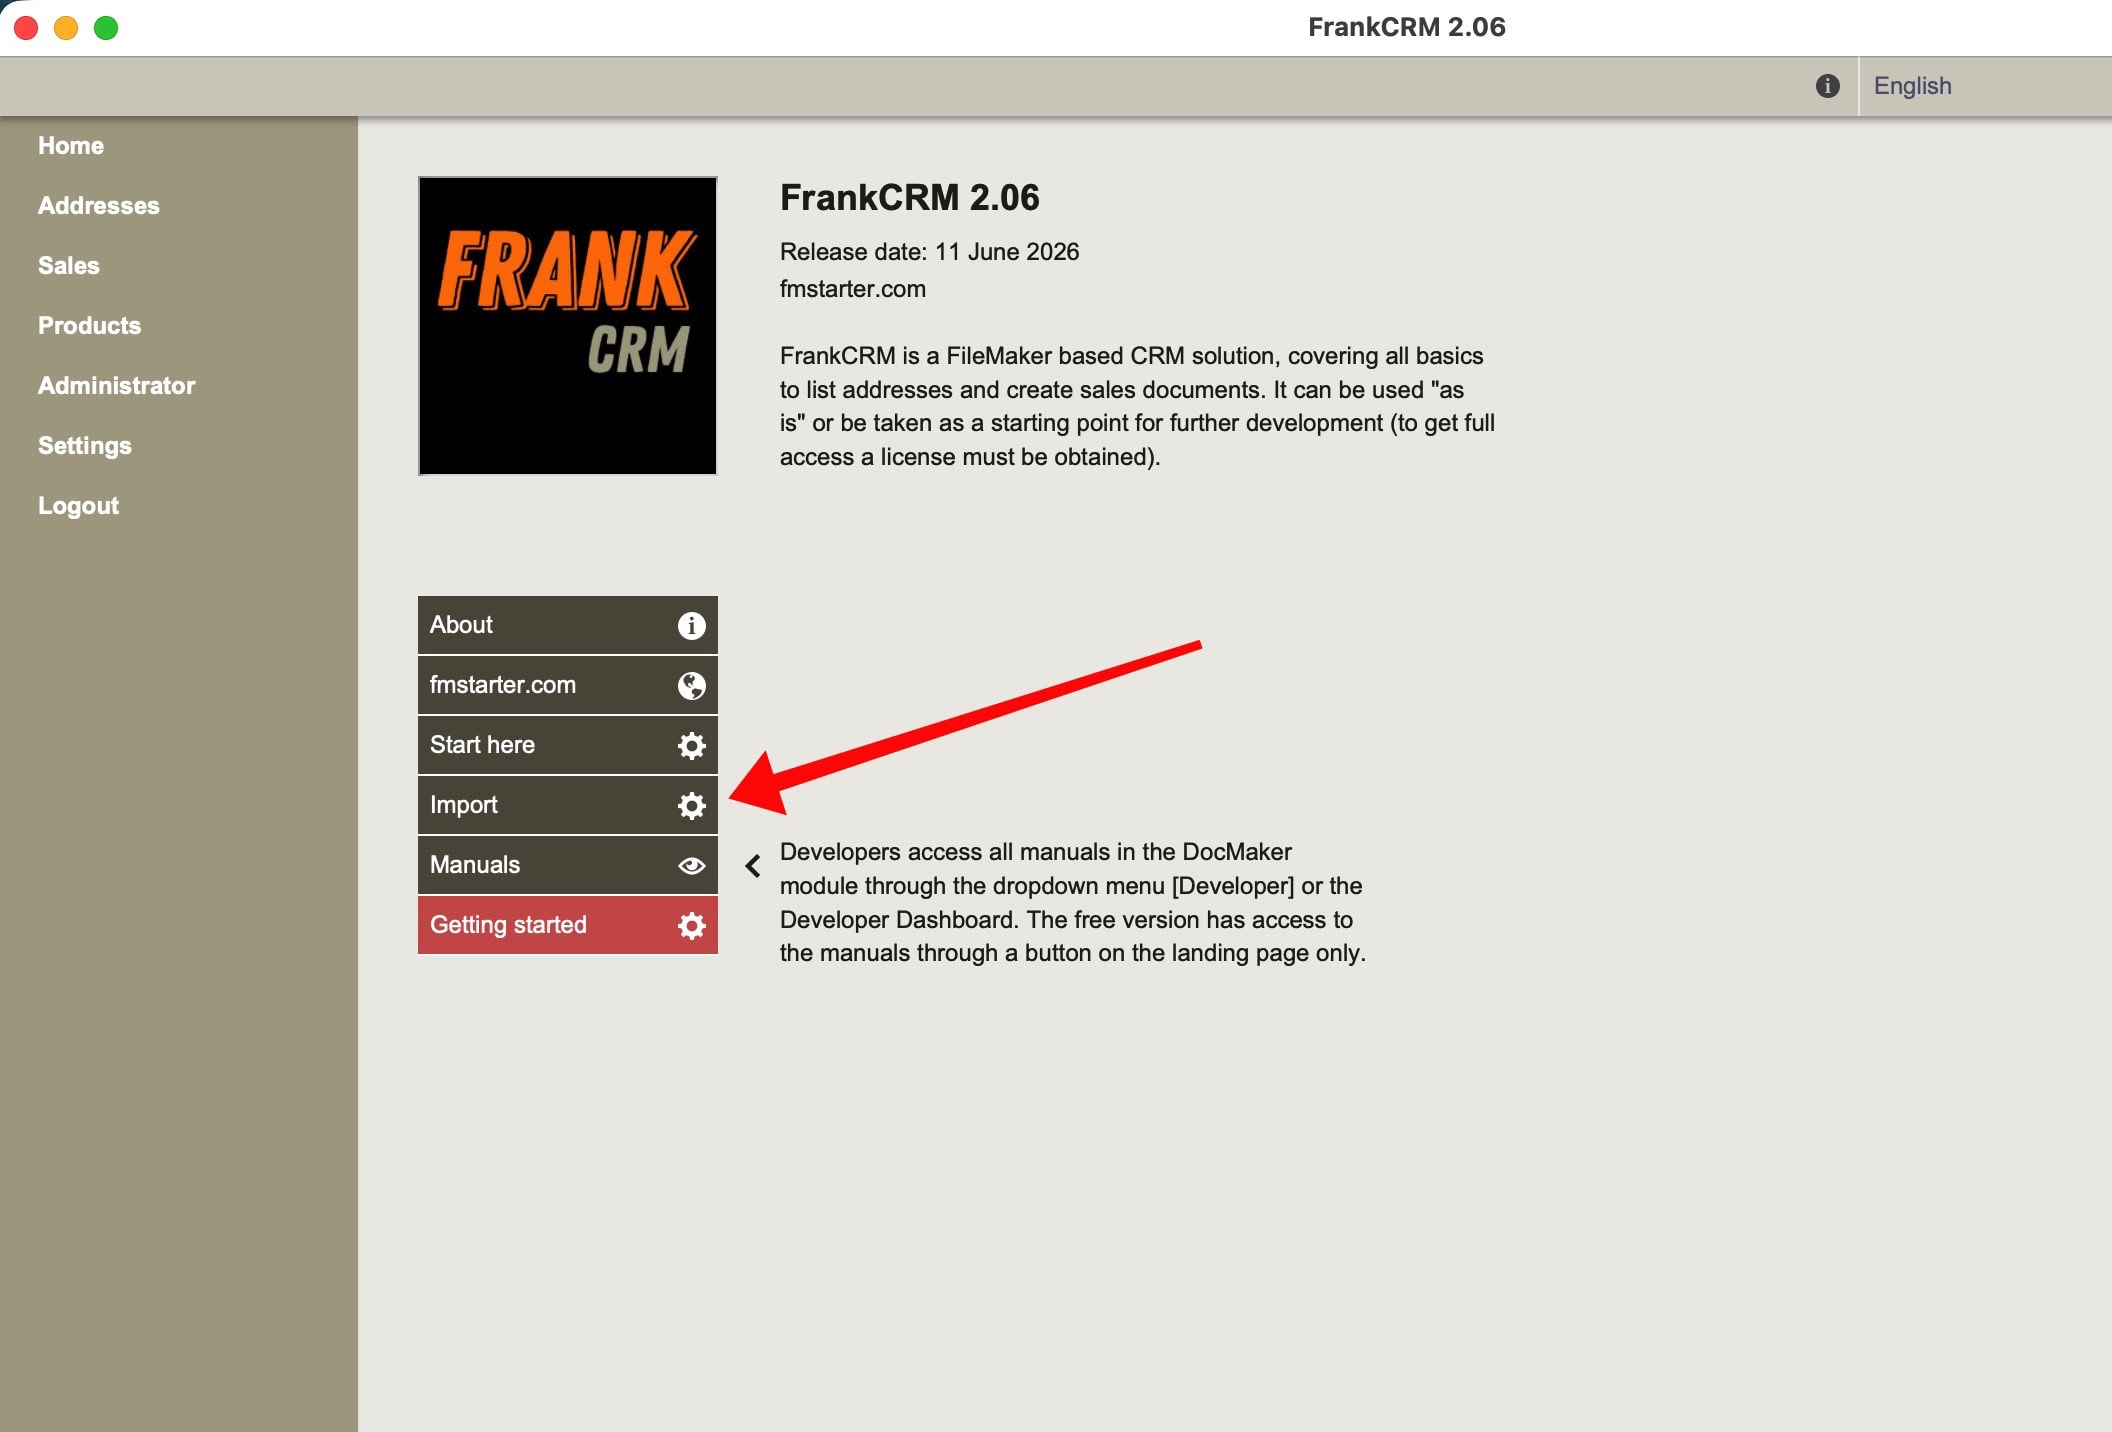
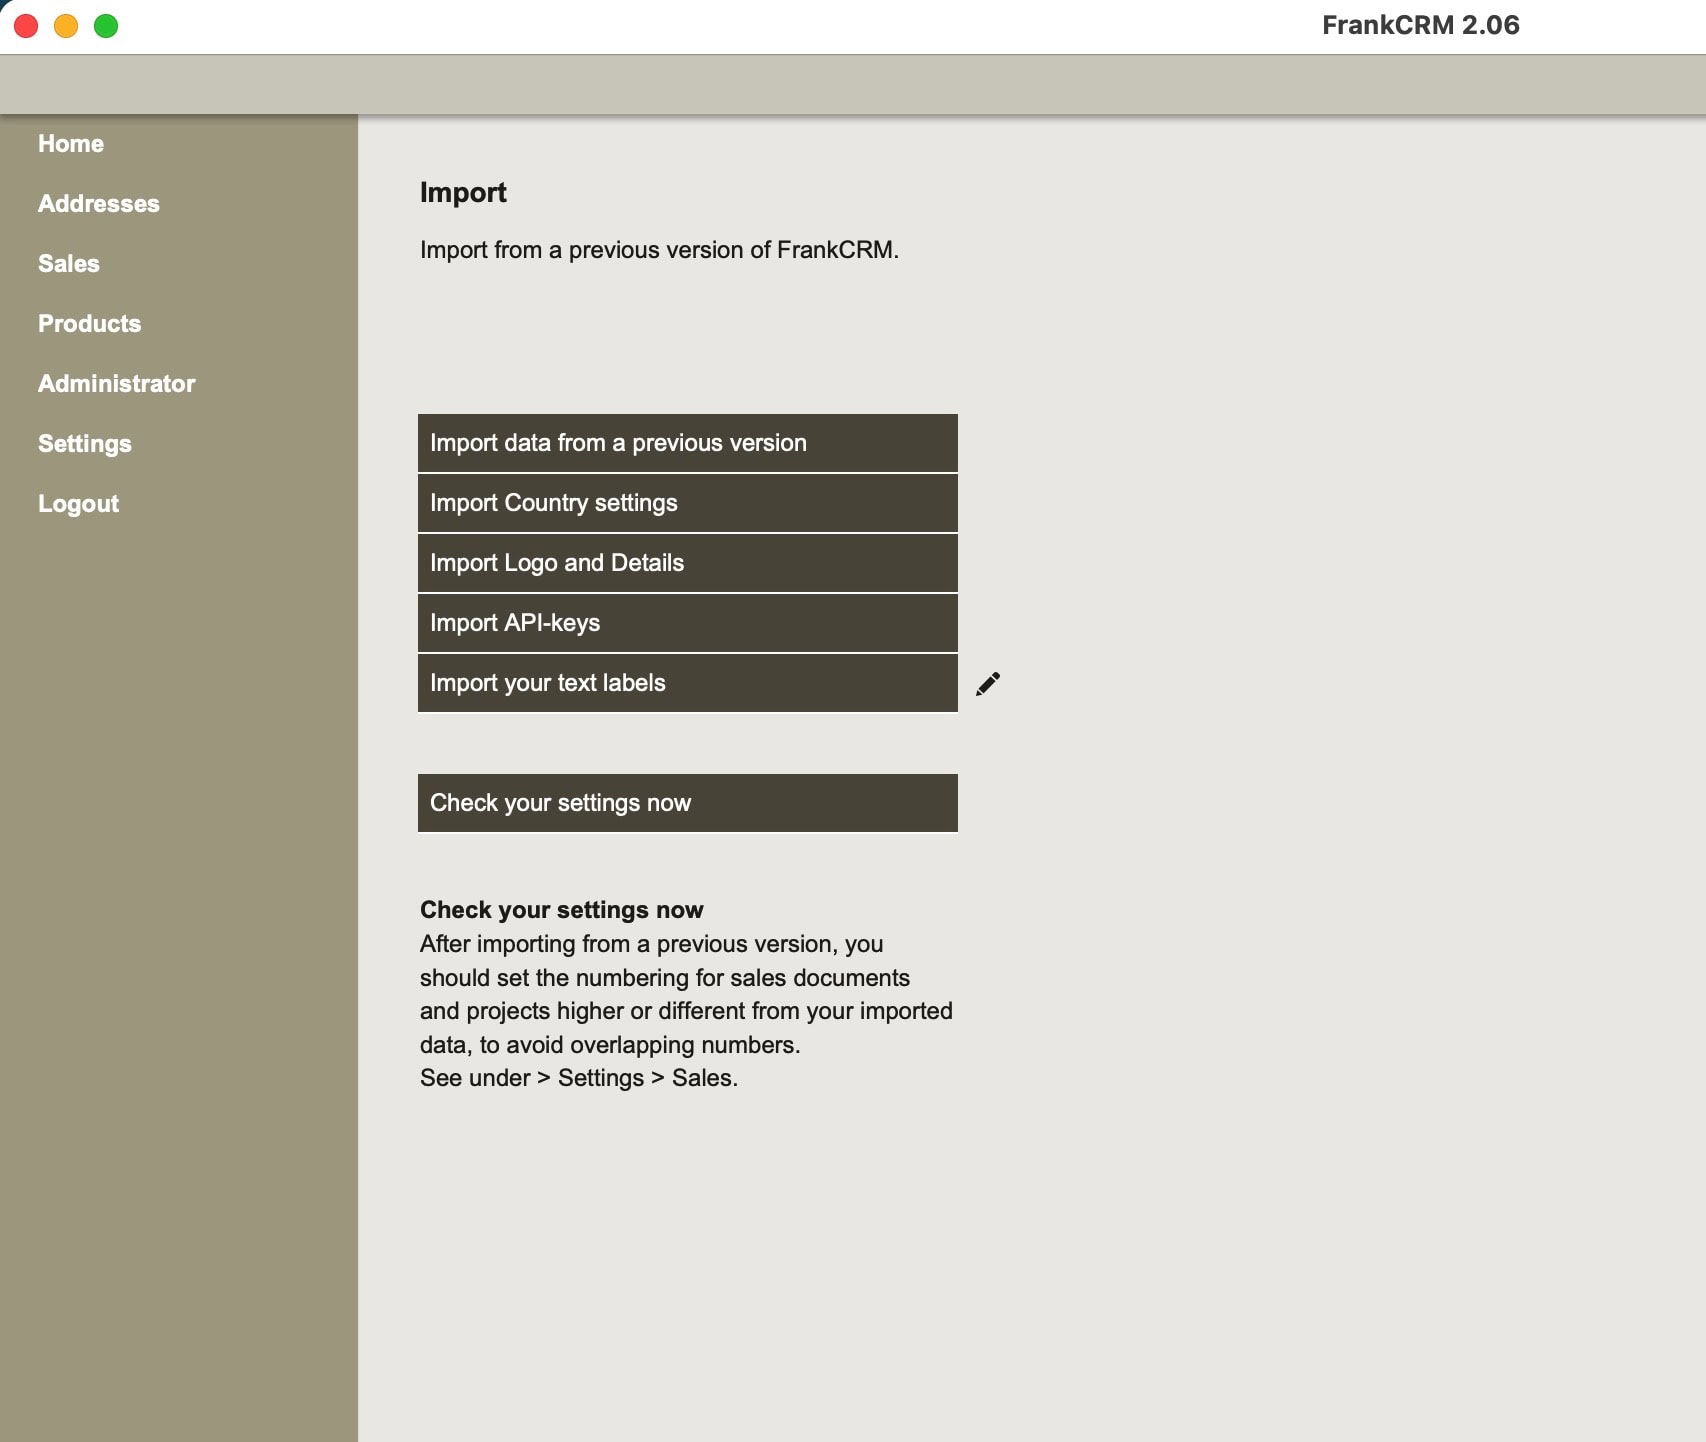
If you use the free version of FrankCRM, you can download the newest version and import the data from your older file. Keep old and new files separate. Download and open the new file. On the Home page, click on Import and follow the suggestions. This will quickly import your data into the new version.
Starter file for business applications
FrankCRM is a clean and powerful starter file for new FileMaker based business applications. FrankCRM is based on FM Starter and has been enhanced with a limited setup for addresses, contacts, sales documents and products. As we do not believe there is a single solution to every need, it is all about behind-the-scenes-functionality. This will boost your development, without burdening you with unneeded modules.
Learn more about our starter files here:

Choosing a starter file for FileMaker
Starter files give an instant boost to your development. Our starter files provide the basis for your development. Yet, there are different starter files. How they might differ is described in this post.
What is a starter file?
Use a starter file to begin your next FileMaker project. It is a shortcut to your solution, as it begins with a set of functions for your ultimate goal. You do not need to start with an empty file, but can start with a proven set of functions, thus skipping probably months of development time. A starter file gives you the expertise of someone else, to start your next FileMaker project with ease.
Which approach do you prefer?
A starter file is not magic. It is solid work, put together for developers like you. Yet, what a starter file actually is, highly depends on how you look at it. We noticed there are two sorts of starter files, which differ in approach:
- More is more
- Less is more
The first option seems a quick fix to your software needs, as it provides a seemingly complete solution. But, apart from the attractive approach to put in as many functions as possible, it is quite possible that your business needs differentiation in areas the “More is more” solution is not fitted for. That usually requires significant effort. The second option does not start with a final result, but rather with a starting ground for you to work with. This also requires significant effort to arrive at a usable solution. However, you can build up, and don’t have to break down. If you need to make substantial effort anyway, the second option might be more efficient, as you can exactly build what you need.
Because of these differences in approach, it is important to look at more details, before you decide what is “cheaper” or “quicker”.
Type 1: More is more
Ready-to-go starter solutions
These solutions follow the concept: The more functions, the merrier. These are not starting points, but present themselves as close to an outcome as possible. That might suggest it is a quick solution, which, of course, sounds attractive. But this only works if you need not change any important parts, which is highly unlikely for most businesses.
PRO: If you need no change of functionality, it can be a fantastic fit.
CON: If you need a change, this is where it quickly turns into a lot of work. Think of removing unneeded elements, replacing or adding new elements, or reconsidering already implemented workflows.
Type 2: Less is more
Basic functionality and high configurability
These solutions follow the concept: Create a sound basis for development, not an end point. Less is more because: Who knows the end goal, if not only the client? It is impossible to create functionality for something you do not know. This concept leads to more basic functionality and is intended to help you build your solution from the ground up. To not offer everything is a bold and useful concept if you look to make amendments, changes anyway. It is a cleaner start.
PRO: Efficient tools, structures and modules you need for almost any FileMaker project.
CON: No suggestion of “having it all” instantly shows that work is inevitable.
Questions to ask
Let’s say you work internationally, then you might need multilingual features, multiple currencies and the like. To retroactively build that into a single-language and single-currency solution requires not only skill, but also a crazy amount of work. The more functionality you have, the more work it takes to implement those features. Thus, it is important to choose your starter file wisely, considering future developments.
To decide which starter file serves your purpose best, try to figure out:
- What skills you have
- What skills you miss
- What you want to achieve
- Which workflows need to be implemented
- How much time do you have?
- What budget do you have?
Ask more questions to enable better answers.
Concepts of our starter files
We create starter files, not “do-it-all”-solutions. Intentional limitations are what improves the basis. The more you define as a final result, the more limited it is. Let’s assume you make a small tool to scan and capture barcodes along a process line, there is no benefit of starting with a business starter file. Yet, you will need generic things like a navigation, probably a project structure and some other functions. We found that less is more, as a simple basis can be used for many purposes.
Some of the concepts we follow rigorously:
- Less is more (if it is done better)
- Separate settings from functionality
- Make settings available in regular layouts
- Create a dashboard for the developer only, to combine all settings of the application
- Think modular and keep it simple
- Provide a clear project structure
- Instead of rules, use structures. This makes you less dependent on a certain developing style.
We developed two starter files with different purposes in view. Let’s compare these two products:
FM Starter
FM Starter is a generic starter file with basic functionality working for you “behind the scenes”. It’s a lightweight solution for almost any project, relieving you from basic requirements.
- Dynamic and global navigation
- Multilingual with automated DeepL-translations
- User account management
- Simple project structure
- Modular approach
- Developer dashboard for easy configuration
- Many more basic modules included
- Great for international projects.
FrankCRM
FrankCRM builds on FM Starter, but was enhanced to give you a solid start with a real application as well. Basic requirements for addresses, contacts, products and sales are included.
- Based on FM Starter
- Modules: Addresses, Contacts, Sales documents, Products
- Extensive VAT-handling
- Multi-currency with automated updating
- Highly configurable, as configuring is simpler than developing
- Perfect for developing international business solutions
The right starter file
Selecting the best starter file for your upcoming project is an important step to succeed. Whichever solution you choose, be prepared to invest substantial effort to create the software you need. Especially if you require a cheap solution, it’s helpful to not only consider the initial cost, but also the costs to make it work the way you want.

A new start for fmstarter.com
The website fmstarter.com was started over a decade ago. It accumulated debris over time, became slow and at times unresponsive. It had to be improved. What are the changes now?
It was not just the content that became a lot. Images were missing the appropriate quality required today. Some topics no longer were important. FileMaker has improved, and some tools became obsolete. By providing a setup with 3 supported languages, much complexity had been added. Some of these things mattered once, but no longer do so today.
A fresh start
Some bold decisions were taken:
- Delete all posts
- Get back to a single language
- Rebuild everything (product descriptions, downloads, freebies, videos).
All of this has been happening during the last two months.
Orders and purchases remained
While most content has been replaced or removed, your orders were kept safe. You will find your complete history in your account.

Standardization
To simplify both the website and our work, all tools have been updated and upgraded and now minimally require FileMaker Pro 20. For years, we supported solutions for older systems back to FileMaker 12 as well, but no longer. Simplifying requires courageous action, also about a standardization of offerings.
Updates and upgrades
Important improvements have been made for all our products and new versions have been made. Whatever is online today already has these improvements. New versions for products and all freebies included. If anything is still missing today, it might just be in a state of advanced progress for a next update.
Looking forward
Once the heavy lifting on this new site has been completed, more regular posts can be expected. Thank you for appreciating and using our services.
FormatAmount
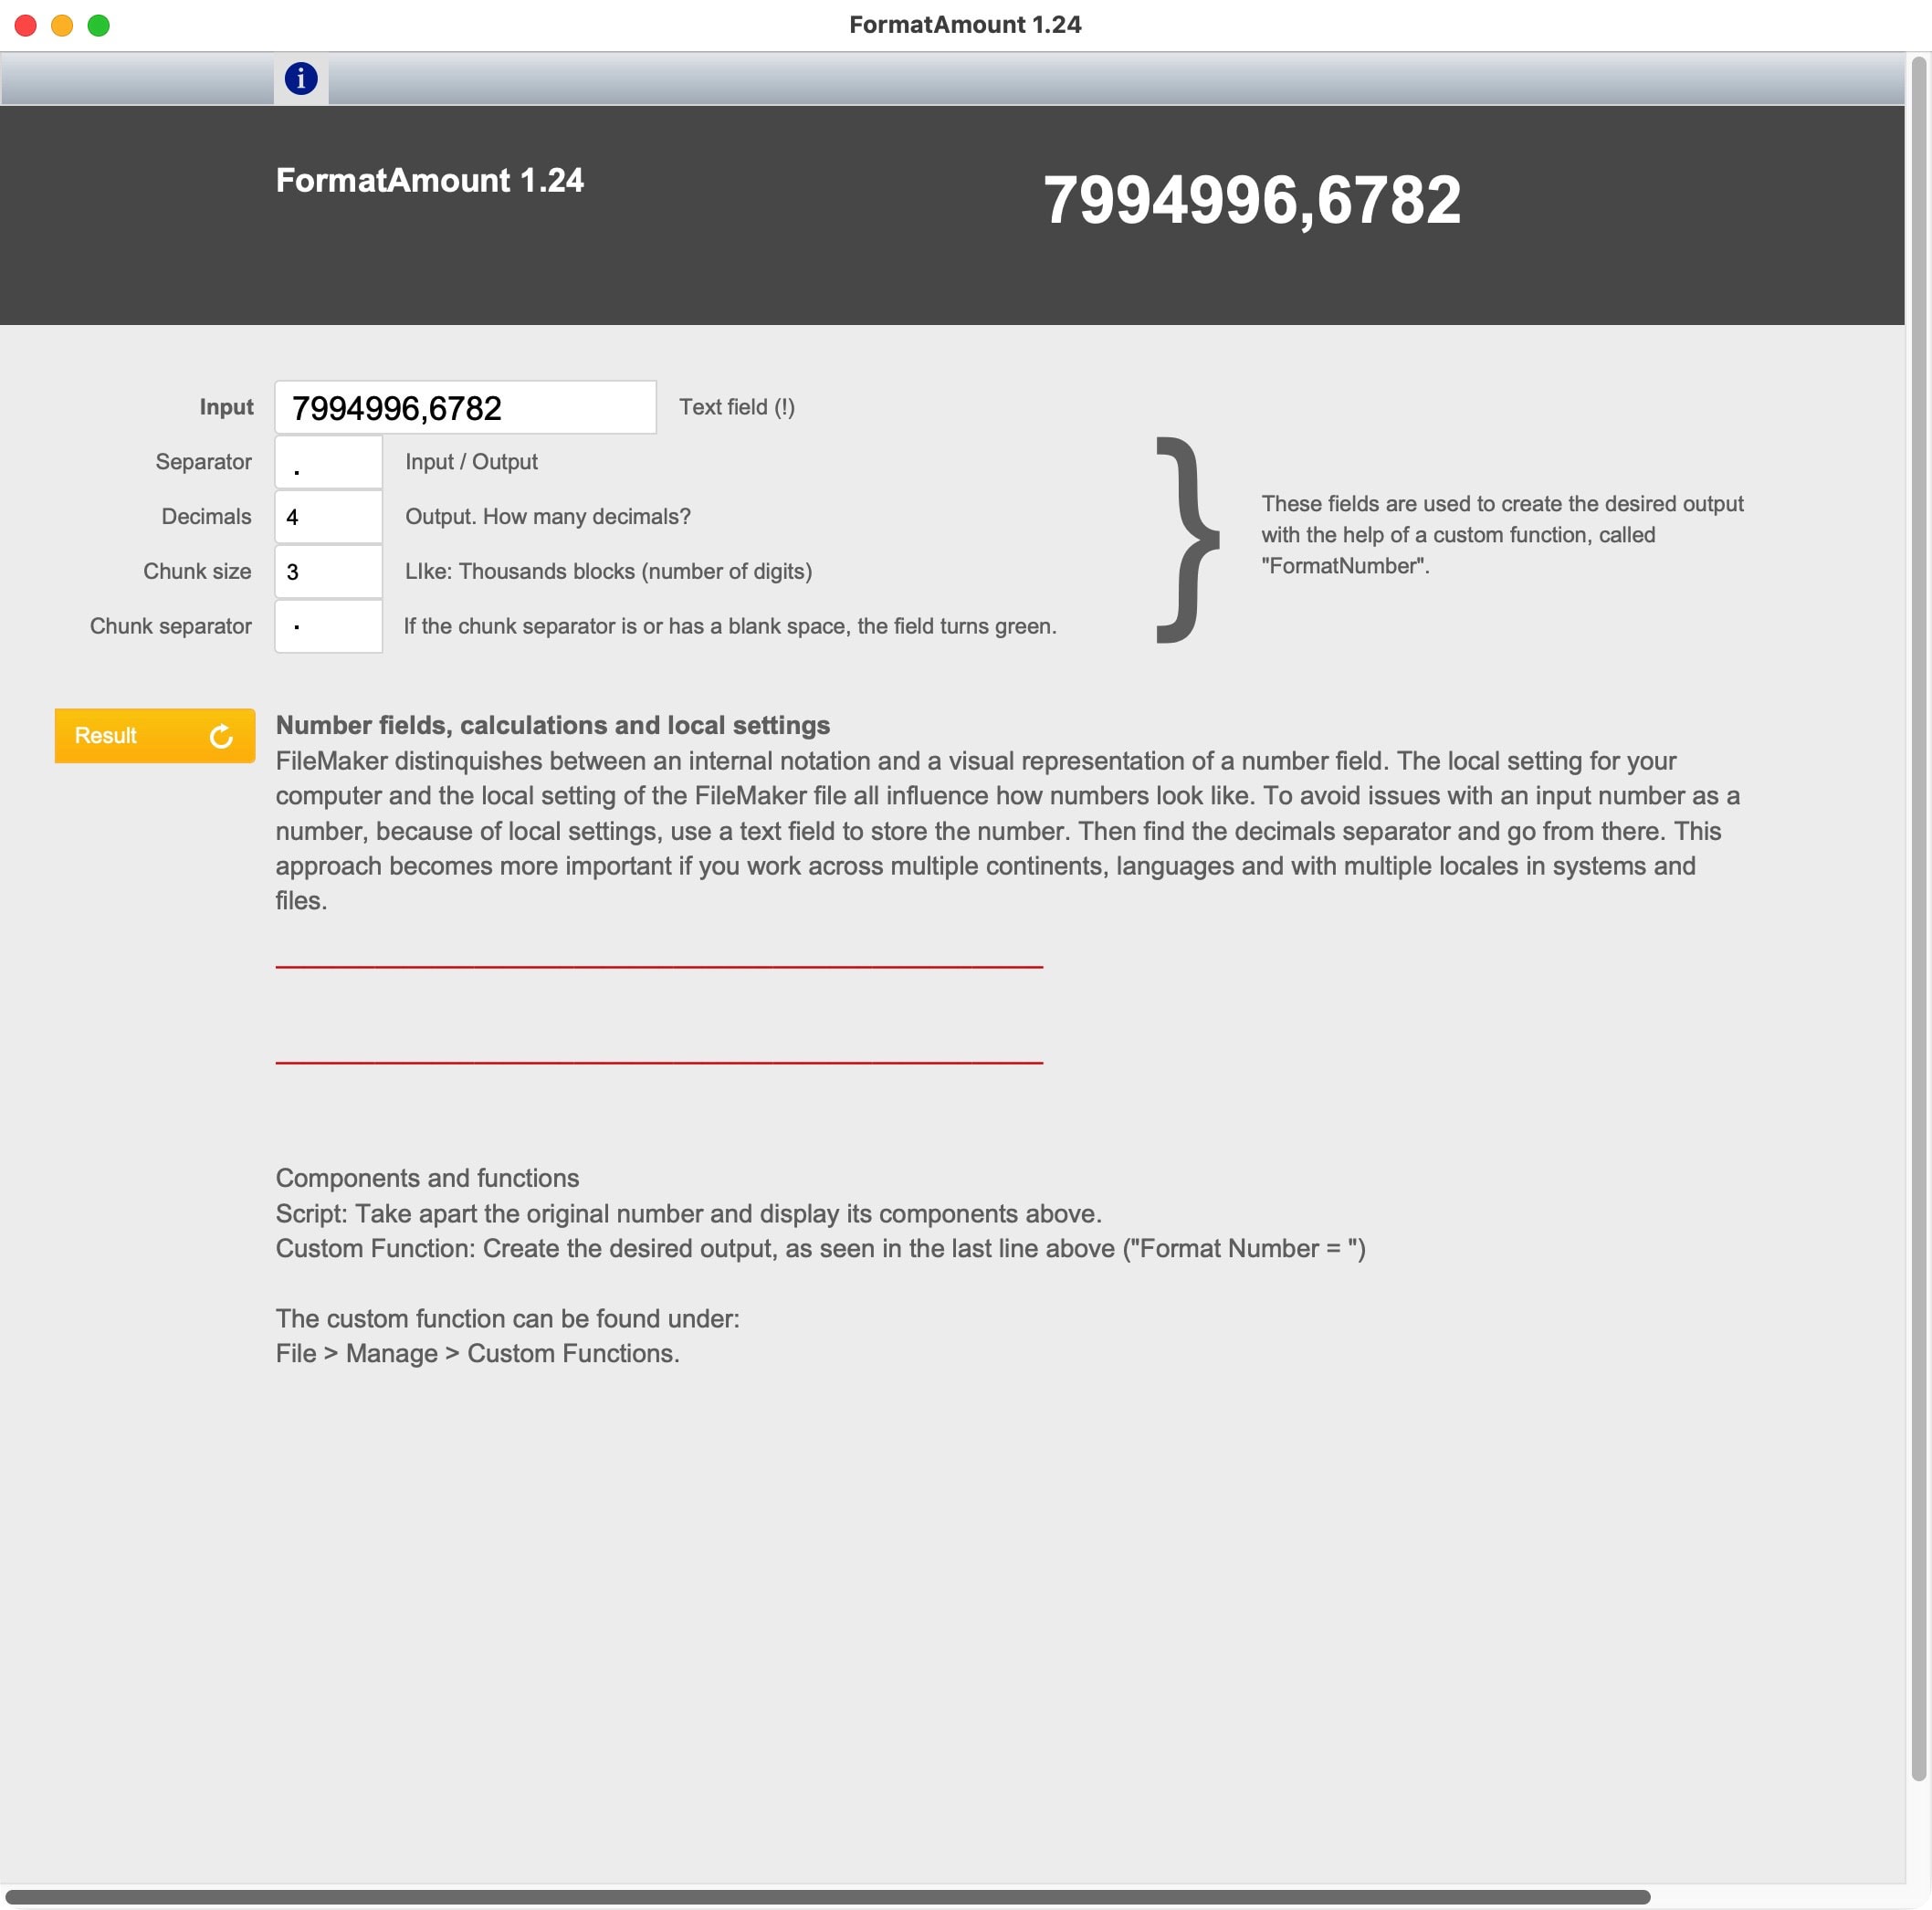
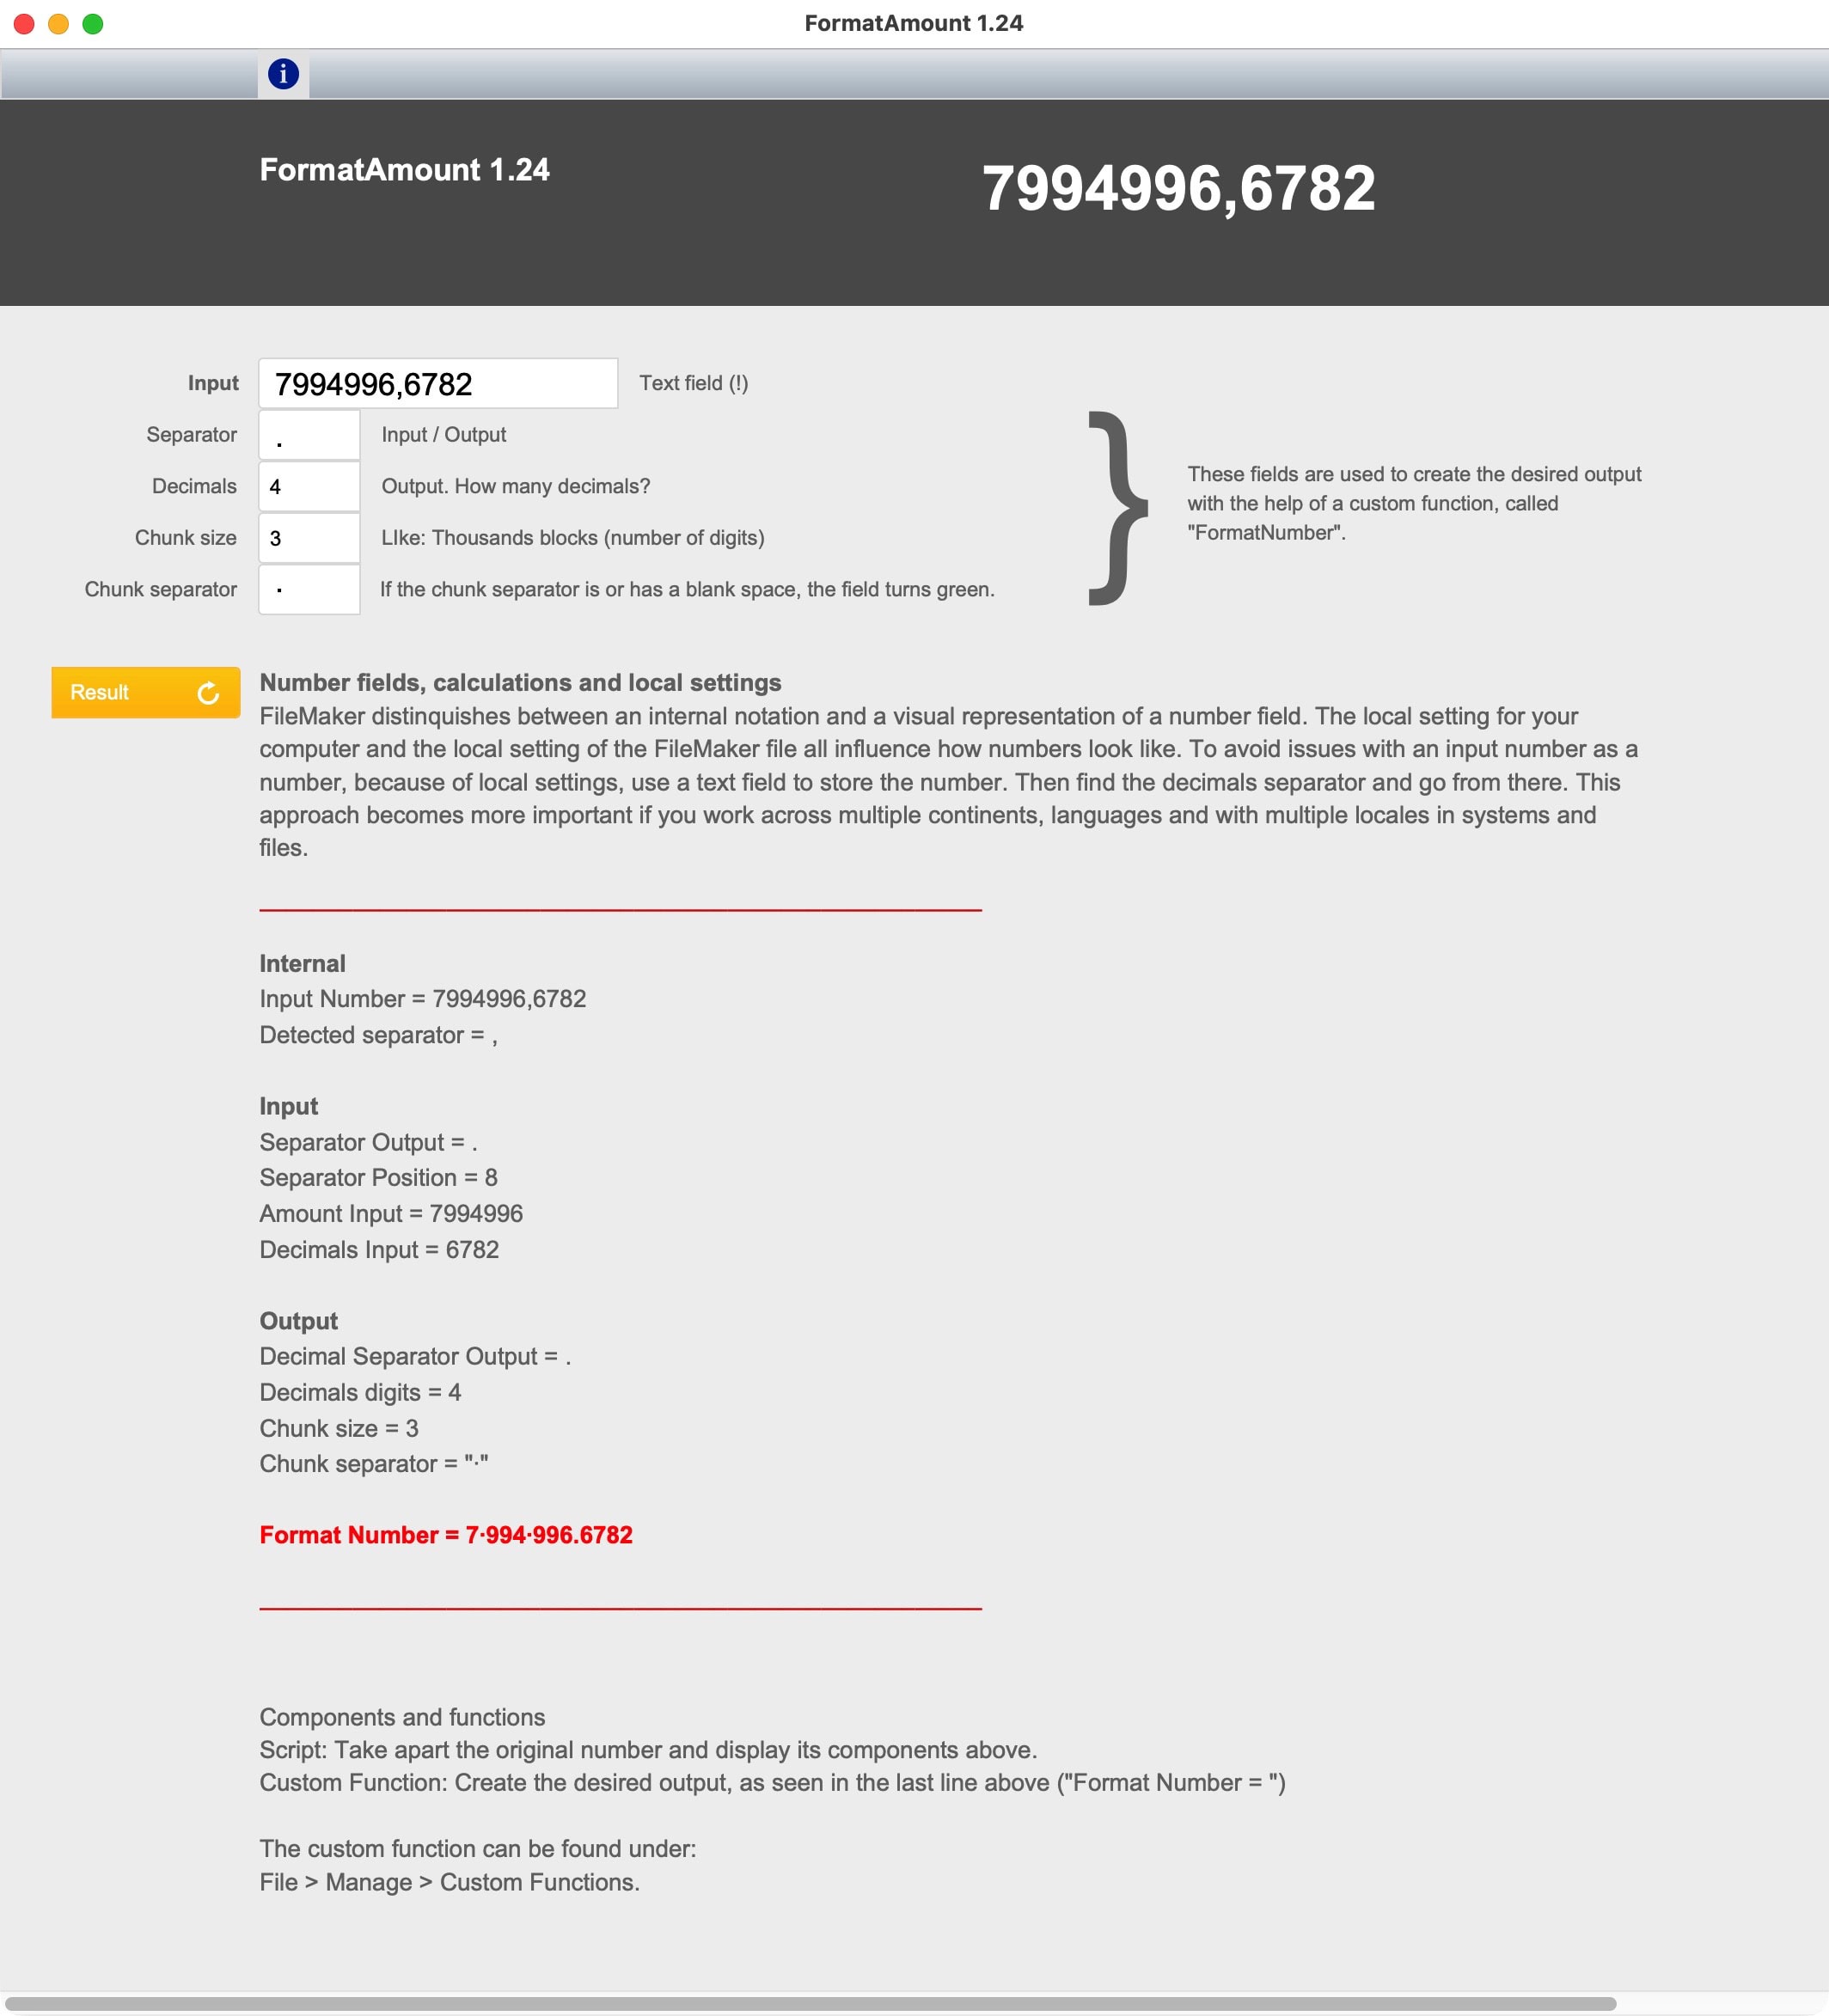
The formatting of numbers in FileMaker can be tricky. Why doesn’t something work as you expect? This article and the accompanying sample file might clarify some points for you. The internal notation of FileMaker and the local settings of your system and probably even FileMaker can differ. According to Murphy’s law, whatever can go wrong, will go wrong. This is how to fix it.
Number Formatting in FileMaker
FileMaker has a split personality when it comes to numbers. Internally, it always uses a dot as decimal separator — but what you see on screen depends on your OS locale and field display settings. That gap between internal notation and visual display is where things get both interesting and tricky.
The trouble starts when you reference a number field in a script or calculation. FileMaker doesn’t simply hand you the raw value — it renders it, applying locale-specific formatting along the way. What you get may not be what you expect, and it may not even be consistent across different systems.
Take this file. It was made with a European style locale, and only one of the available ones. The results you see in the US, in Asia or elsewhere, might slightly differ. Yet, the processing should resemble something useful. That was the aim. In our testing, it holds up, but these are exactly the pitfalls you’ll encounter in solutions that need to work worldwide.
How to avoid the locale
“GetAsNumber()” seems like an obvious fix, but it has the same problem in reverse: it interprets the value according to the current locale before stripping it down, so you’re still at the mercy of the system settings.
Custom functions add another layer of complexity. Pass them a locale-formatted string and any internal numeric operation may silently produce wrong results. How do you get a better grip on these things?
The solution turns out to be surprisingly simple, once you understand the problem. Use a text field for input, so the value is stored exactly as the user typed it. Detect the decimal separator directly from that raw string. Then normalize it to a dot using `Substitute()` before passing it anywhere that does math. From that point on, everything behaves consistently — regardless of what locale the system is running.
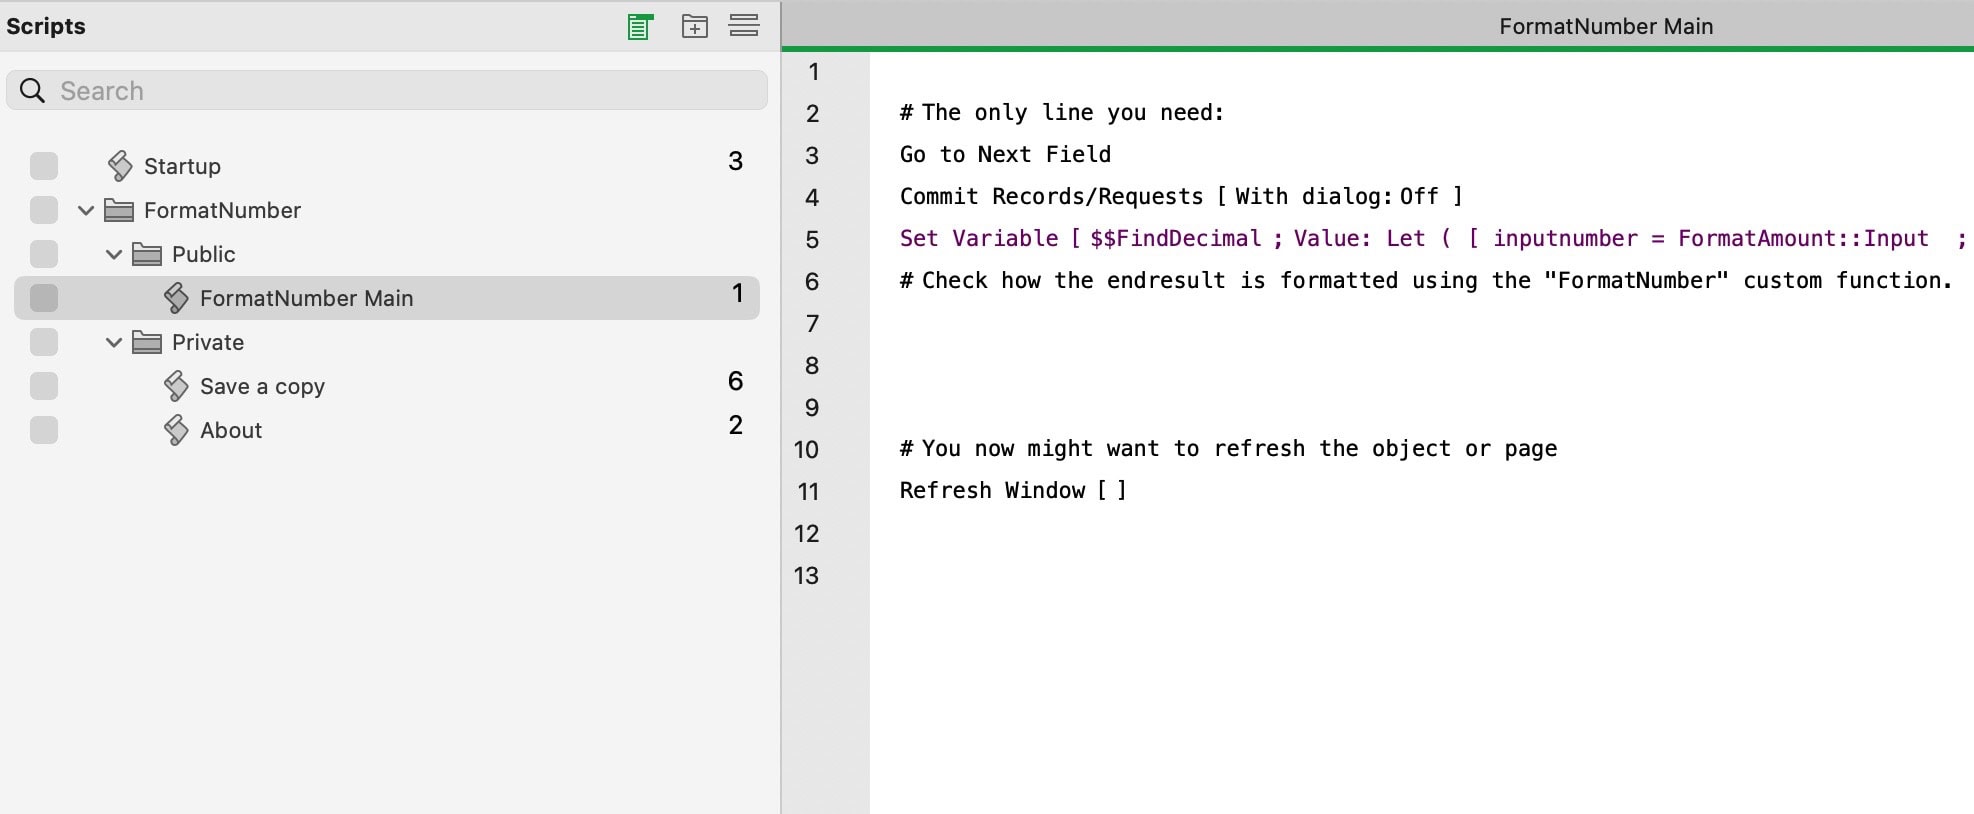
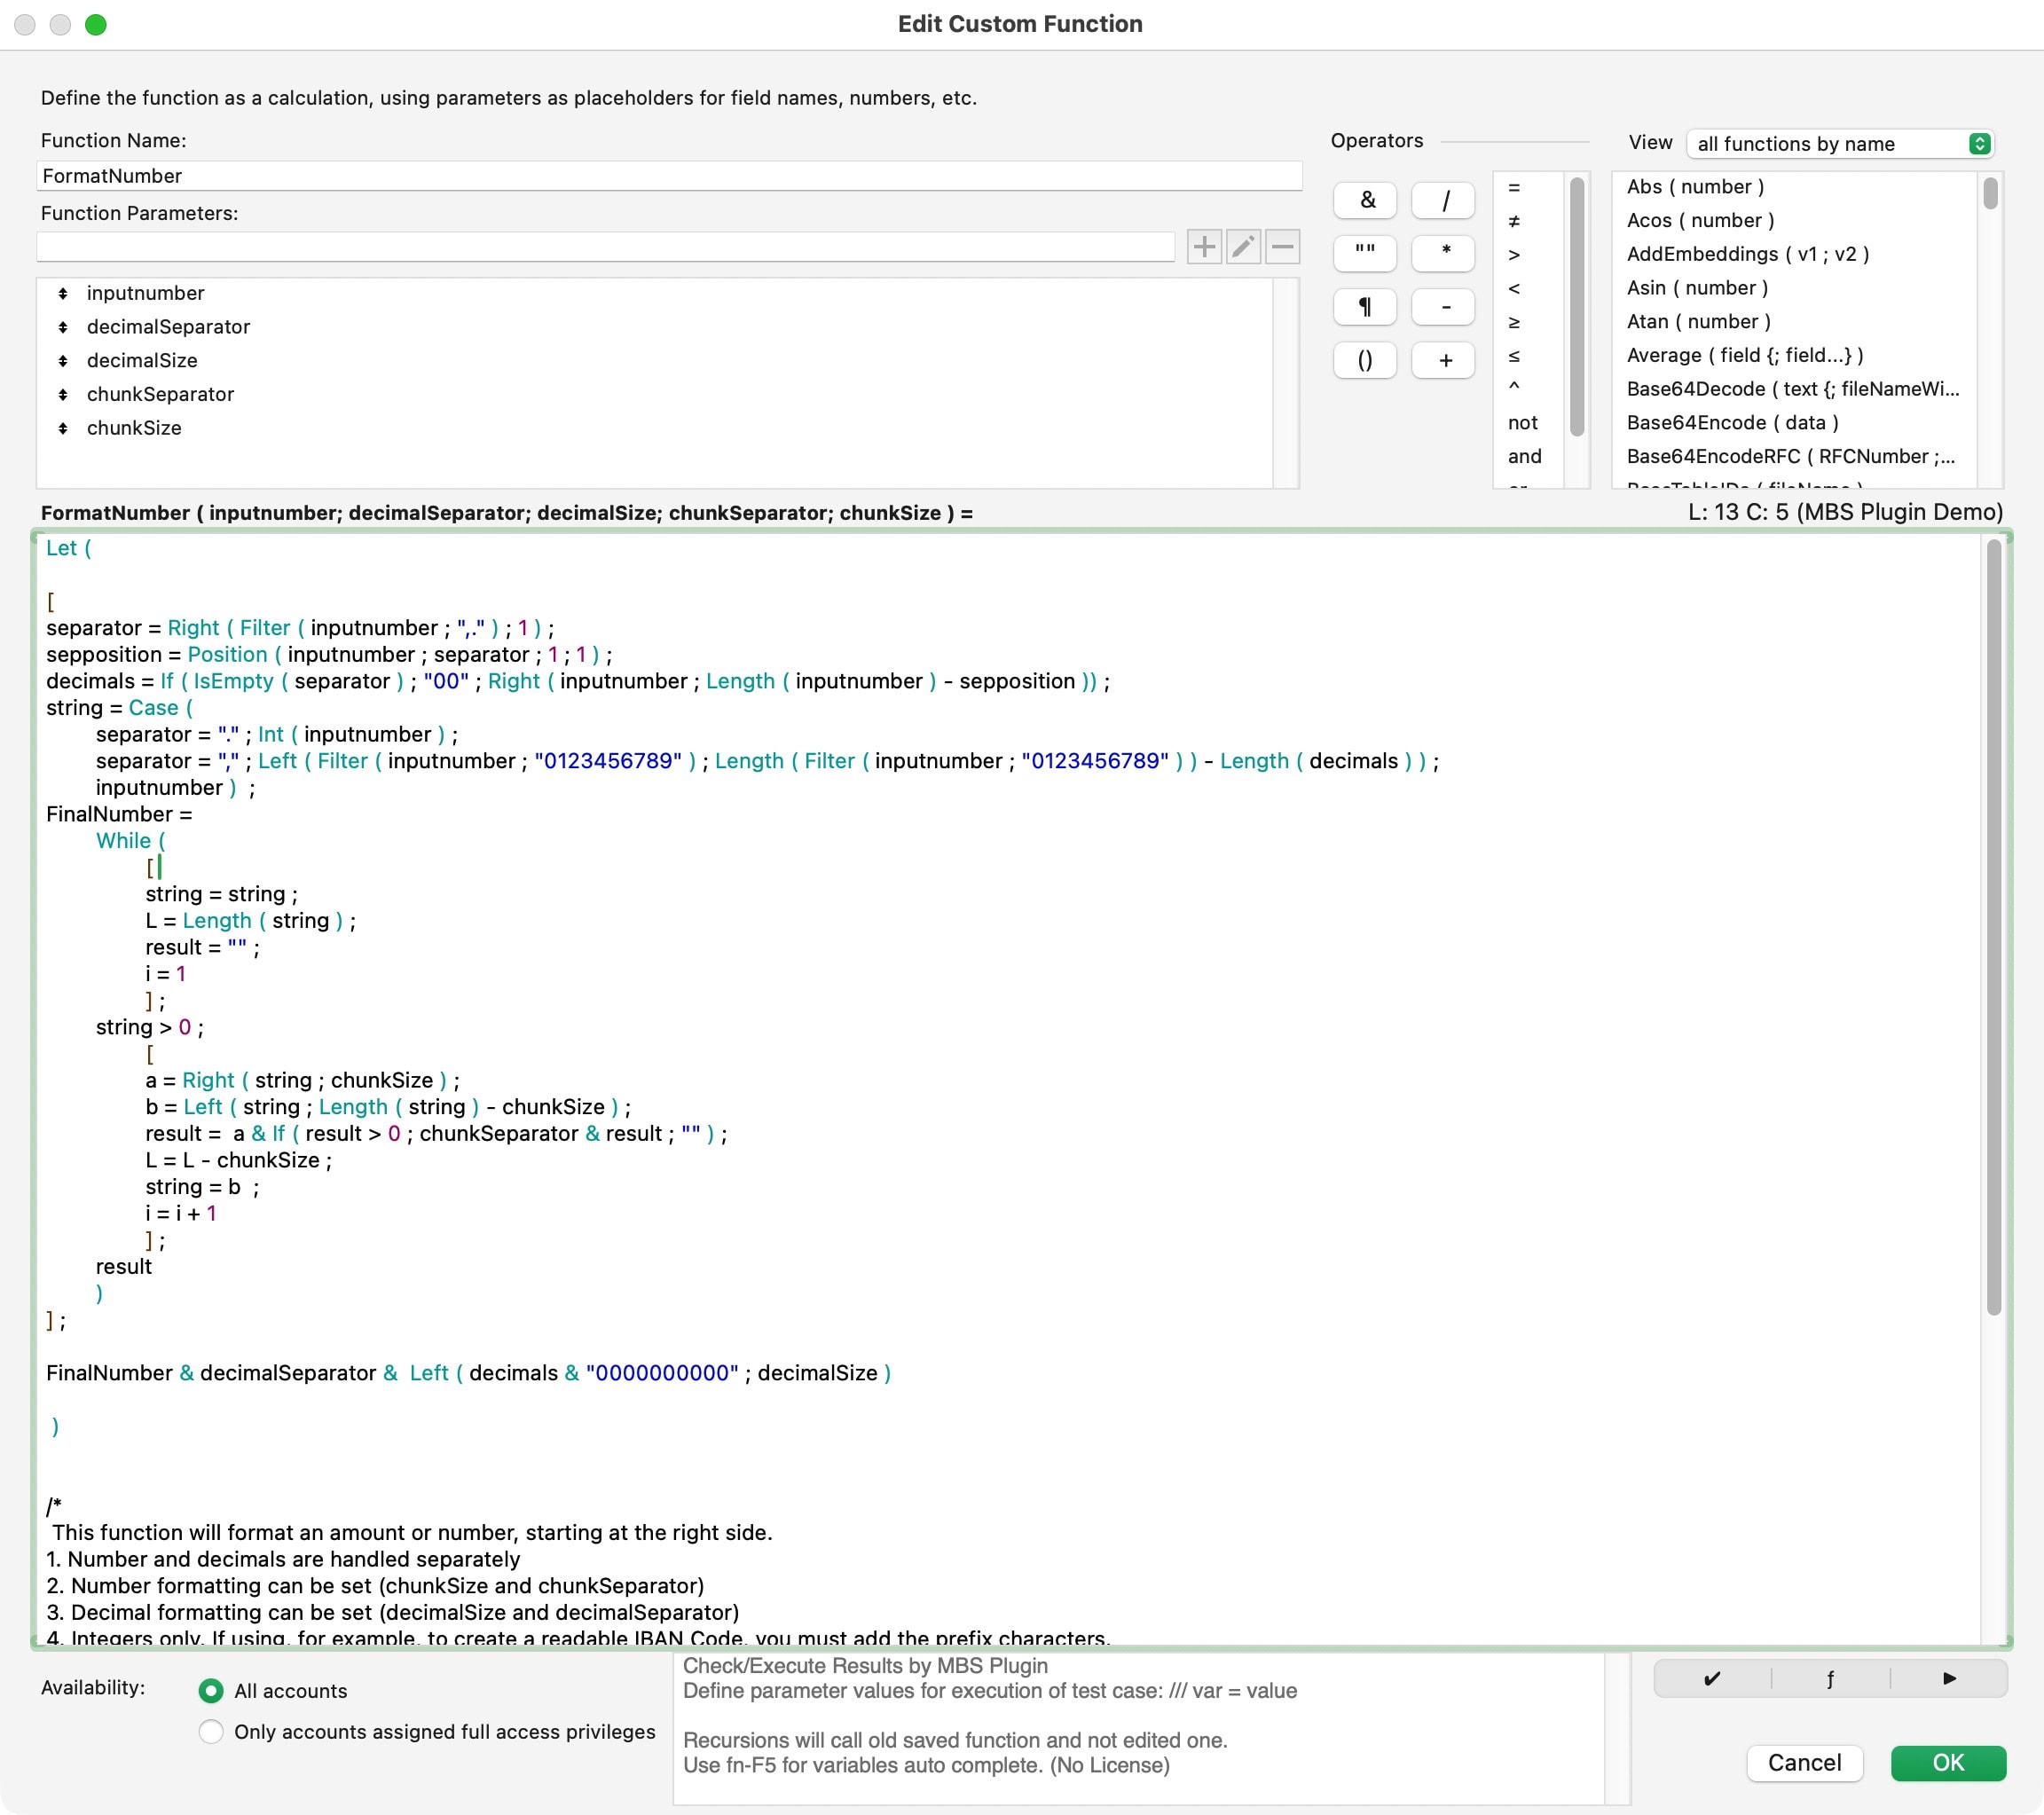
Use the sample file to test and build what you need. The file highlights the single steps needed to interpret a number. It also shows parts of a number to create the proper output for your project. These might be numbers, amounts, or other results. Understand, then create the output you want. Note, that you can import the custom function from this file into your project.
Custom Function and FileMaker sample file to format any number to required specifications. This sample file also explains the pitfalls across different local settings and how to deal with it.
Minimal requirements: FileMaker Pro 20.

Card Windows in FileMaker
Card windows are one specific variety of windows in FileMaker. They appear like an overlay and indeed are an extra layout. Yet they usually appear over another layout, which brightness is dimmed. Card windows therefor offer a new layout over another layout, making it clear in which context it appears.
Context is everything
If you like to present more information about a specific set of data, you can show that data in a card window. There are multiple benefits:
- a different layout
- a different table (if needed)
- a different set of data (if needed)
- a function or representation of data
- a central dashboard
- a selection of kind (like: print options)
- a search form or any other form
These and many more functions are perfectly possible with card windows. To create a card window, simply create a new window and set the type of window to “Card Window”. You then can select a layout, search for any data to display and do what you can do in FileMaker. The sample file presented here will show you different options for using card windows creatively in FileMaker.
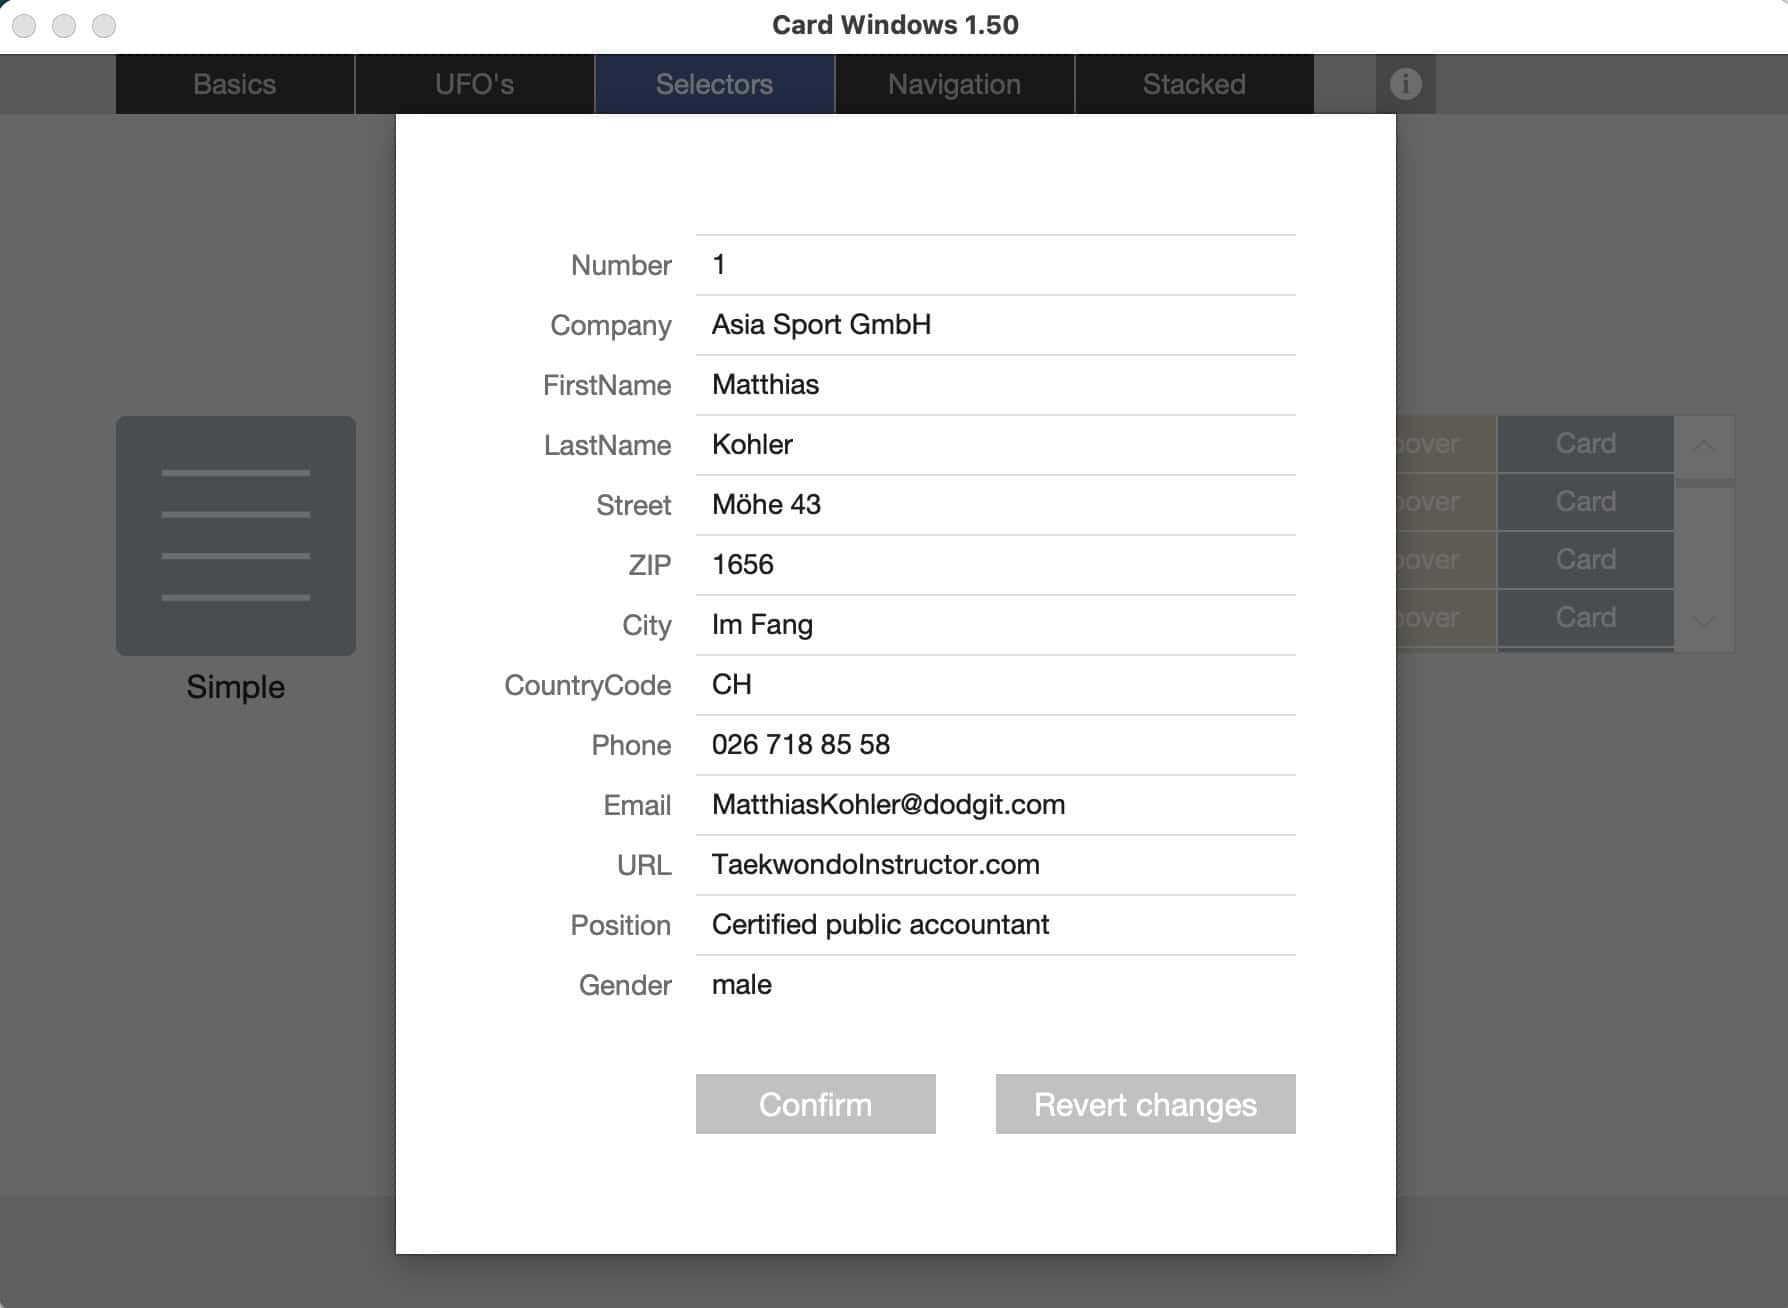
Example: A card window can be an overlay for a list of records, where the card windows allows to edit that record.
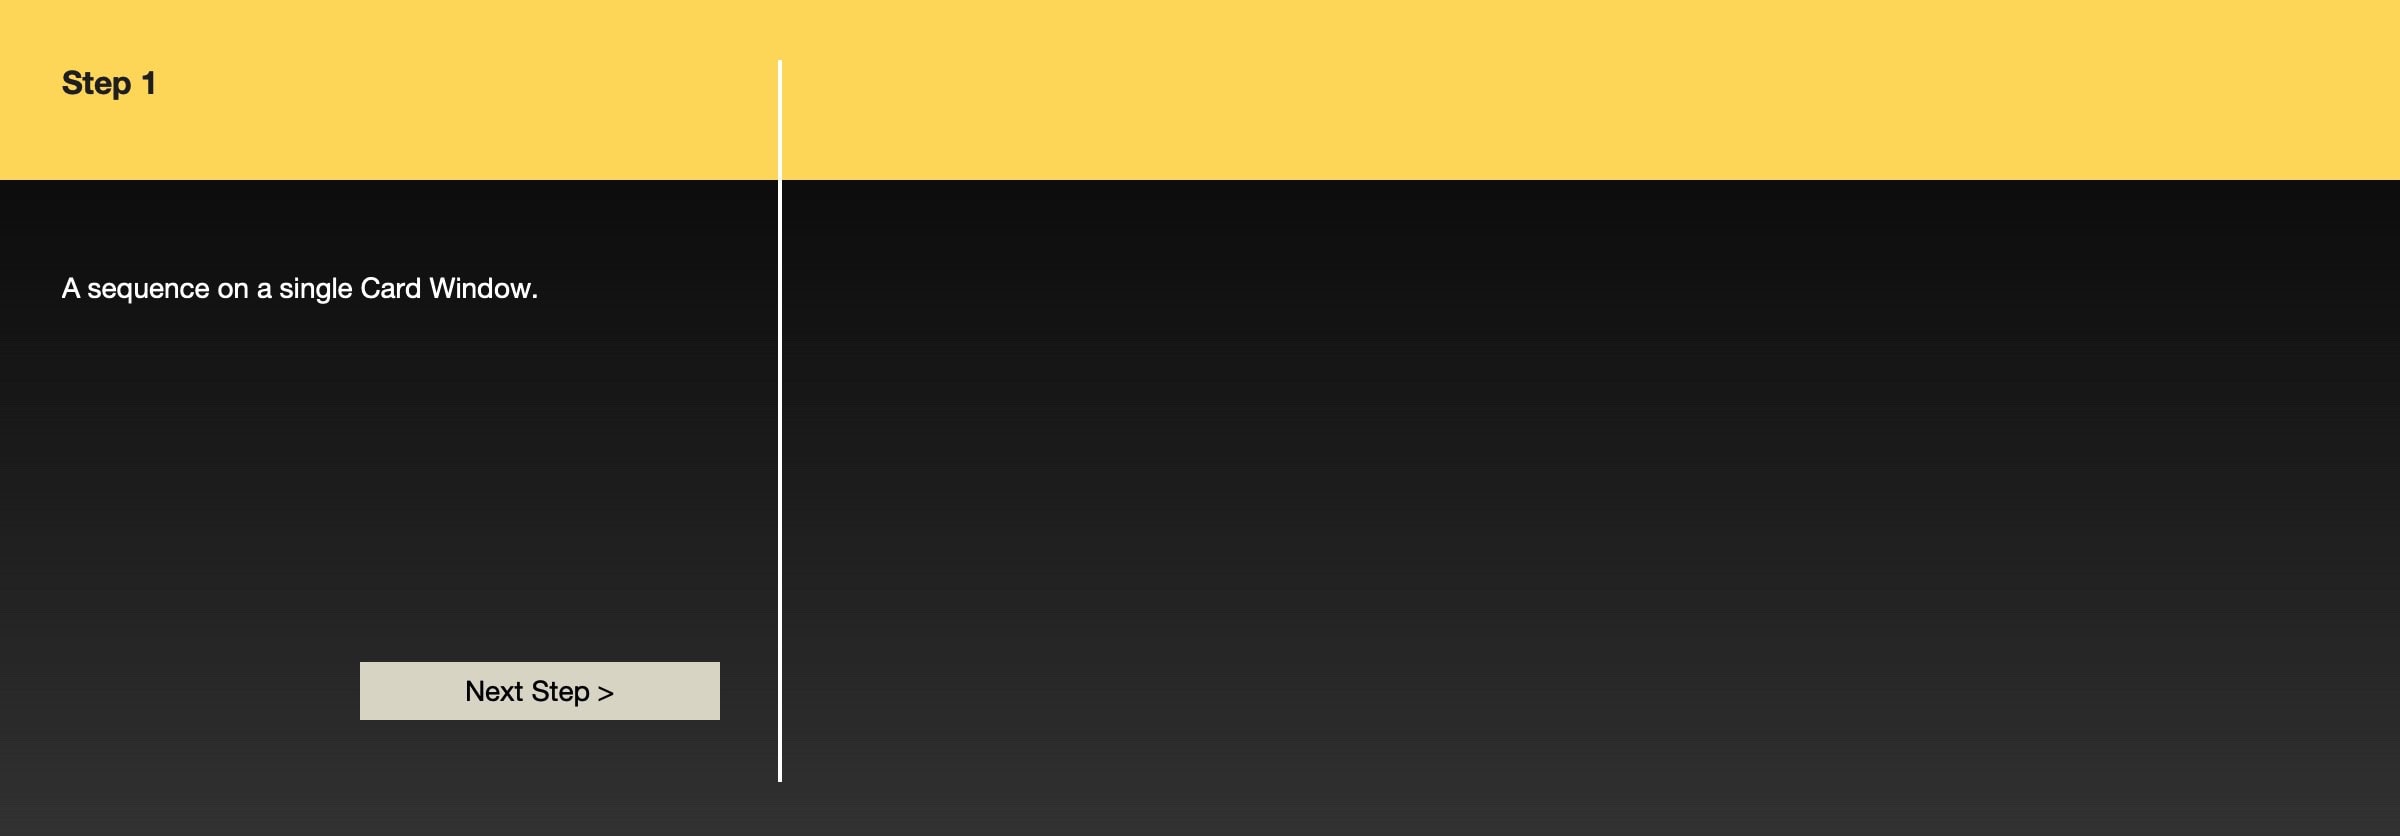

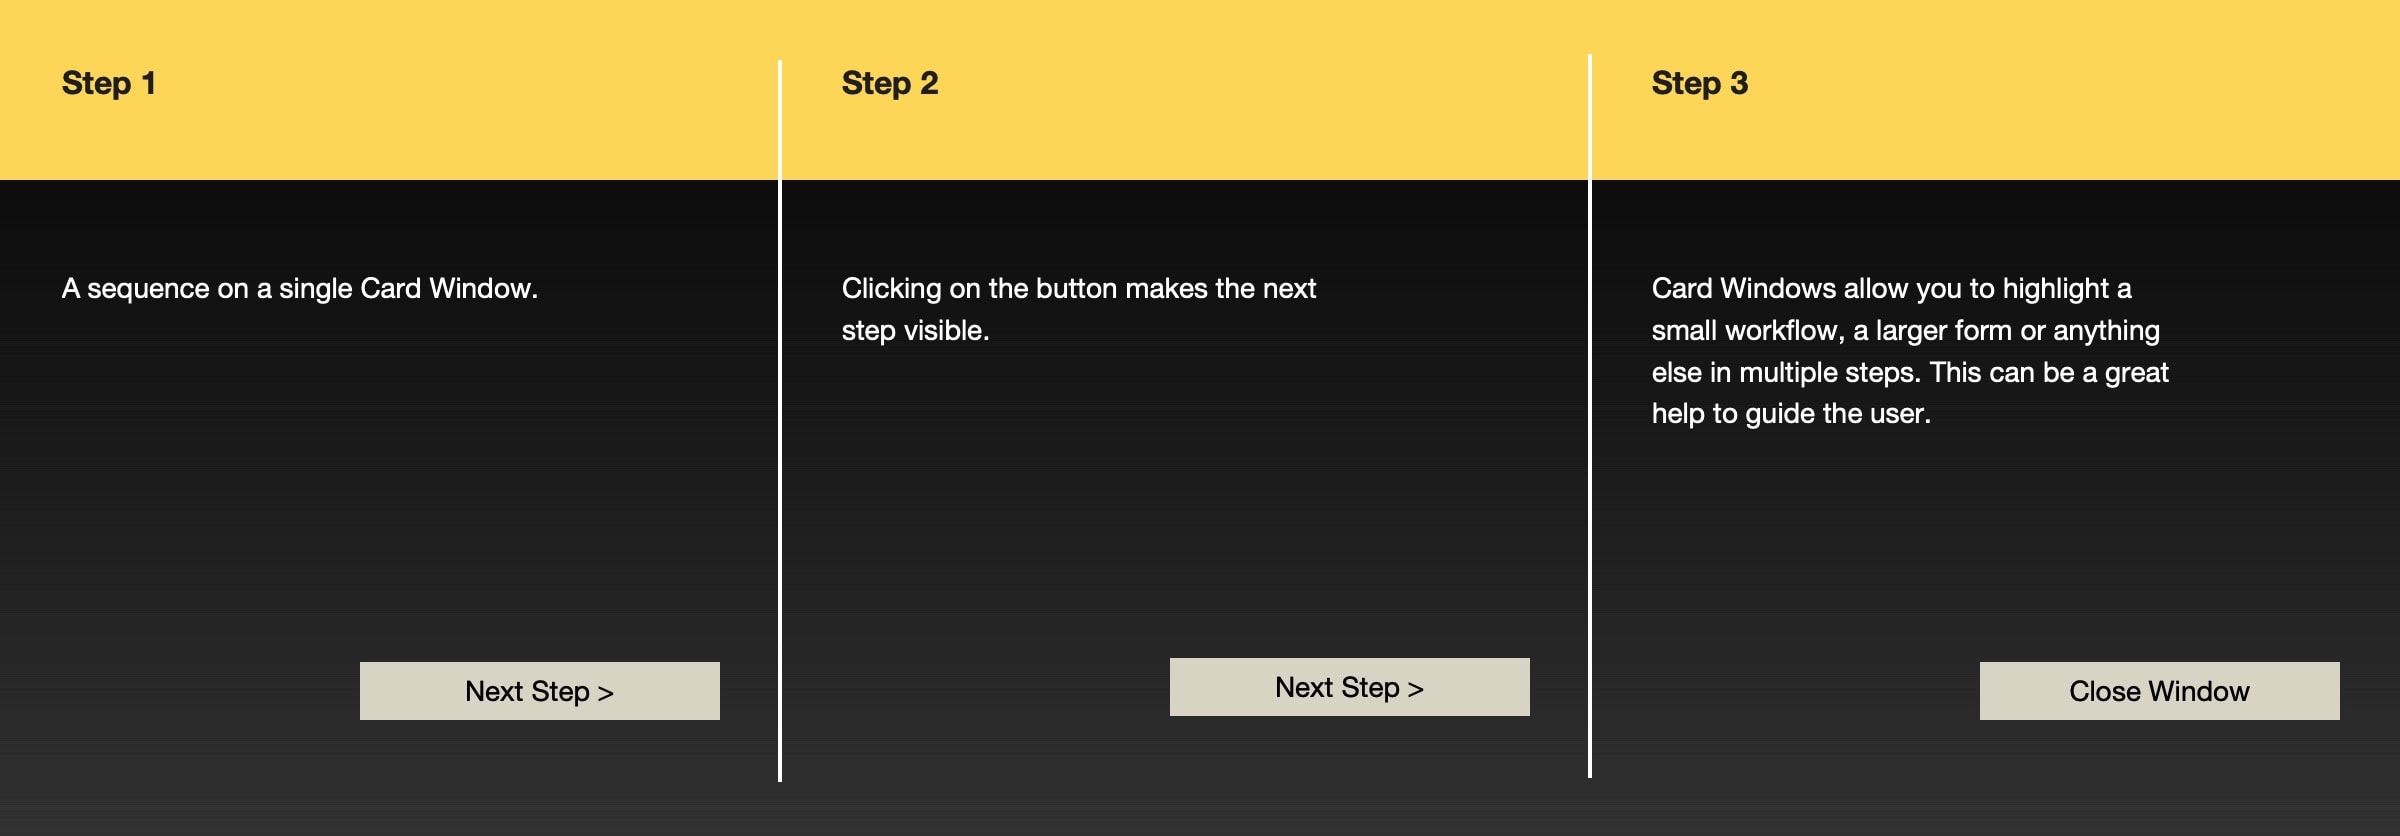
Example: A card window can also be used to explain something step-by-step.
Typical usages
- showing data
- editing data
- collecting data (in multiple steps)
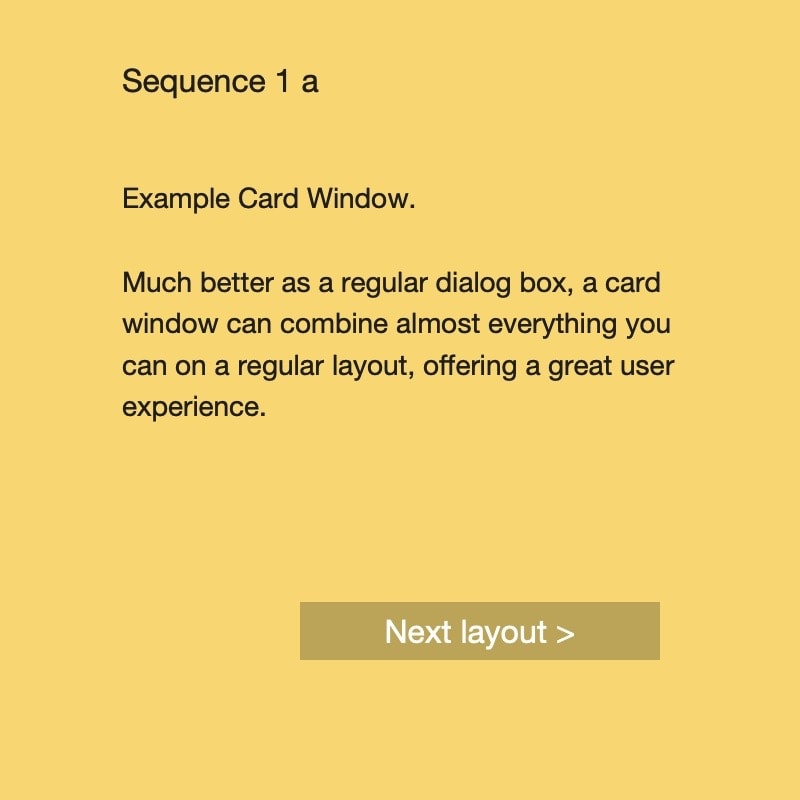
One example is the free addon «GetHelp» on this site. It uses a card window to display a help text from a help text table.





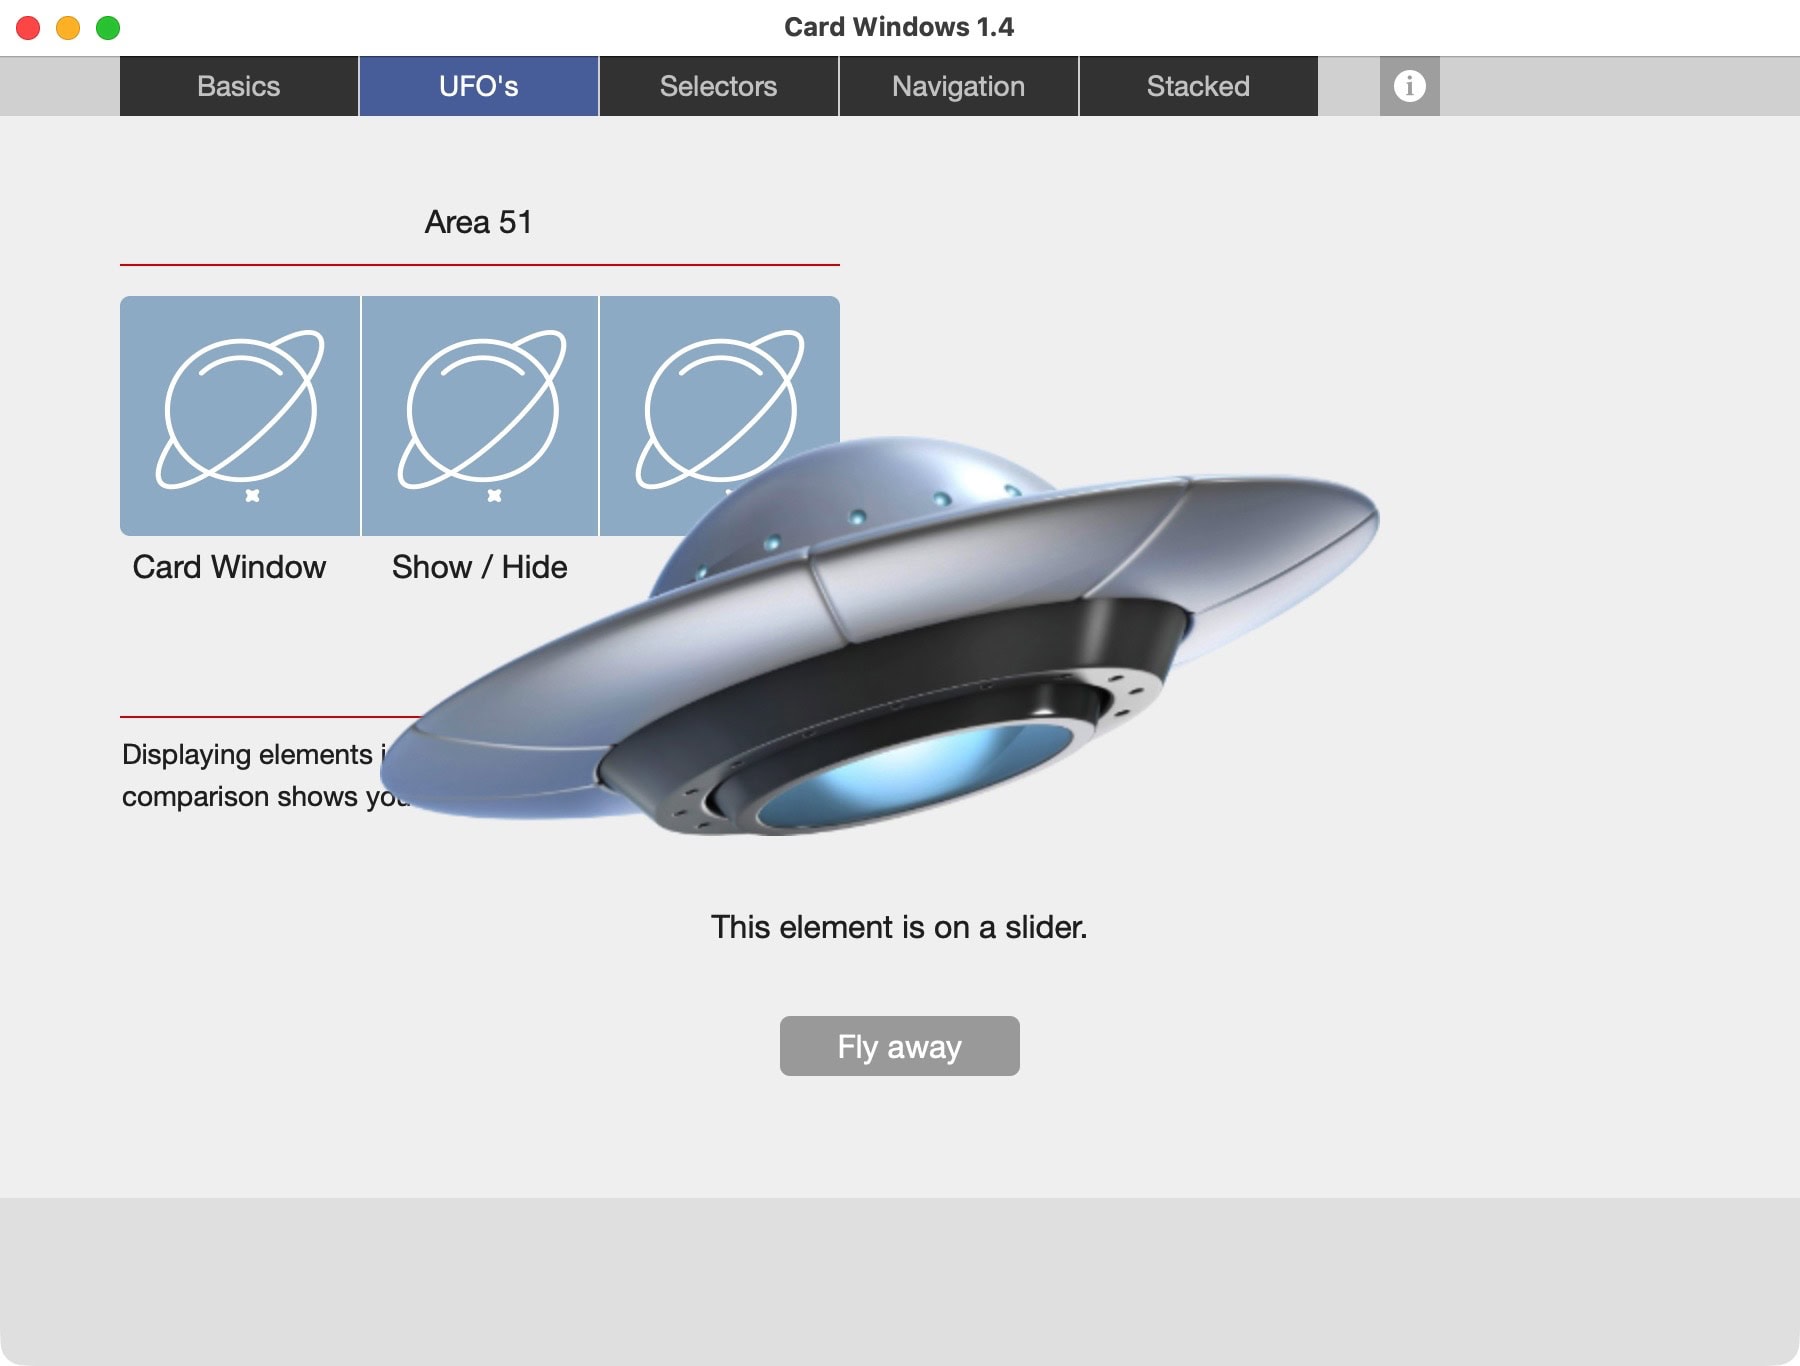


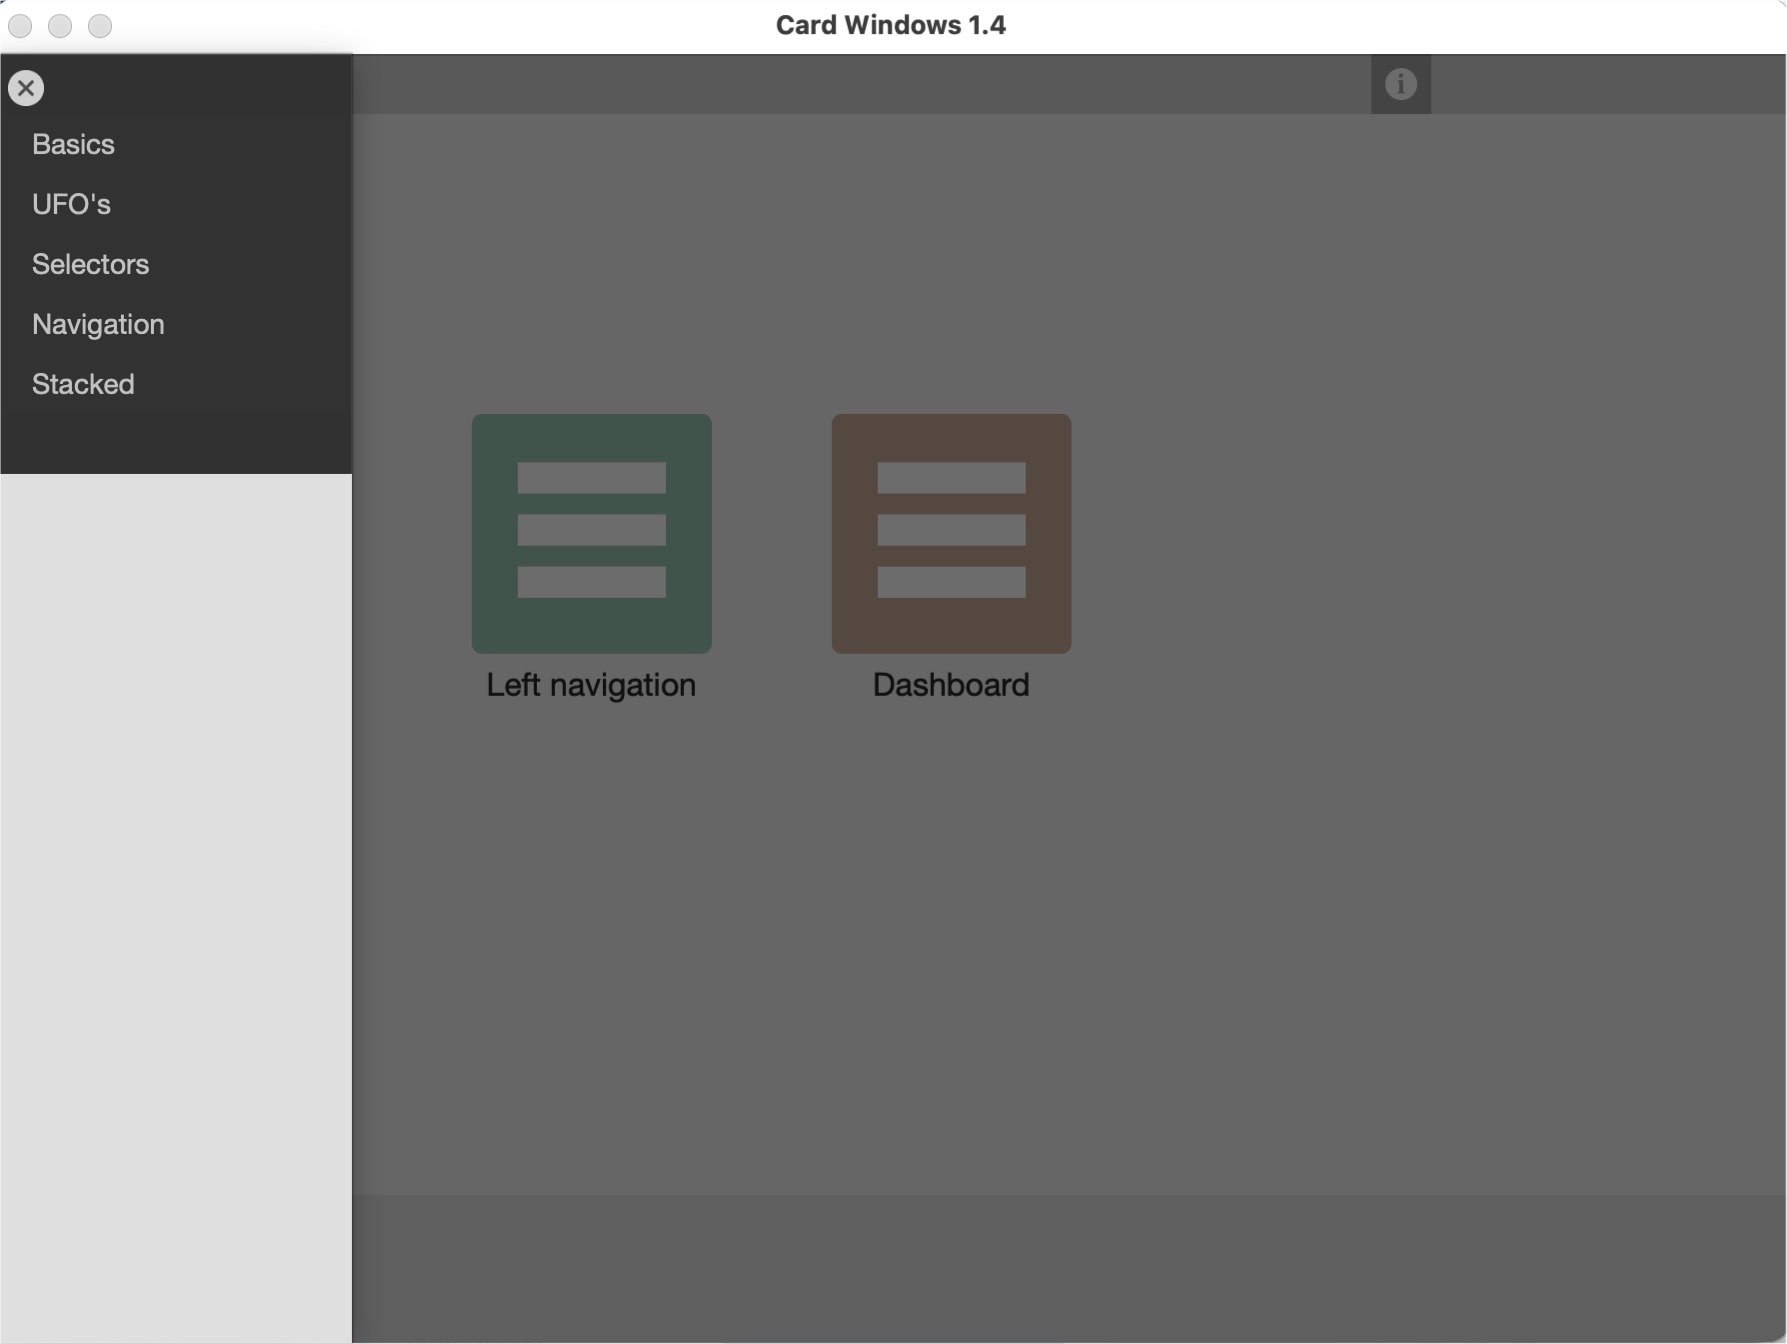

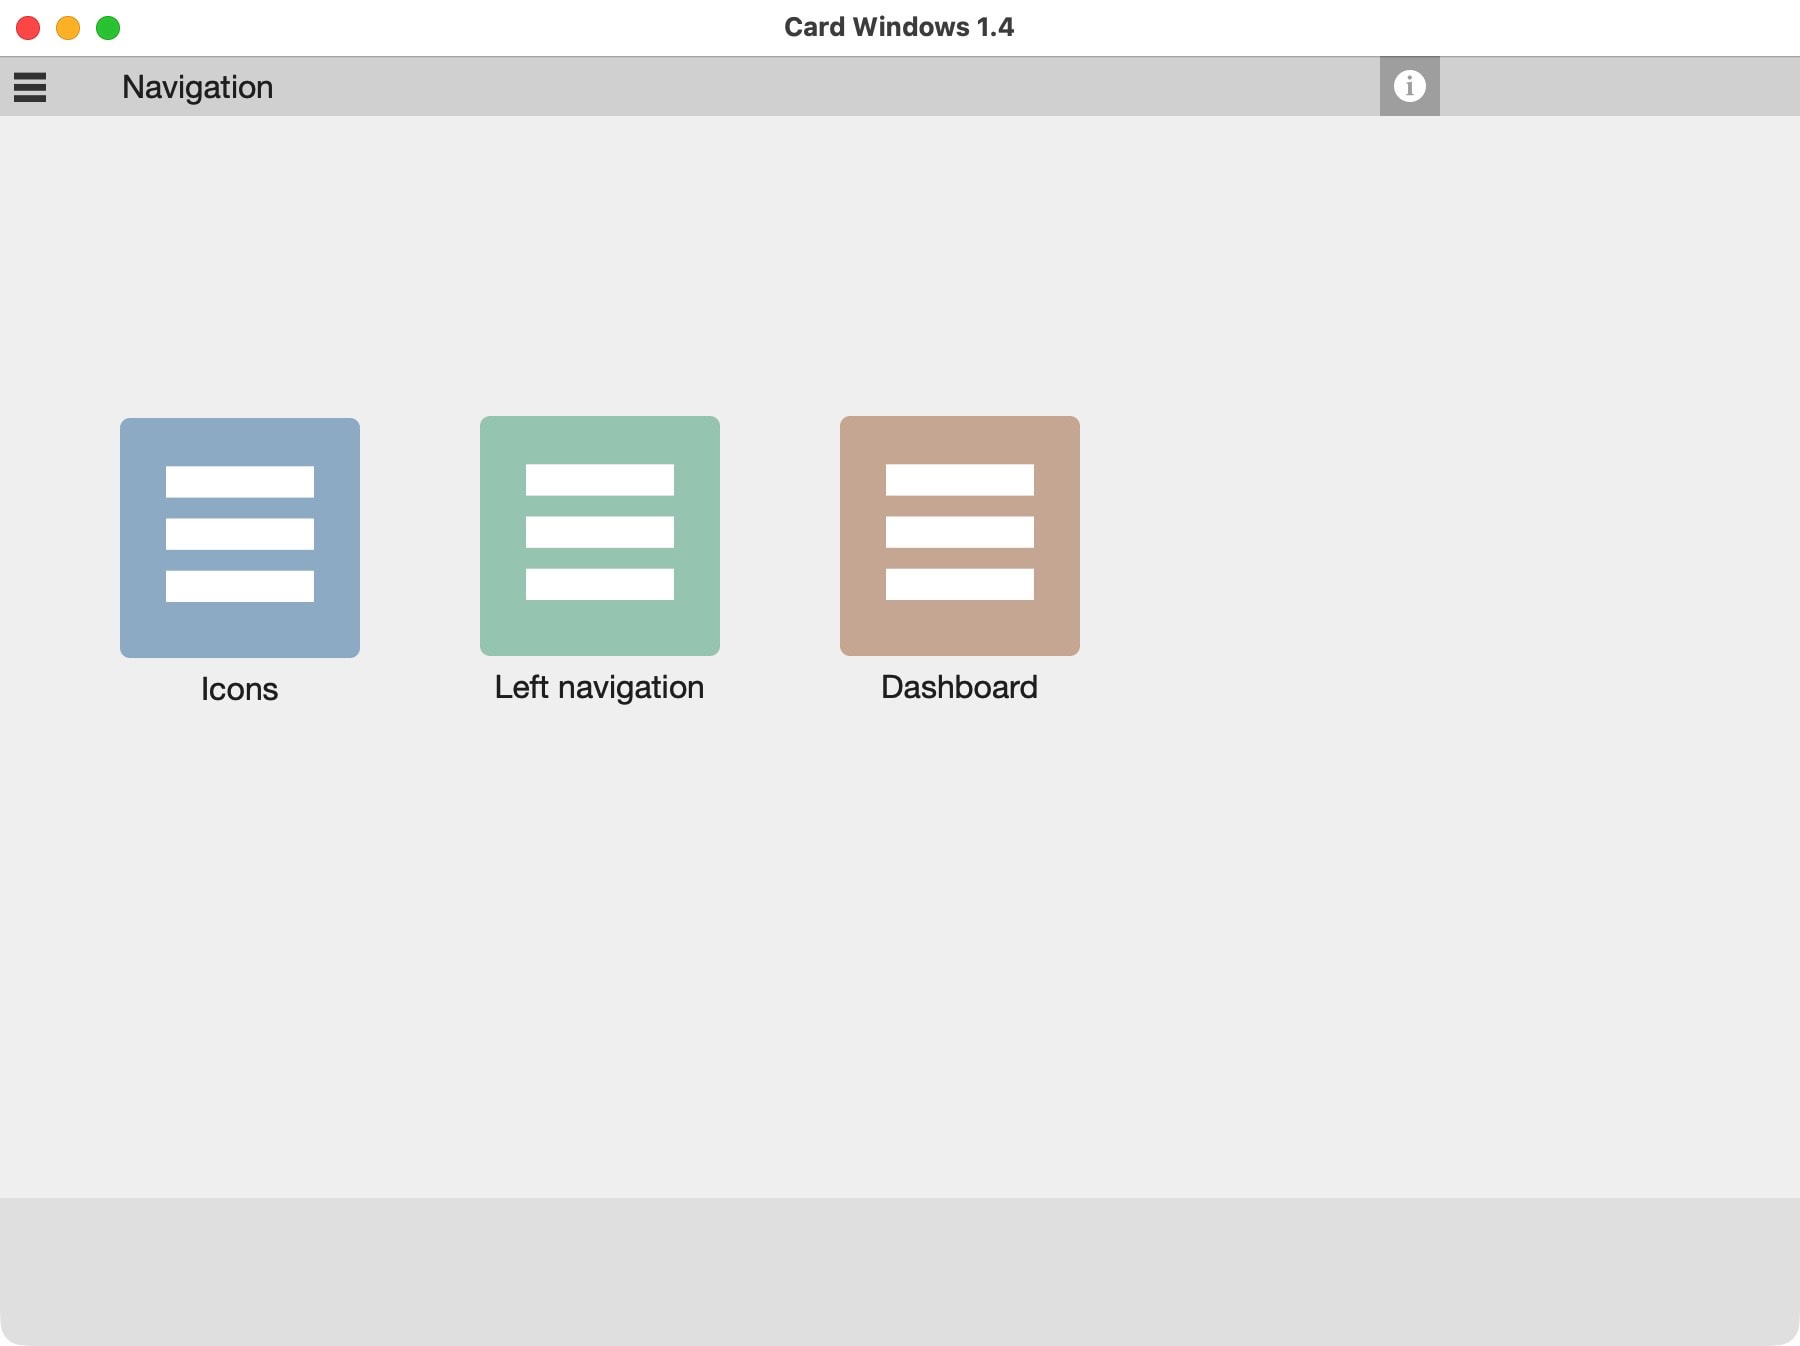

Card windows
A card window is alway related to the layout it is opened from. While the underlying layout will not change, the card window can change.
- Opening a card window is actually comparable to creating a darker dimmed overlay and the size of the card window is a cutout in that scenery. This means that you can move from one card layout to the next, for example by a button, whereas the cutout of the page remains the same. One only needs multiple card layouts of the same size.
- There can only be one card window open at the same time. If you need a second overlay, use a dialog. But if you do so, would a different solution with fewer options not be simpler and thus, better?
- Instead of opening multiple layers, use a script to close the currently open card window, then open a next card window. As this is a new window, it can have a different size. Thus, the perceived effect for the user is, that the card window expands.
Start exploring
Developers use card windows in FileMaker to create menus, dashboards, and guide users through multiple steps to a final result. There is no right or wrong here, just what fits you best. The sample file shows a number of options.
Sample file to show how card windows can be used in FileMaker.
FilePath Basics
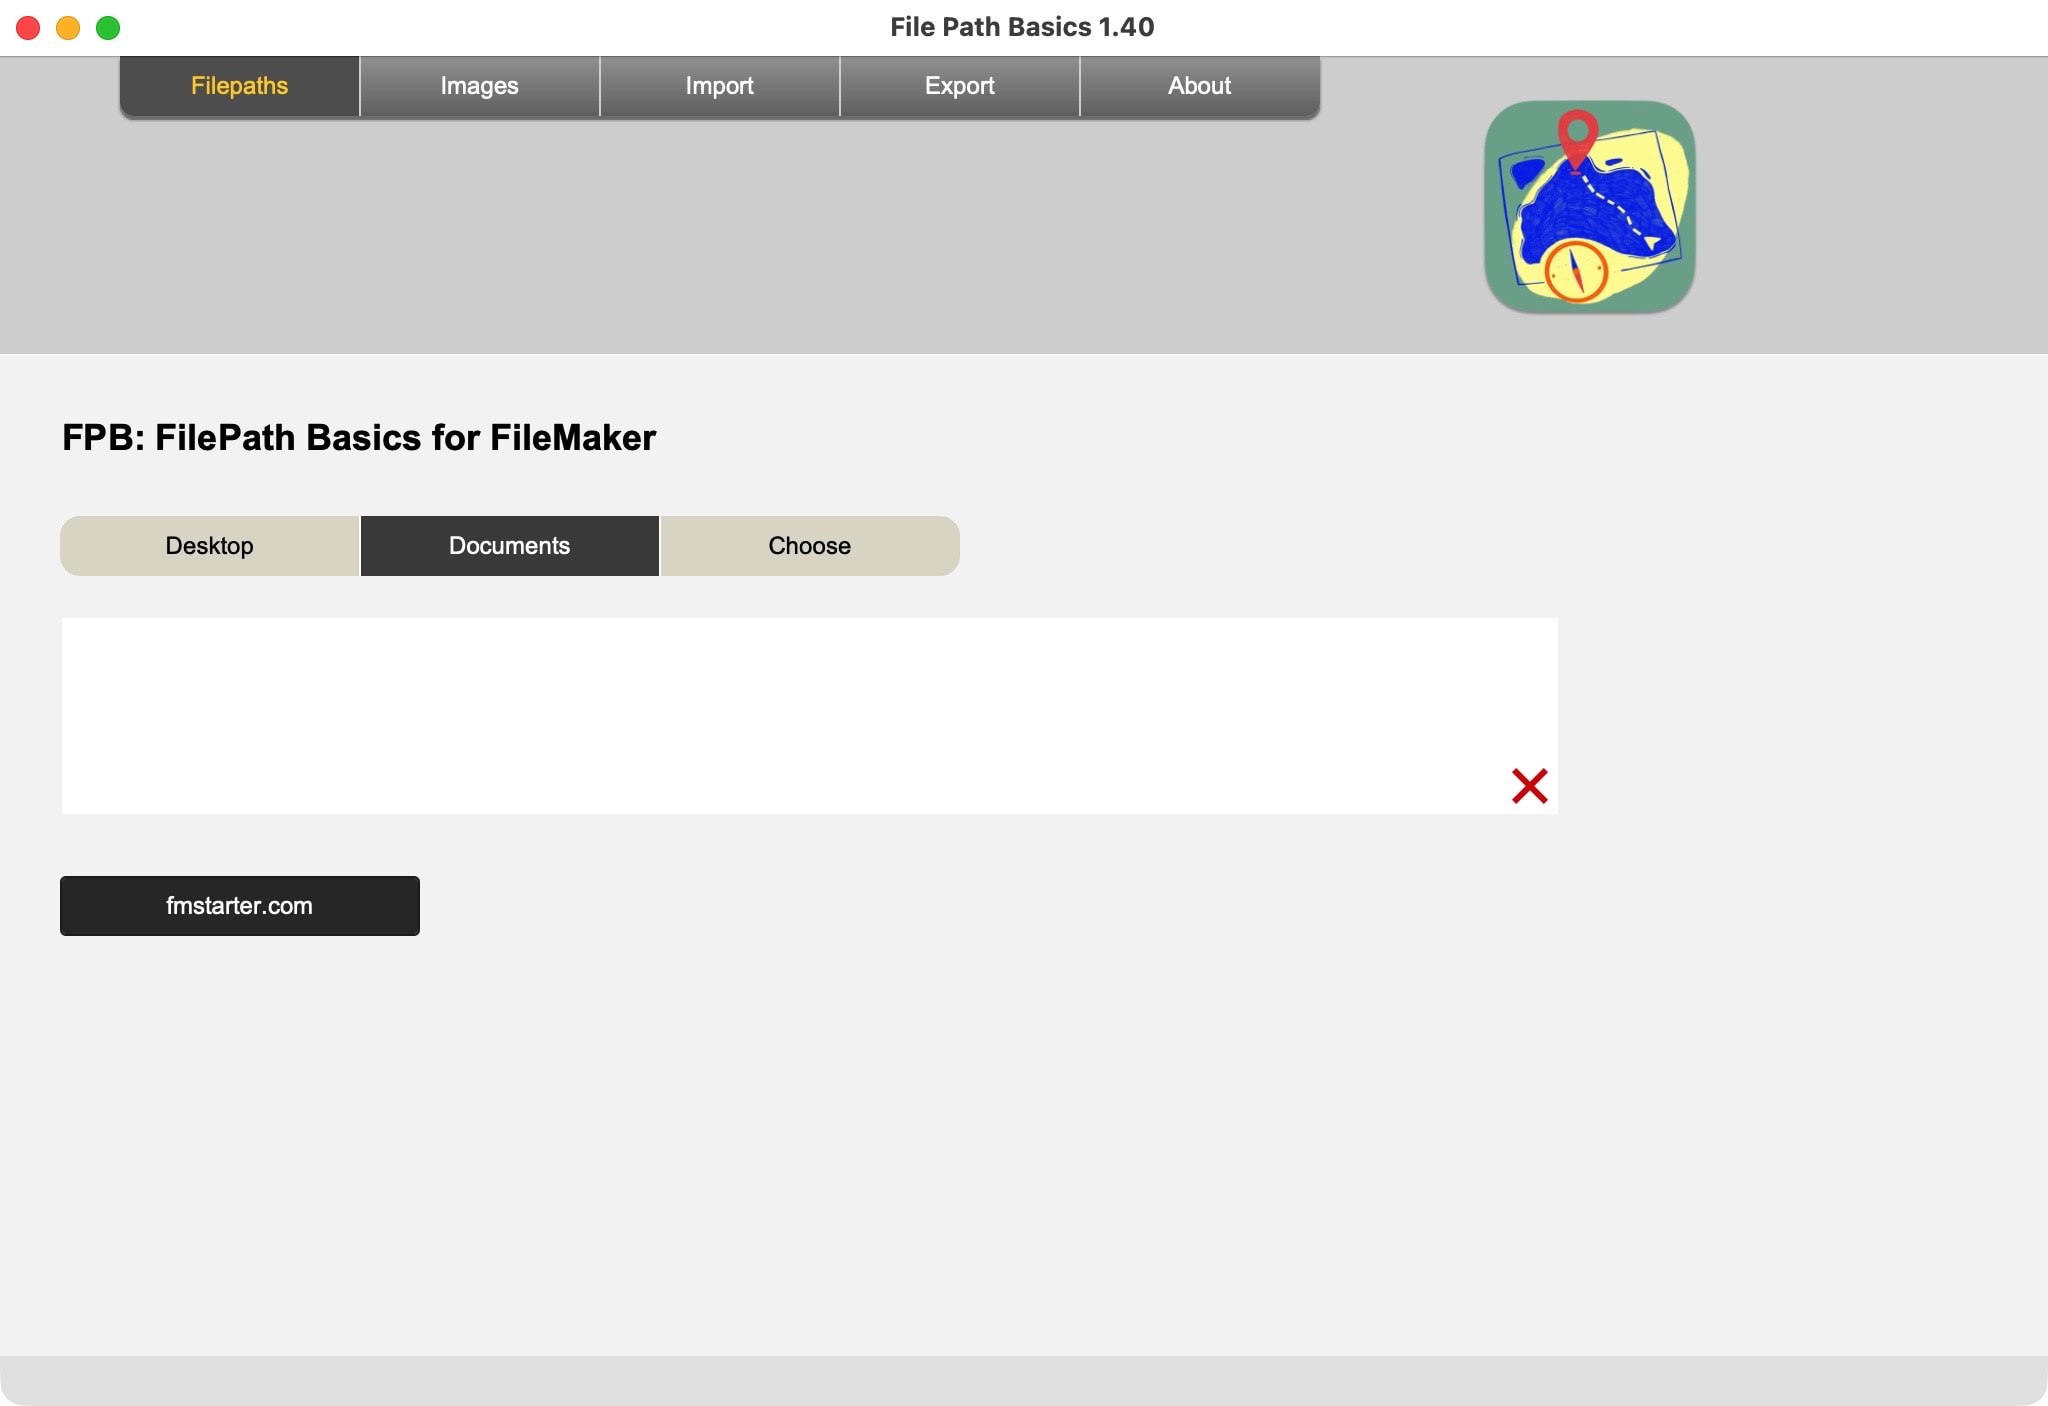
How to create file paths in FileMaker? What seems a simple question is not simple at all. There are good solutions to many questions, but if you are confronted with non-working scripts, what should you do? To our best knowledge, sample file can highlight the basics, isolate questions and techniques to find better solutions.
Filepaths are depending on platforms. That is why there are absolute paths, formatted with the requirements of the active platform. There are also FileMaker paths, results from script steps and relative paths.
Beside these differences, one should be able to build paths, enhance it with file names and the like, in order to export content to files, import files or folders. What is the best approach in each of the cases you need to solve?

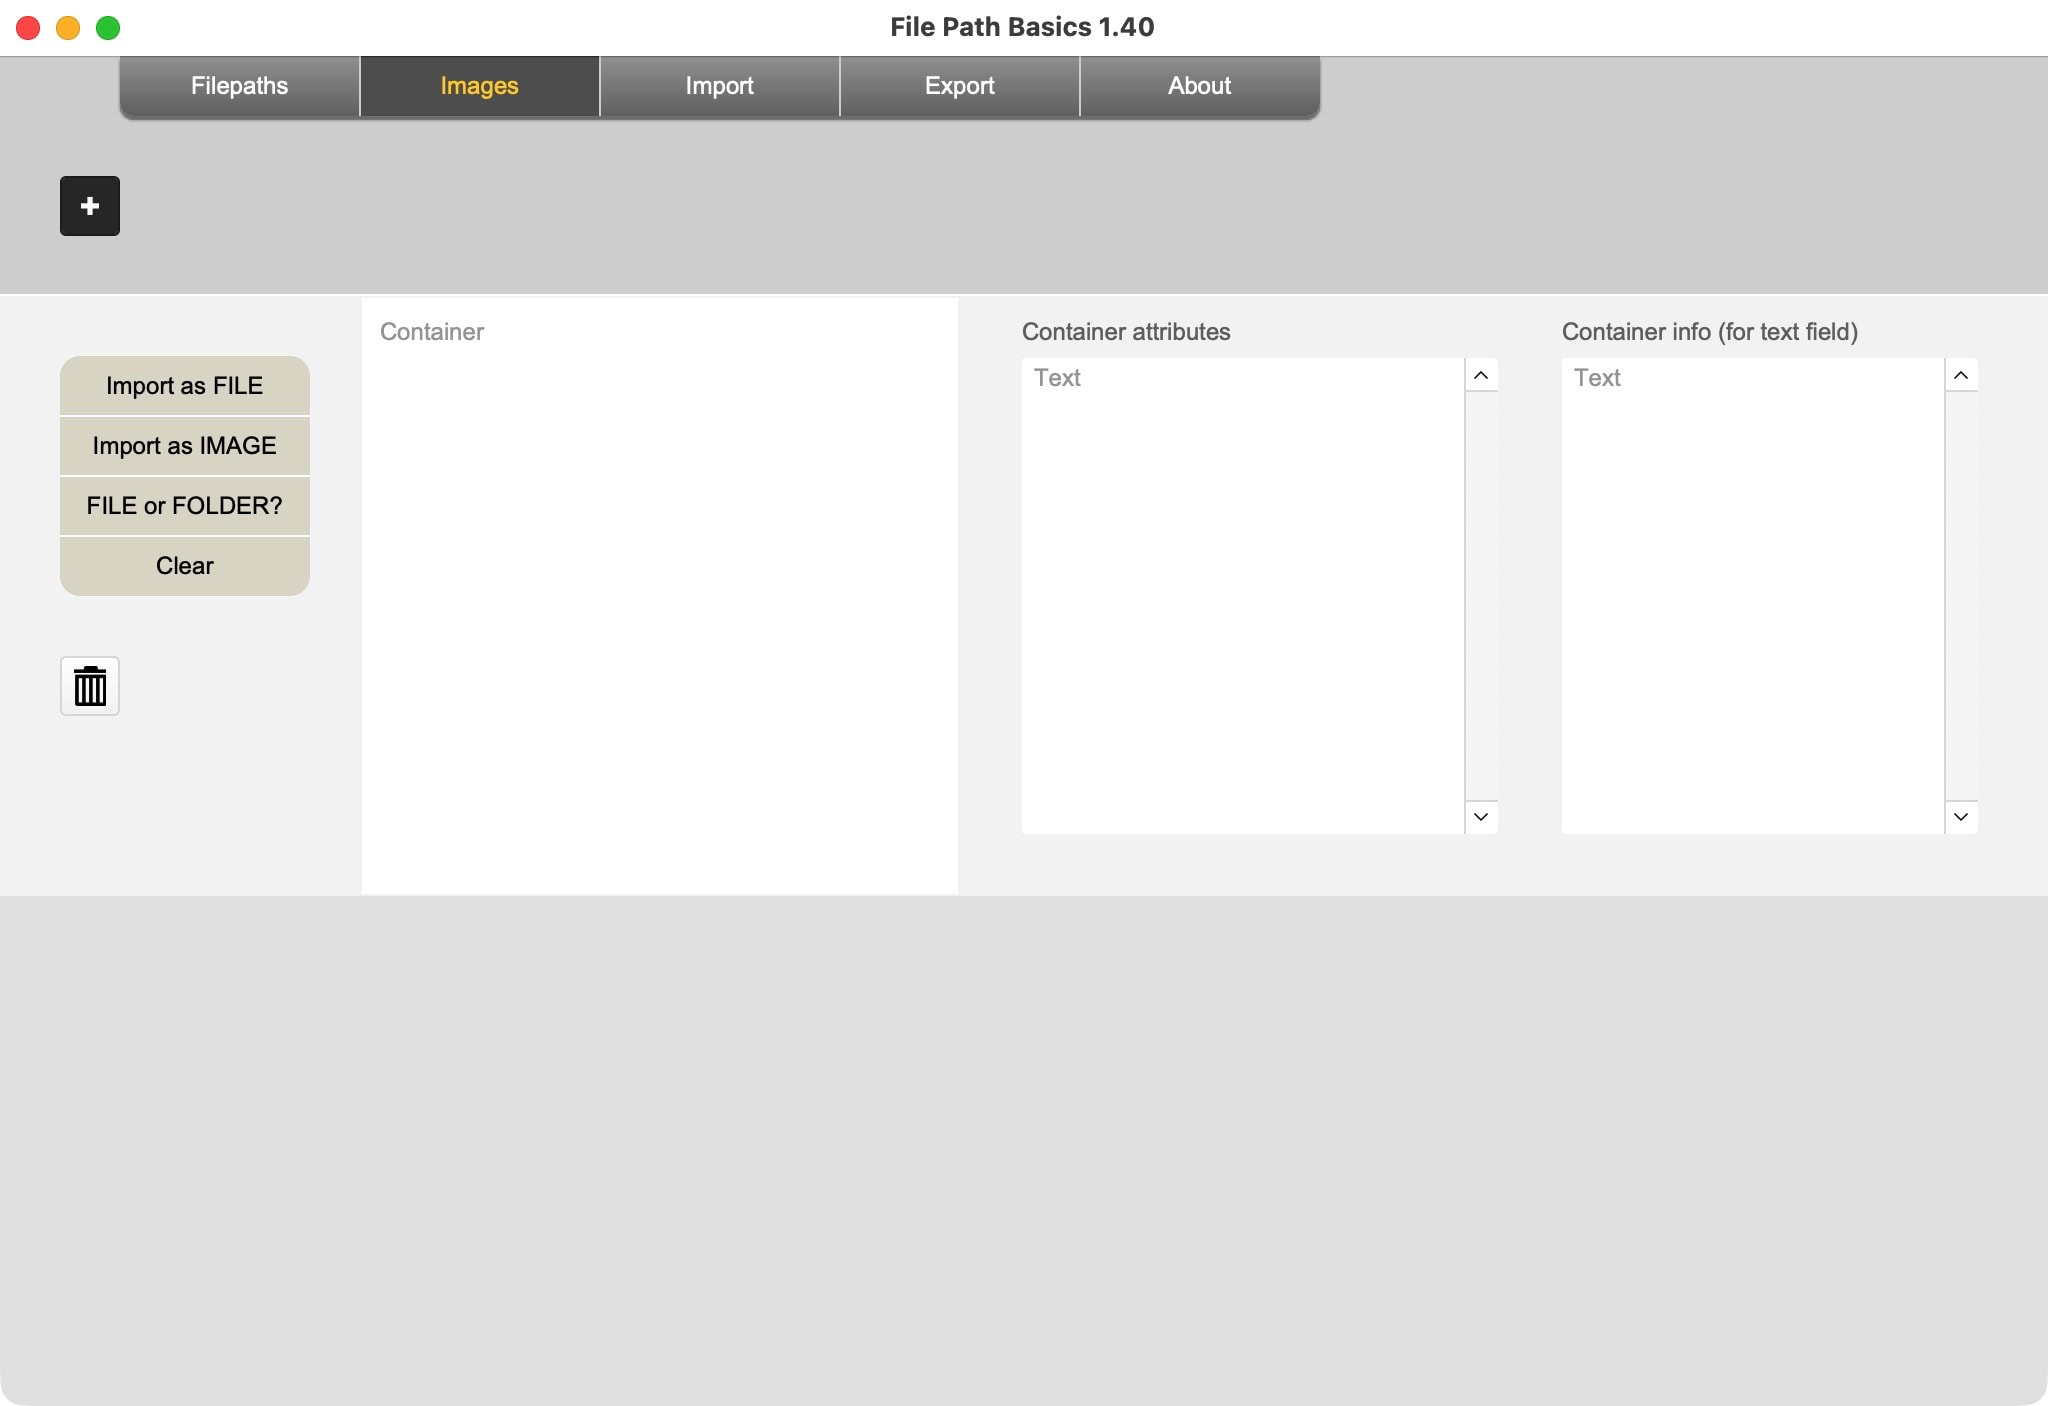
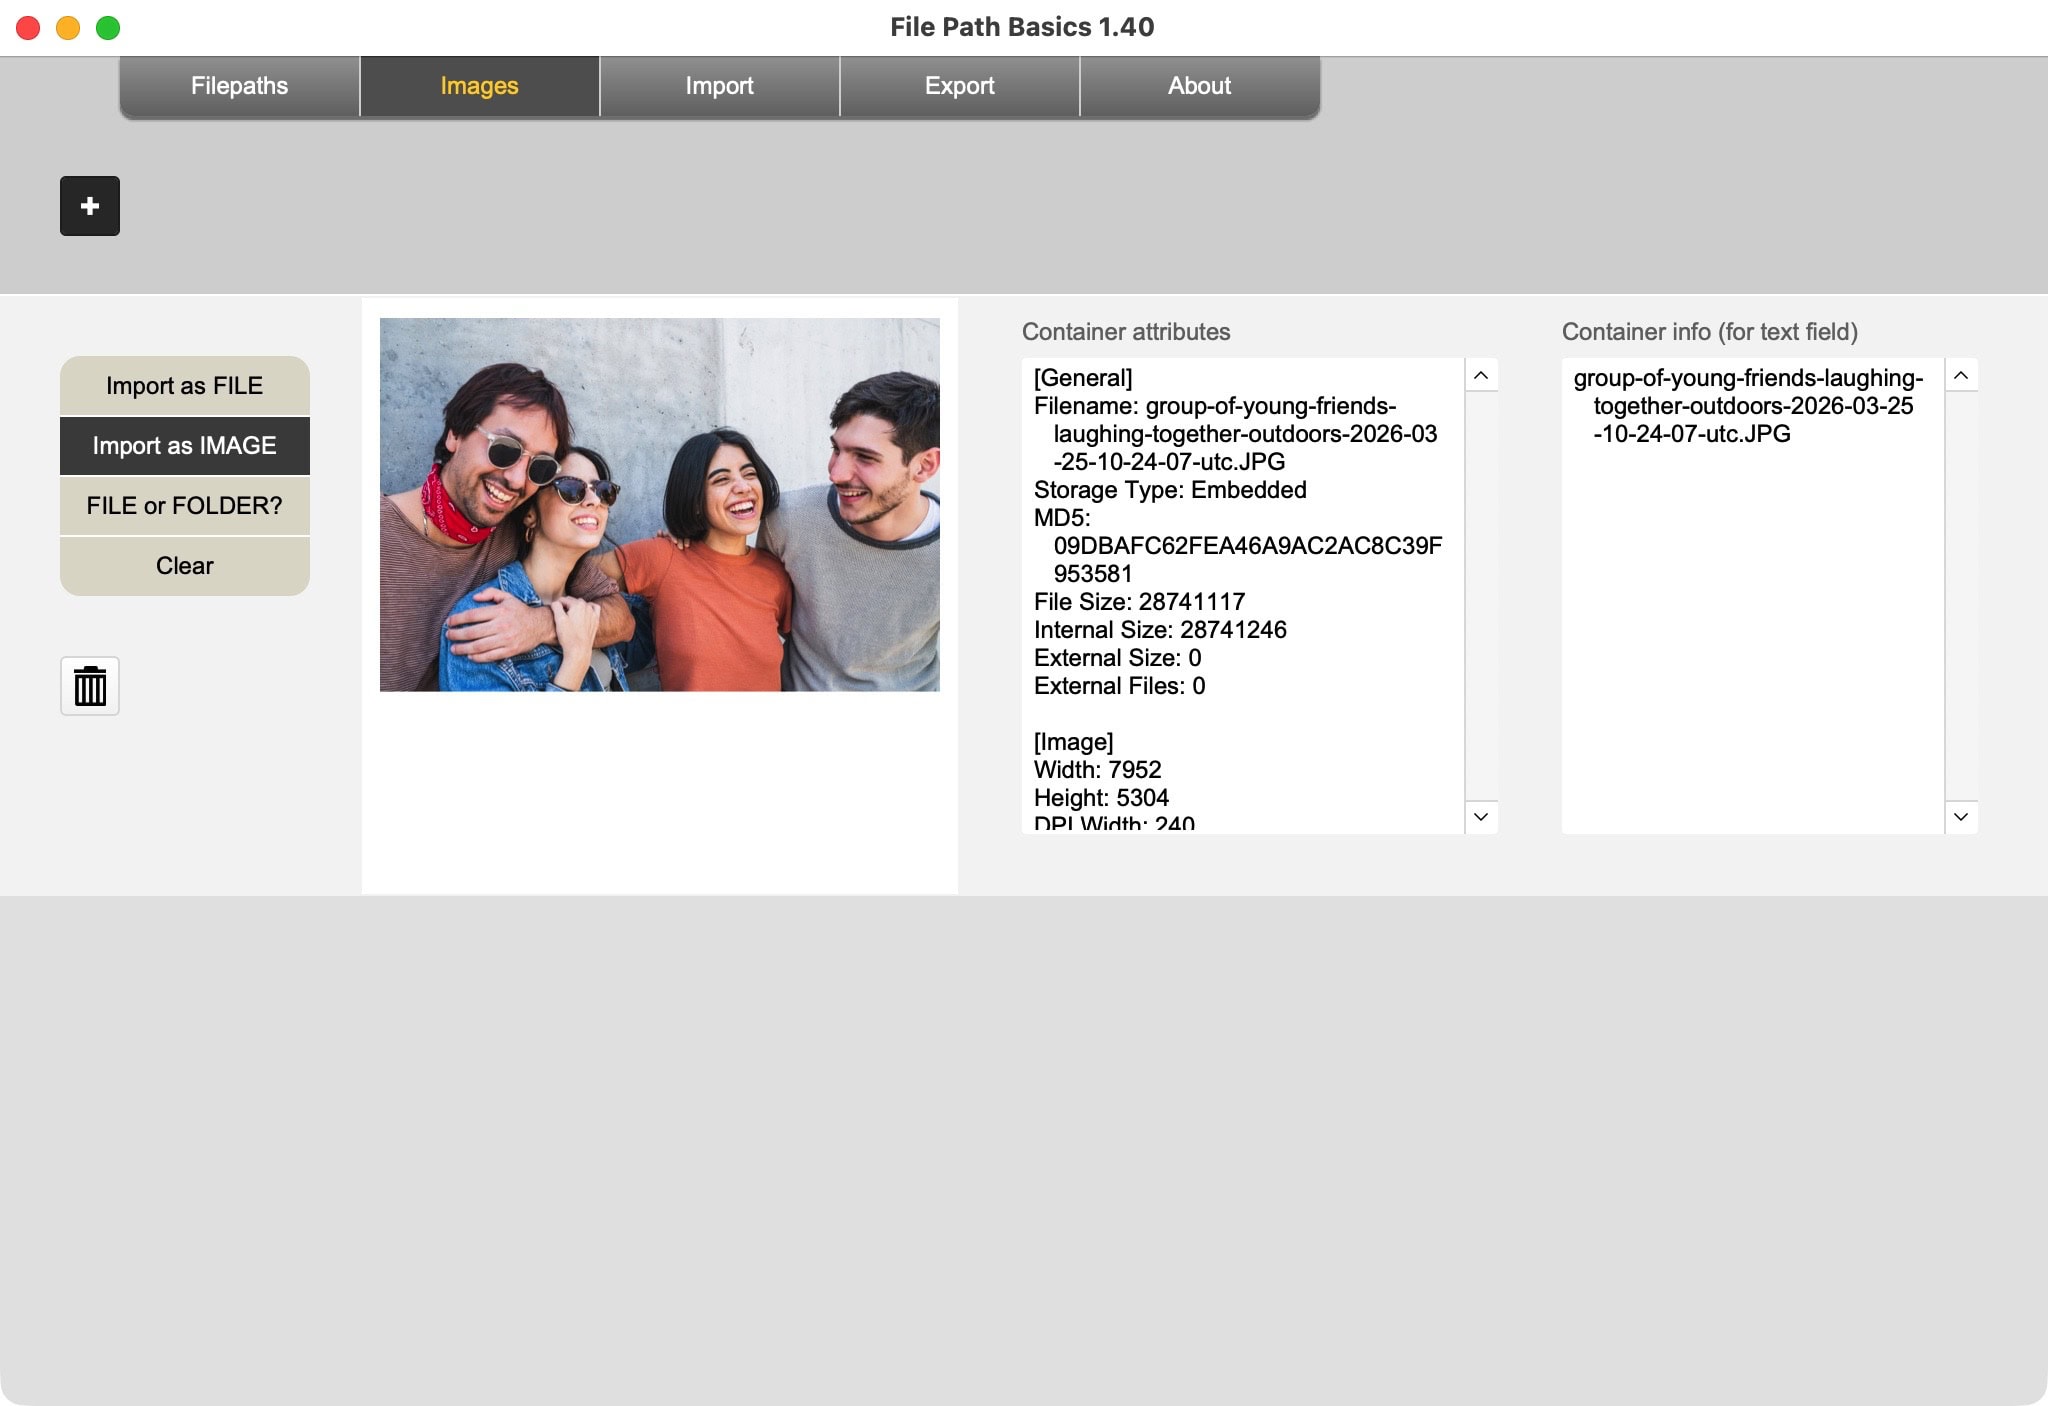
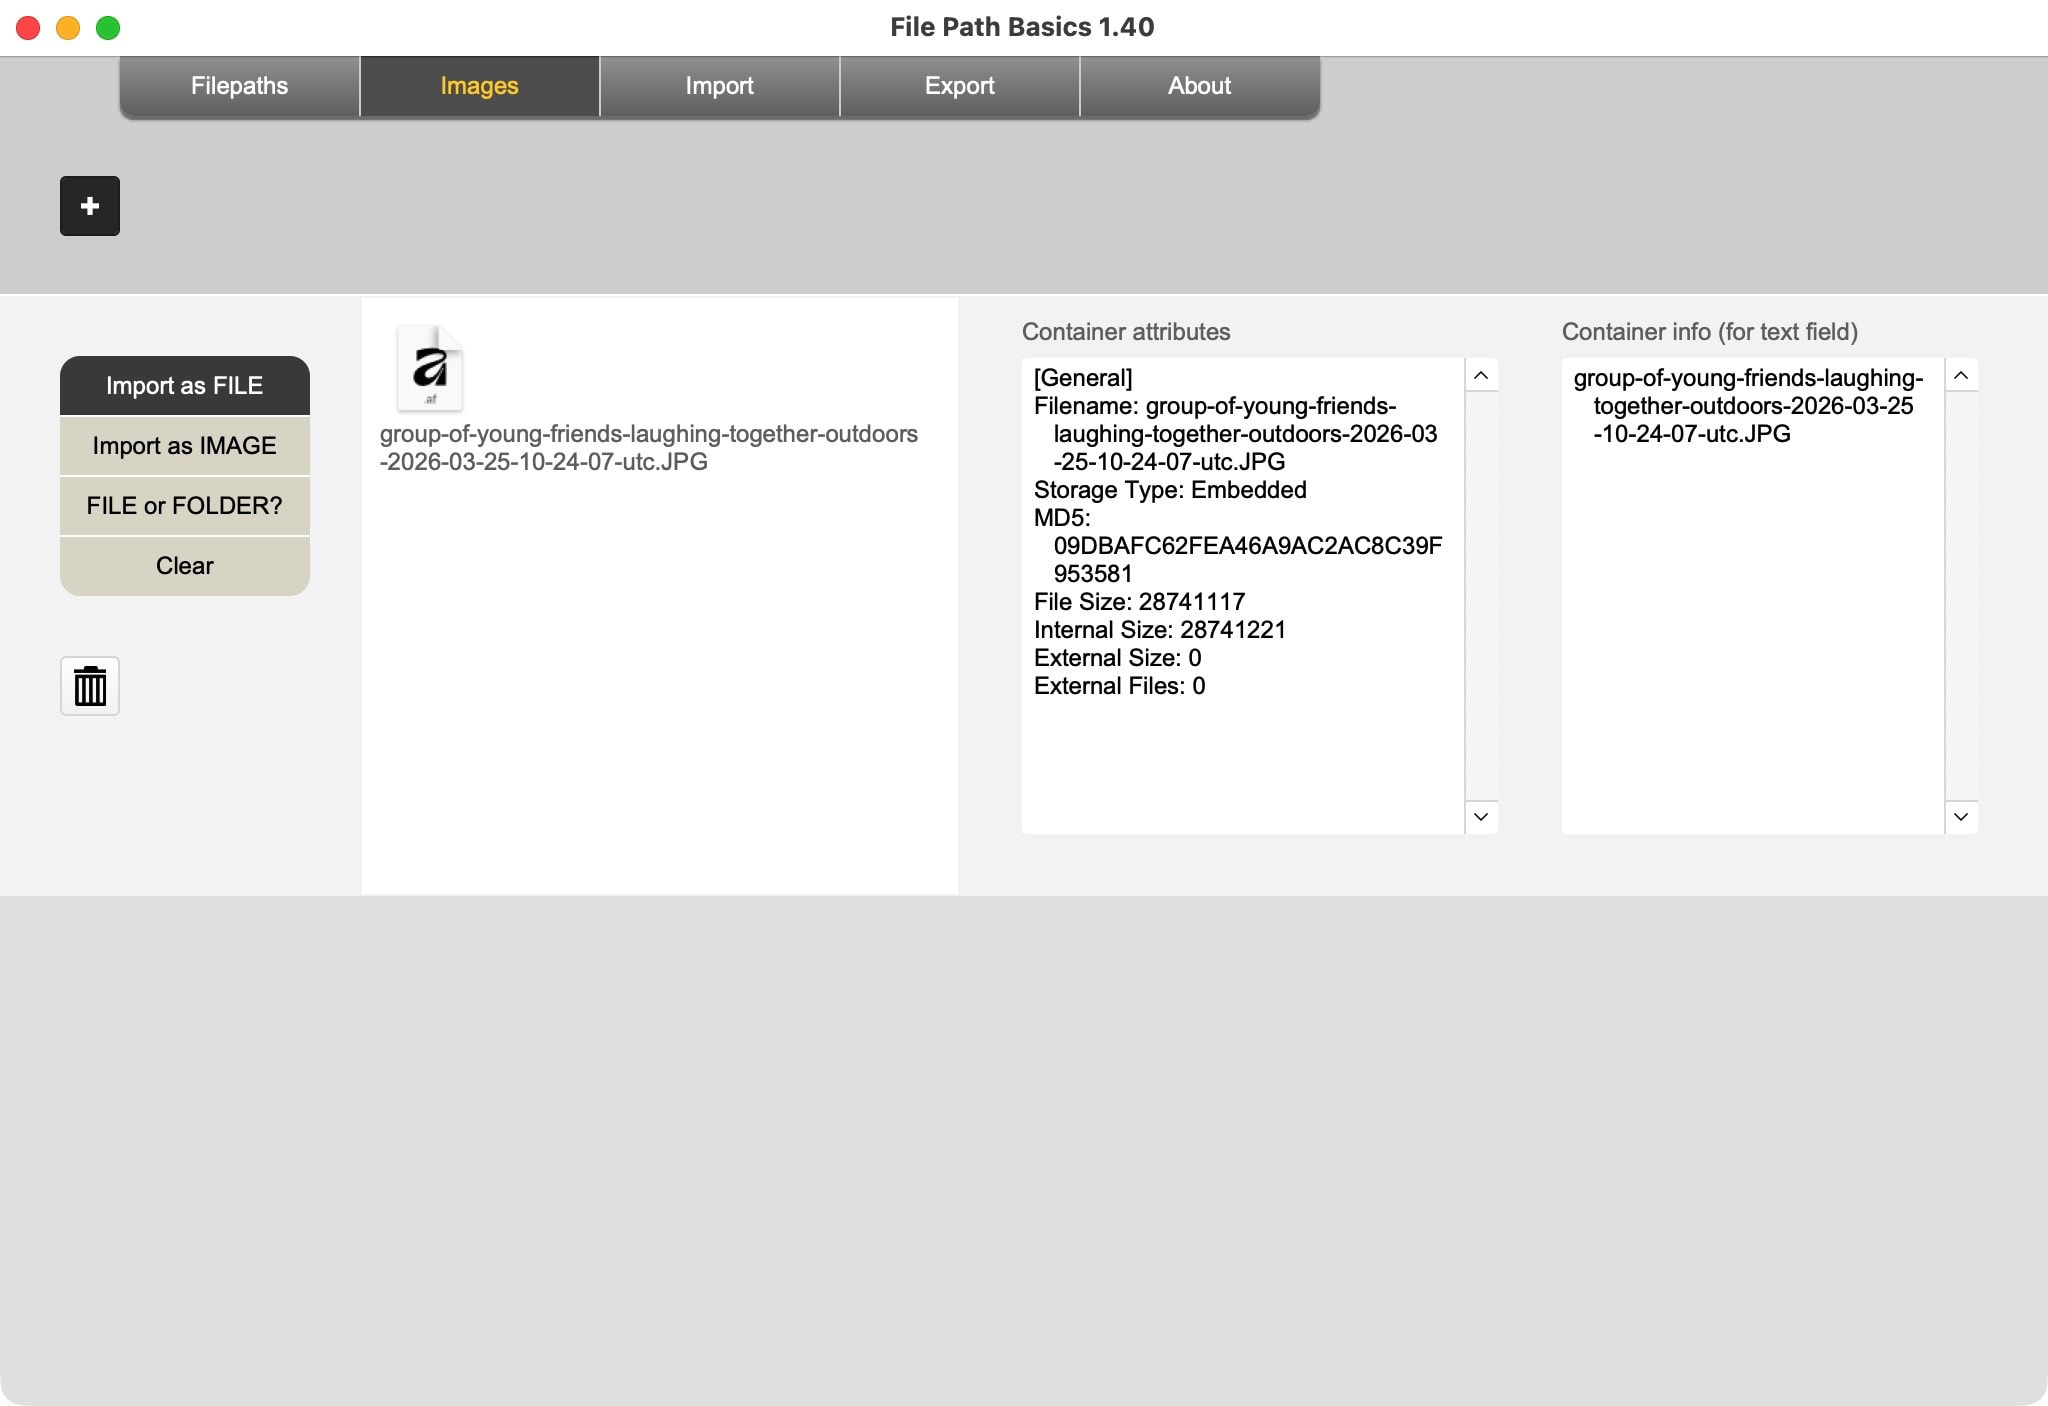
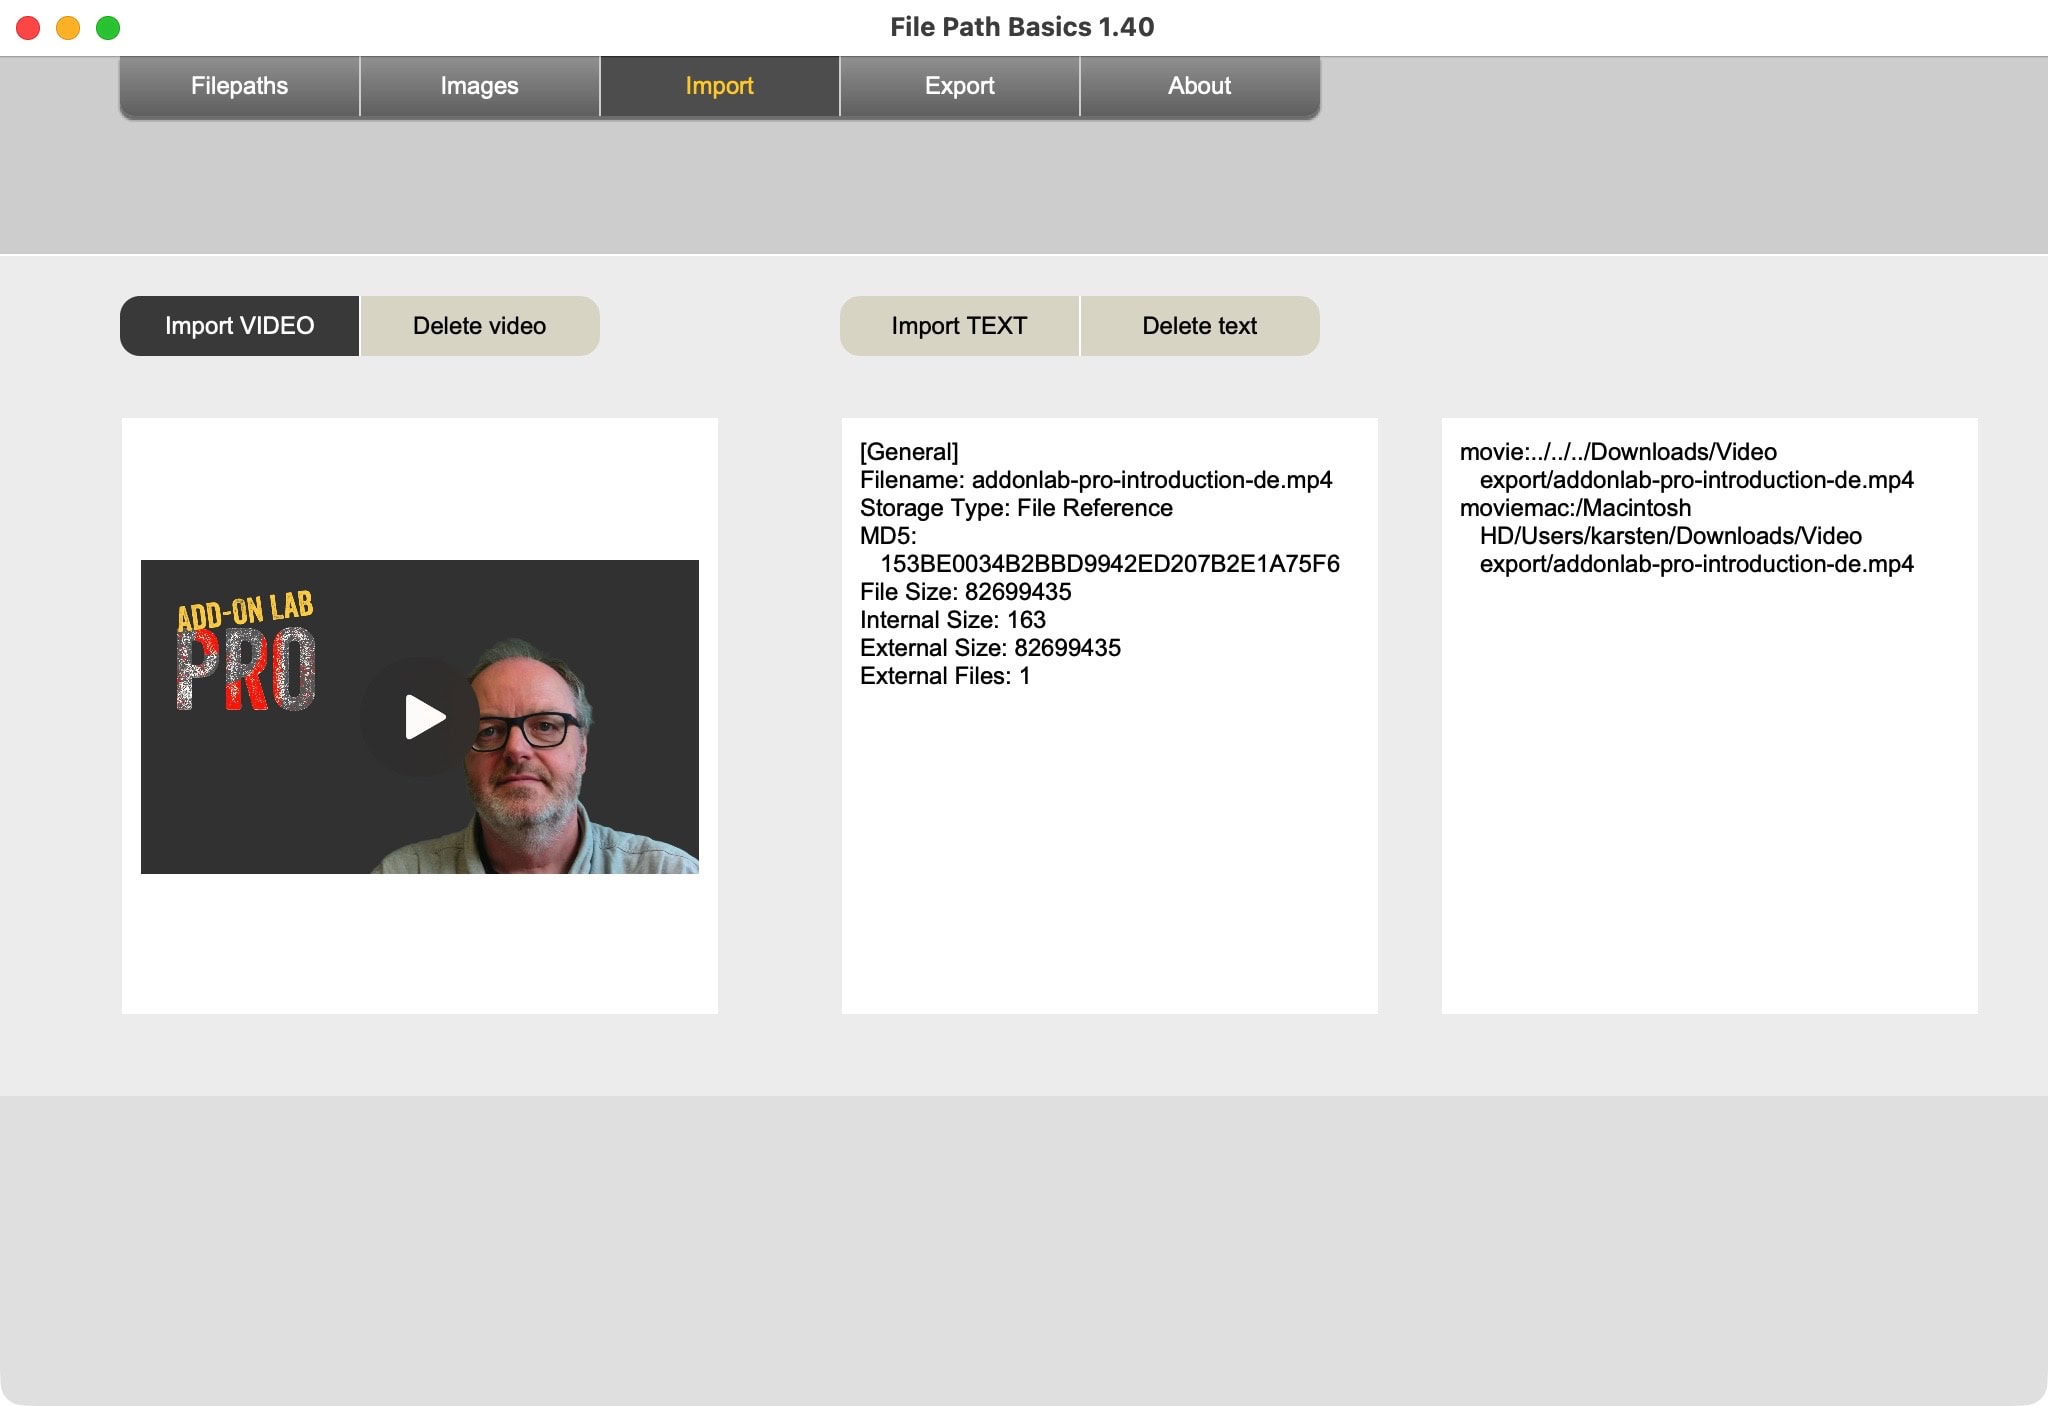
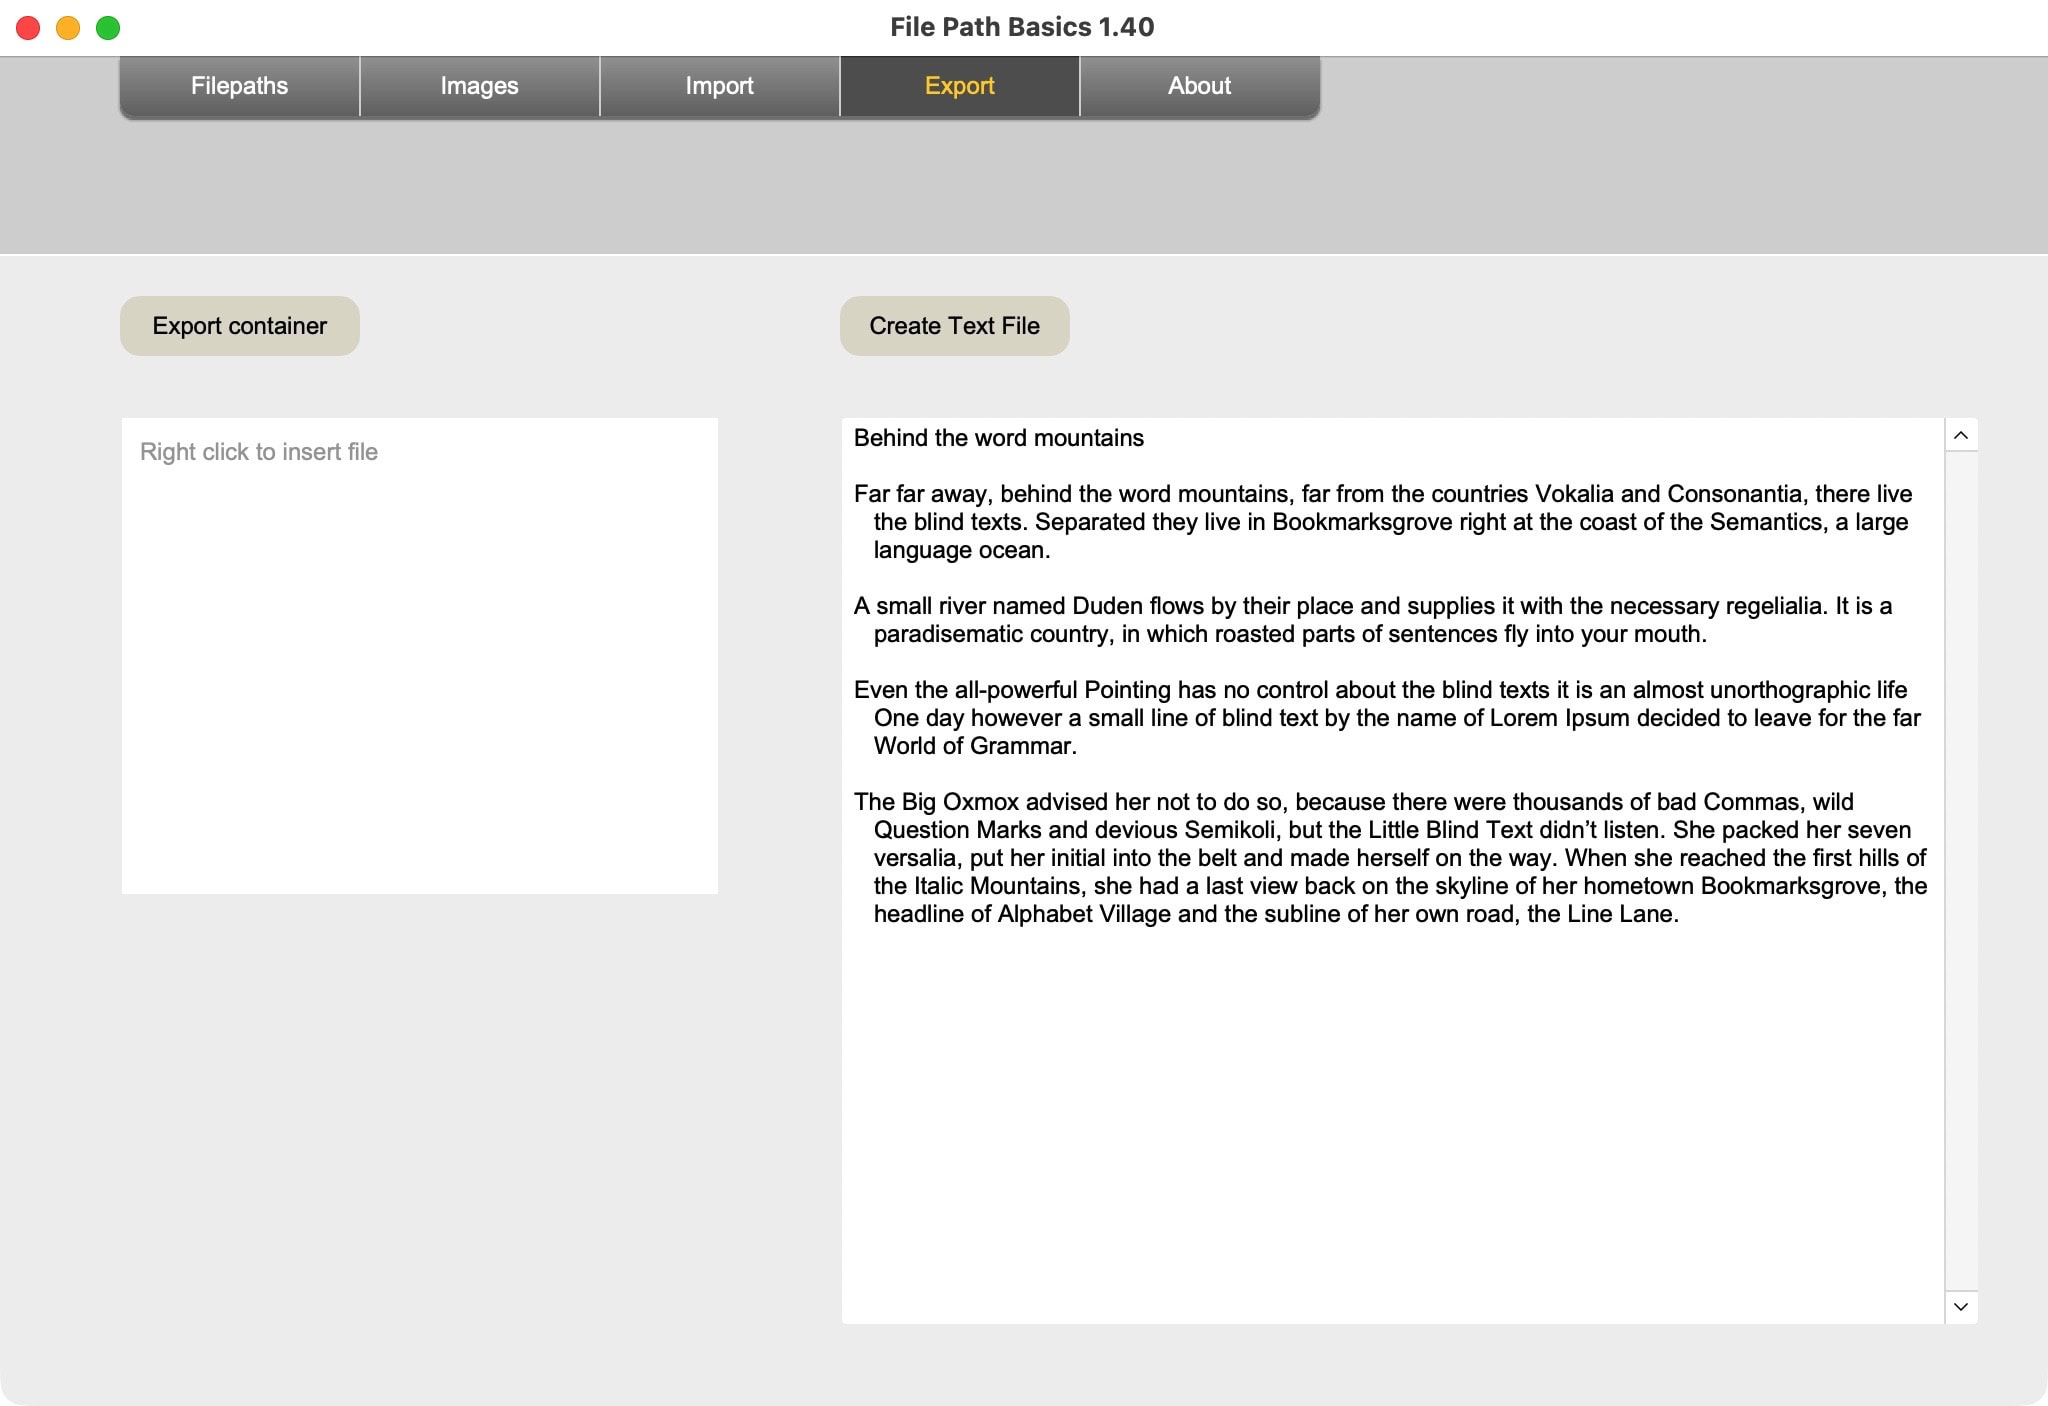
It’s all about finding the right connections to make file paths work.

Sample file explaining how to create valid file paths for your FileMaker workflows.
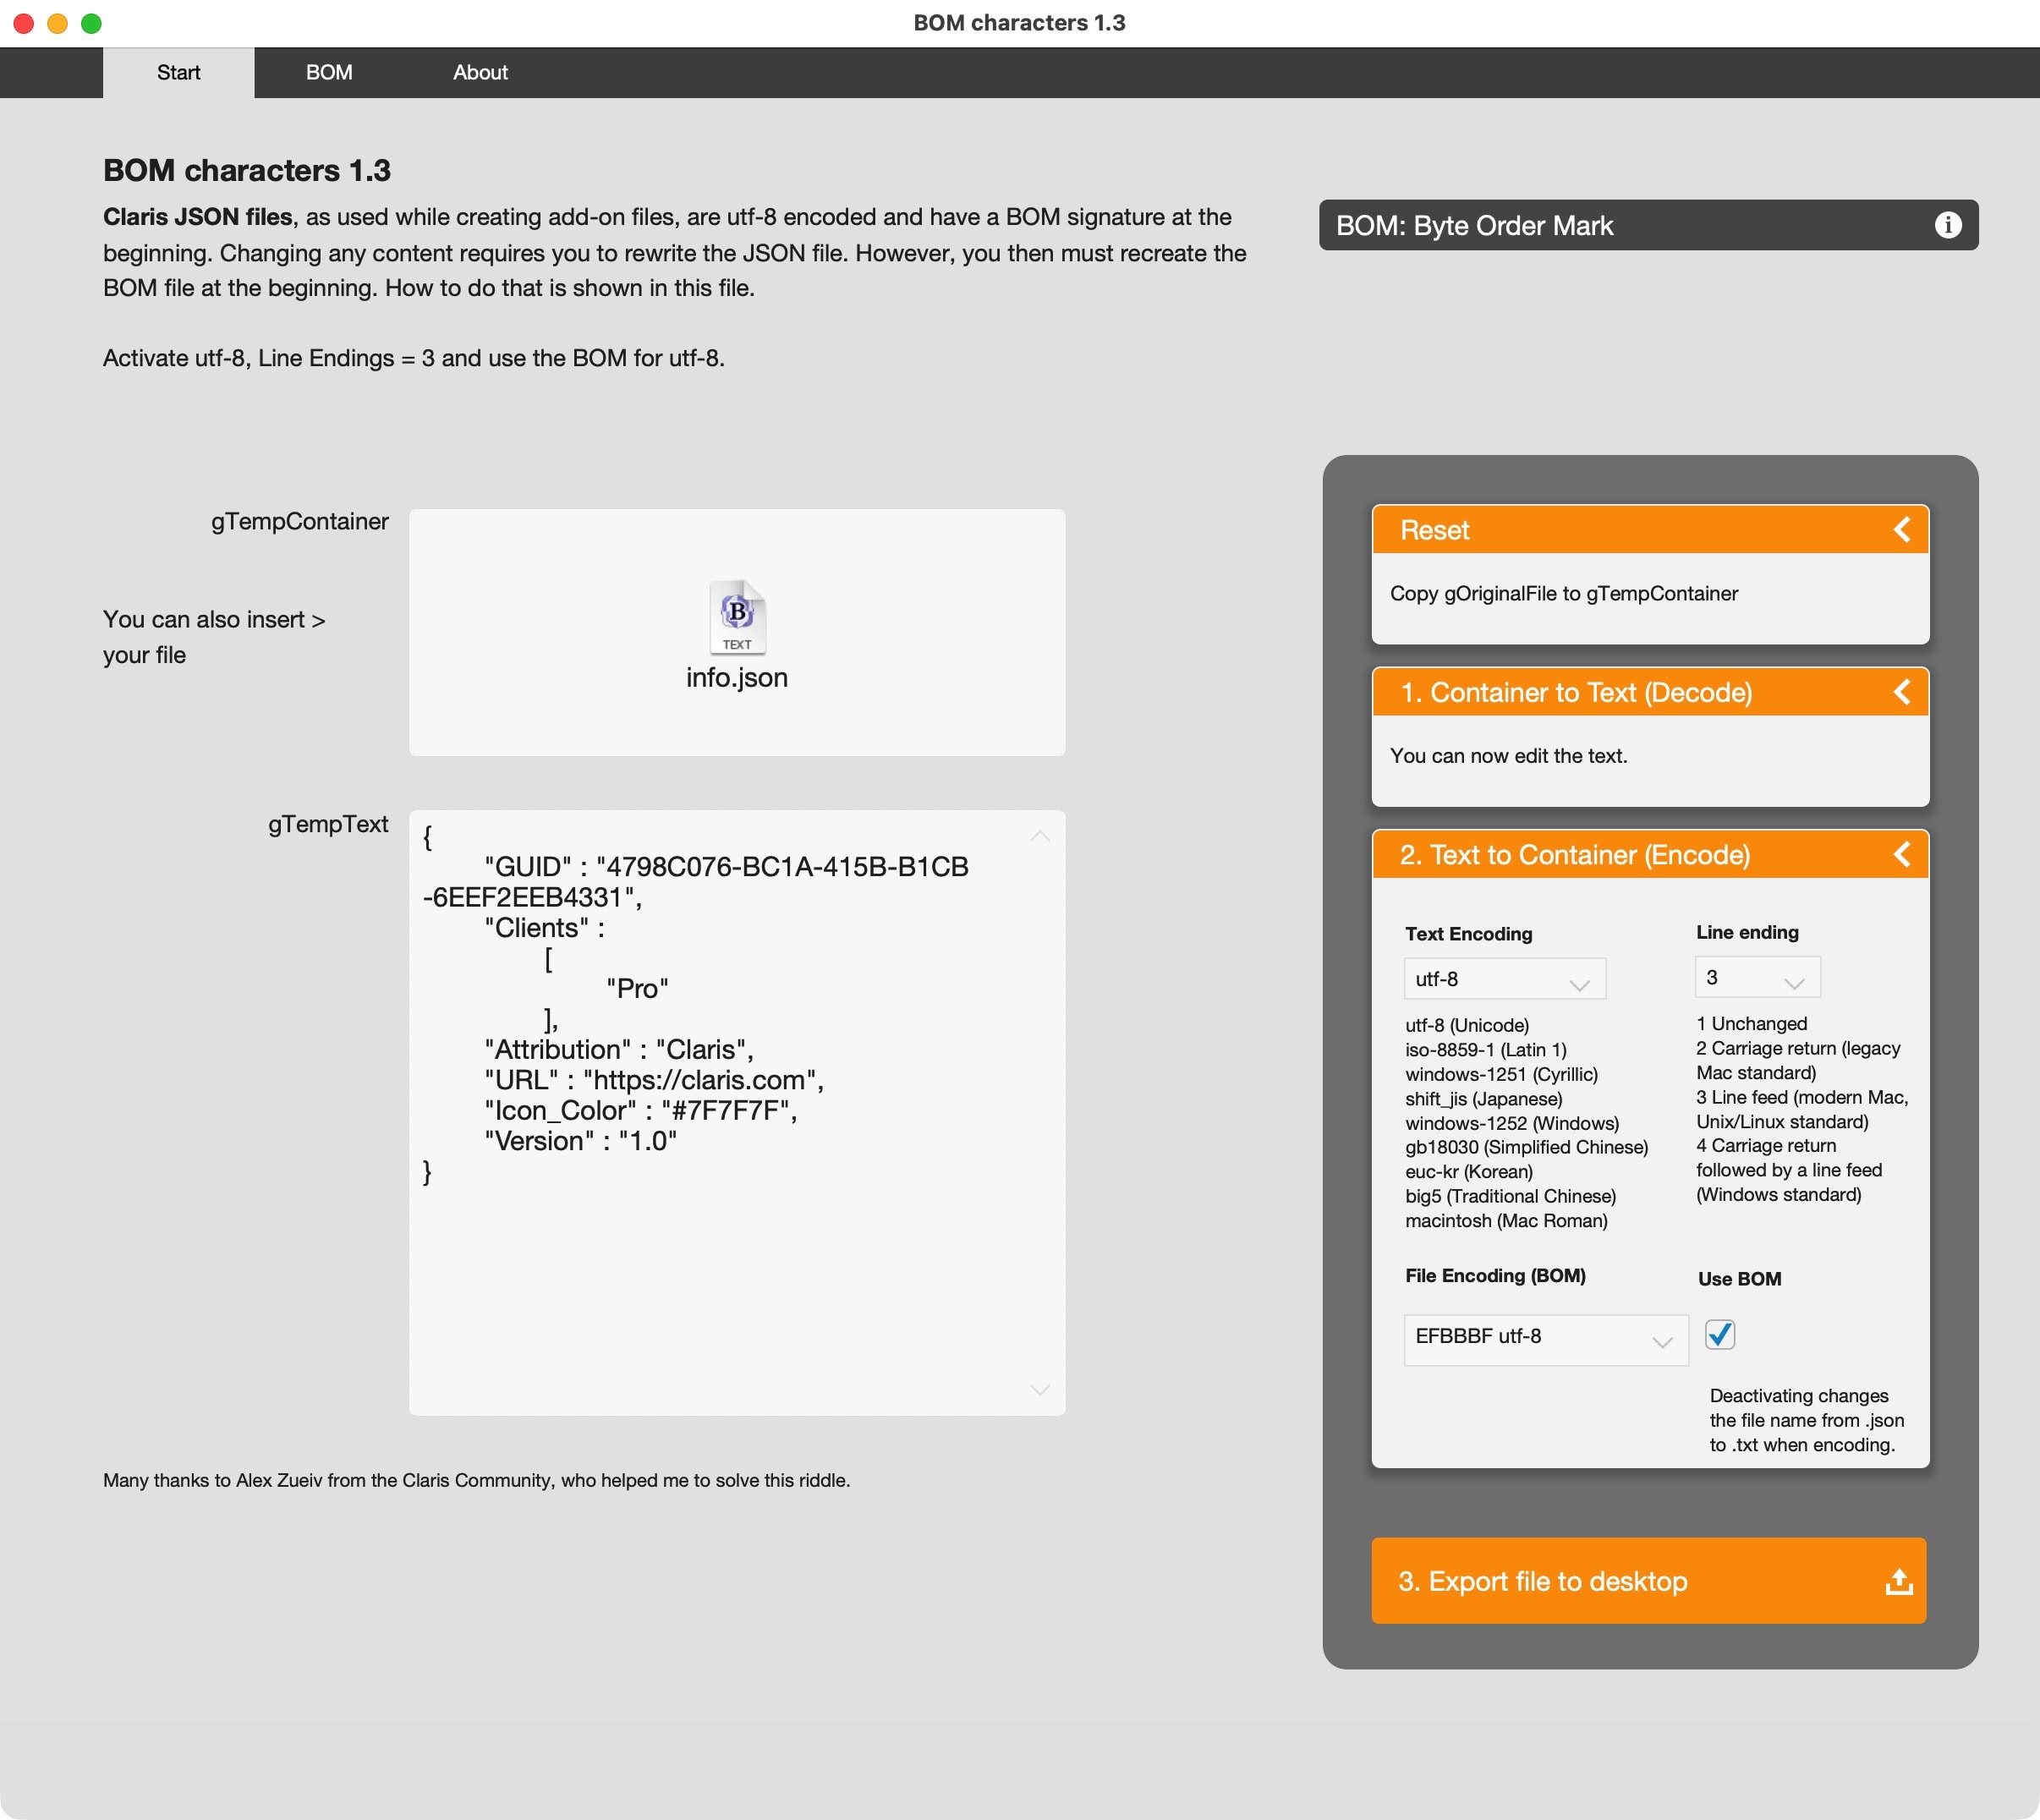
BOM characters
BOM stands for “Byte Order Mark”. BOM characters can be put at the start of a text file to describe the text encoding. These characters are invisible, yet in FileMaker might determine if a file can be read or not. This is a stumble block when recreating JSON files from addons.
Editing JSON-files from addons
When creating an addon-package, FileMaker also creates JSON-files in that package. These JSON files contain descriptions about the addon. When editing JSON-files from addons, you need to read and write that information. You might notice that if you use a regular text editor, or FileMaker for that reason, to read the information, all looks good. However, if you write the information, it might break the addon. FileMaker no longer recognizes the information as valid.
Why is that?
The JSON-files from an addon have a Byte Order Mark (BOM) character at the beginning of the text. This character defines the text encoding and FileMaker expects the BOM-character to be present. When you edit the JSON, you will recreate the text, but skip writing the BOM-character. FileMaker will no longer appreciate your effort and cannot read your addon. You will have to recreate the BOM character.
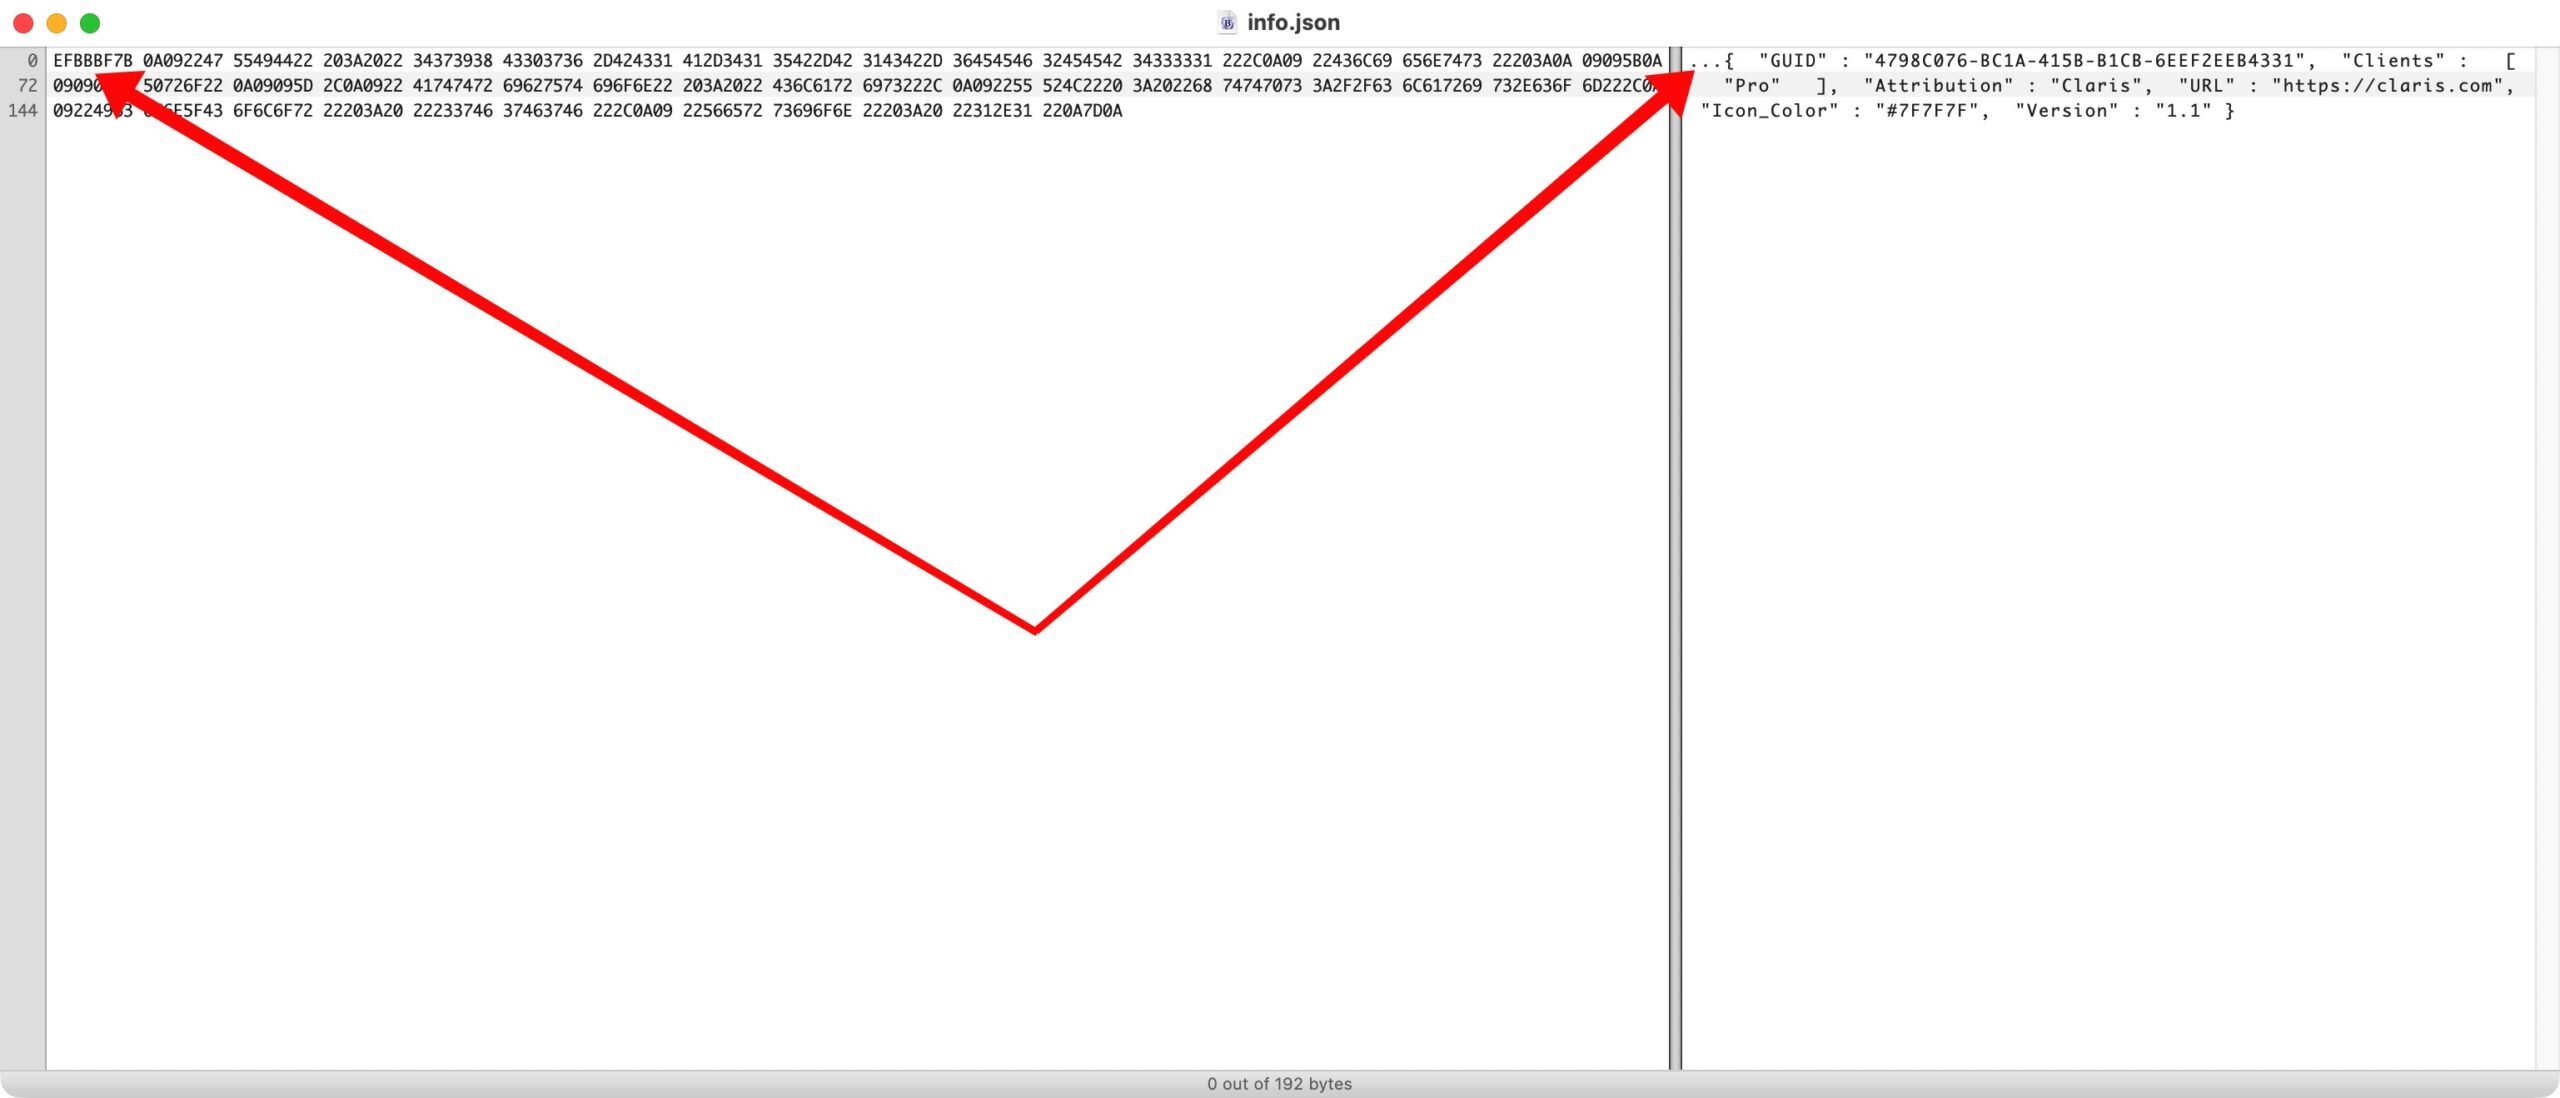
Invisible
This is the content of a JSON file:
The text does not show a BOM character. However, if you open the file with a HEX editor, invisible things are made visible.
BOM encoding
Let’s start with a JSON-file in a container field. You extract the text, edit the text and want to write it back to the container field before exporting the result.
The sample file shows you the text to be encoded first. To include the BOM character, HEX-encode the text field, put the HEX-value of the BOM character before the text and decode the total of information into the container field.
Once you have the updated result, it already has the BOM character included. Just export the field.

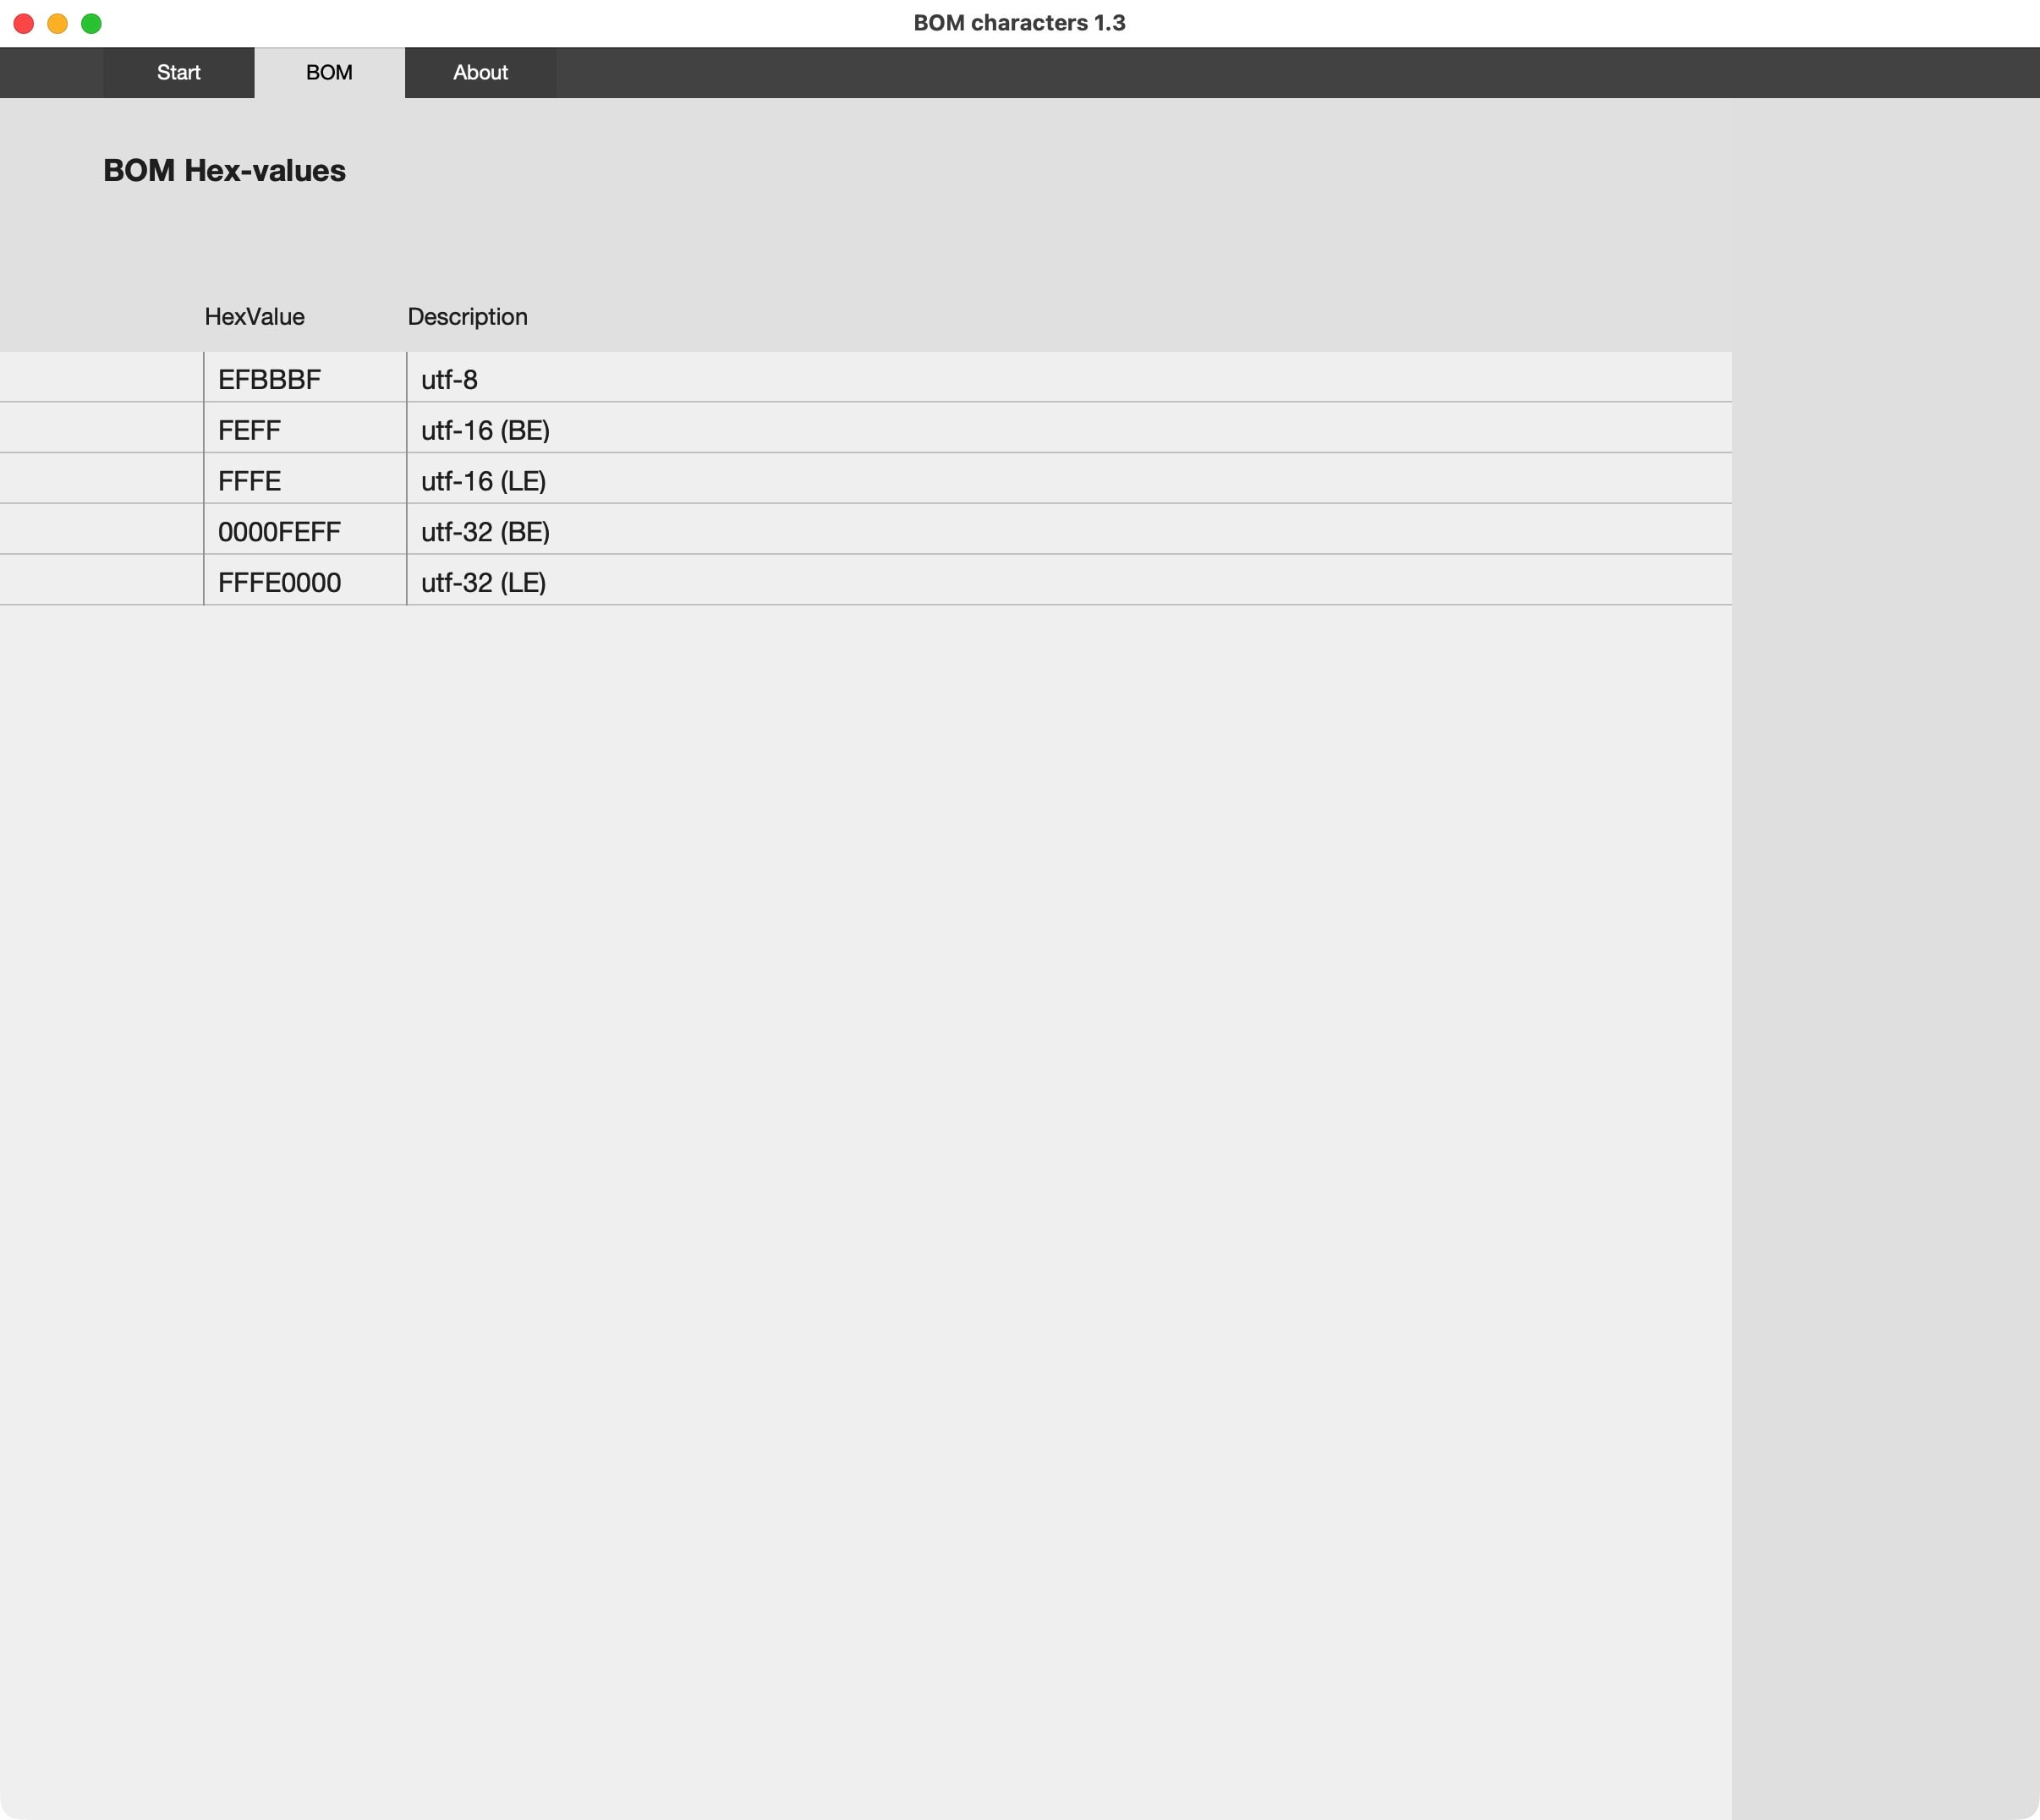
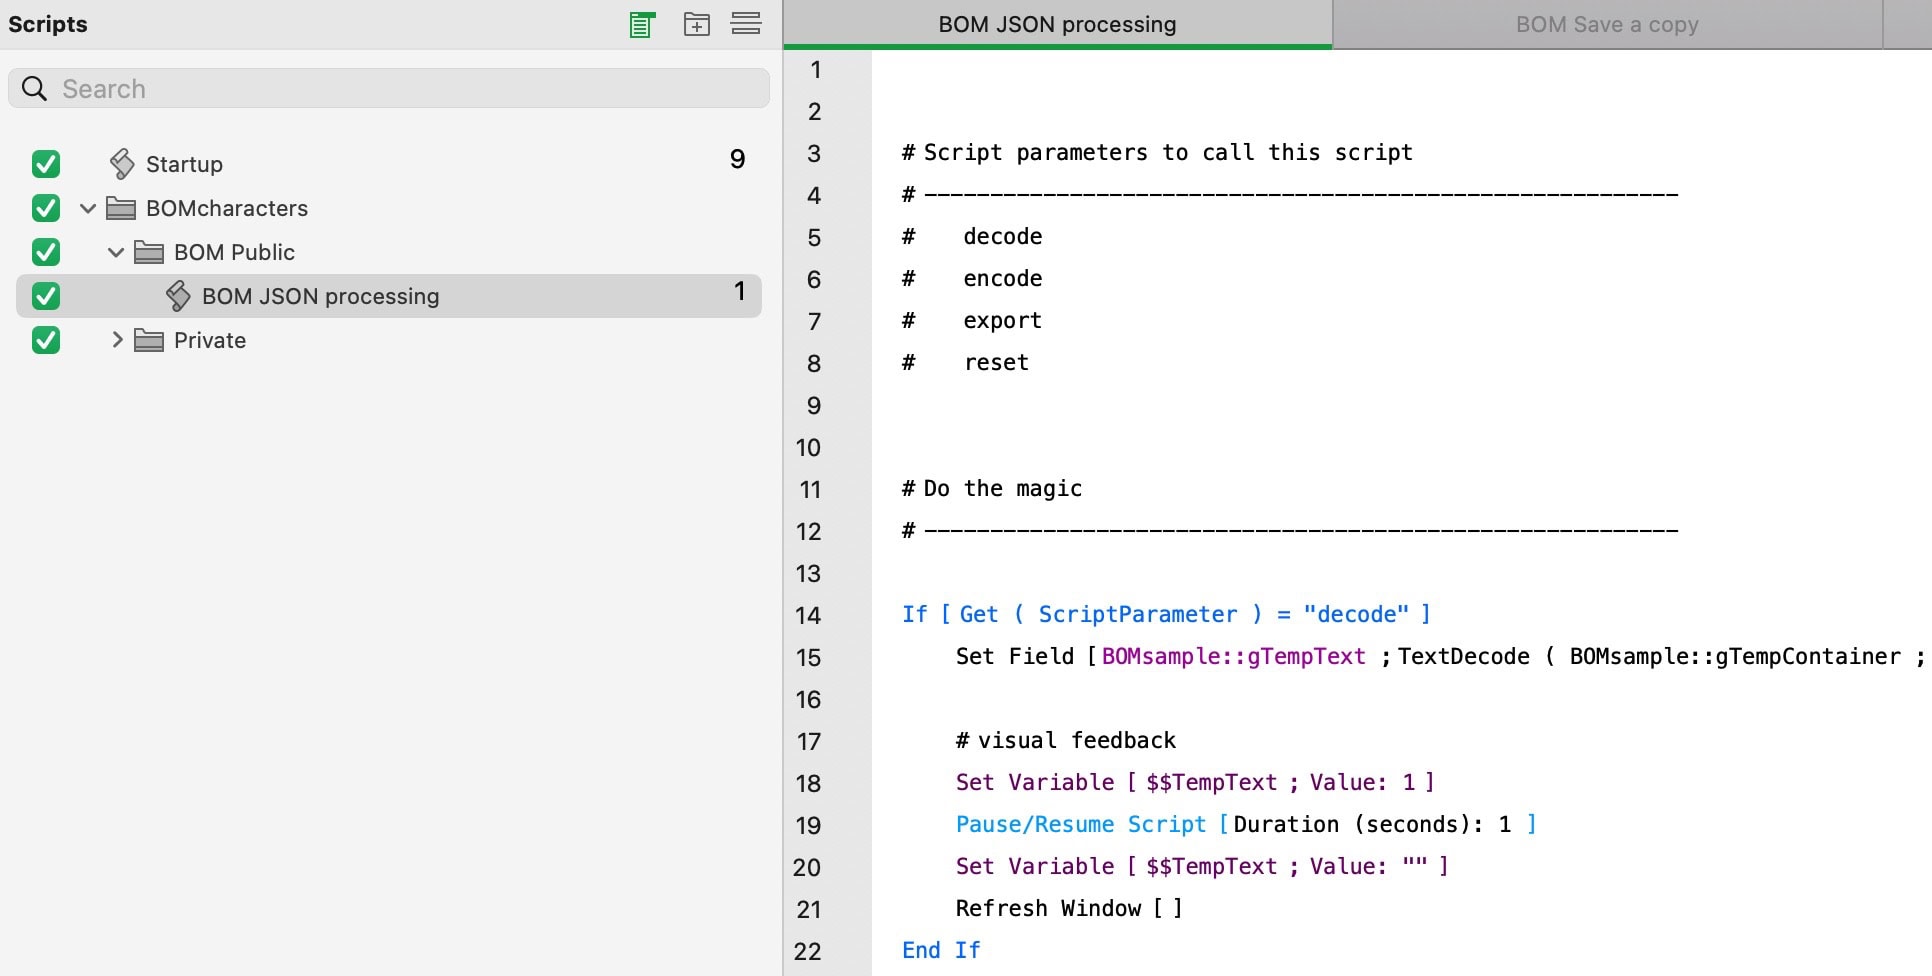
This sample file shows you how to restore the BOM character when writing from FileMaker to a desktop file.