
Use FileMaker scripts for different tasks at the same time
How to achieve more with your FileMaker scripts
FileMaker Scripts are used to standardize workflows. It is the “programming language” of FileMaker, so to speak. Usually actions are triggered by clicking on a button. A script in the background then performs the task. Workflows can thus be created with great ease. As the application grows, the number of scripts also grows until there may be hundreds of scripts. Something like this quickly becomes confusing. Many scripts often consist of only a few lines. Can this be simplified?
Yes, you can simplify scripts. The following procedures have worked well for me:
- Create scripts per layout if possible
- Group scripts per table if possible
- Combine several smaller scripts into one script.
The basic idea should always be to create smaller units that you can test well, and then combine them to create larger tasks.
Control all scripts with if-requests
As a rule of thumb, I call each script with a script parameter. If you call a script without a script parameter, nothing happens. The functionality is always contained in an if-query. This not only increases security, but also allows one script to be used for multiple tasks.
Many scripts perform only minor tasks. For example, I often have a settings page that I can customize. I can read and write these settings. Both tasks (saving/importing) can be easily accommodated in a single script. For example, like this:
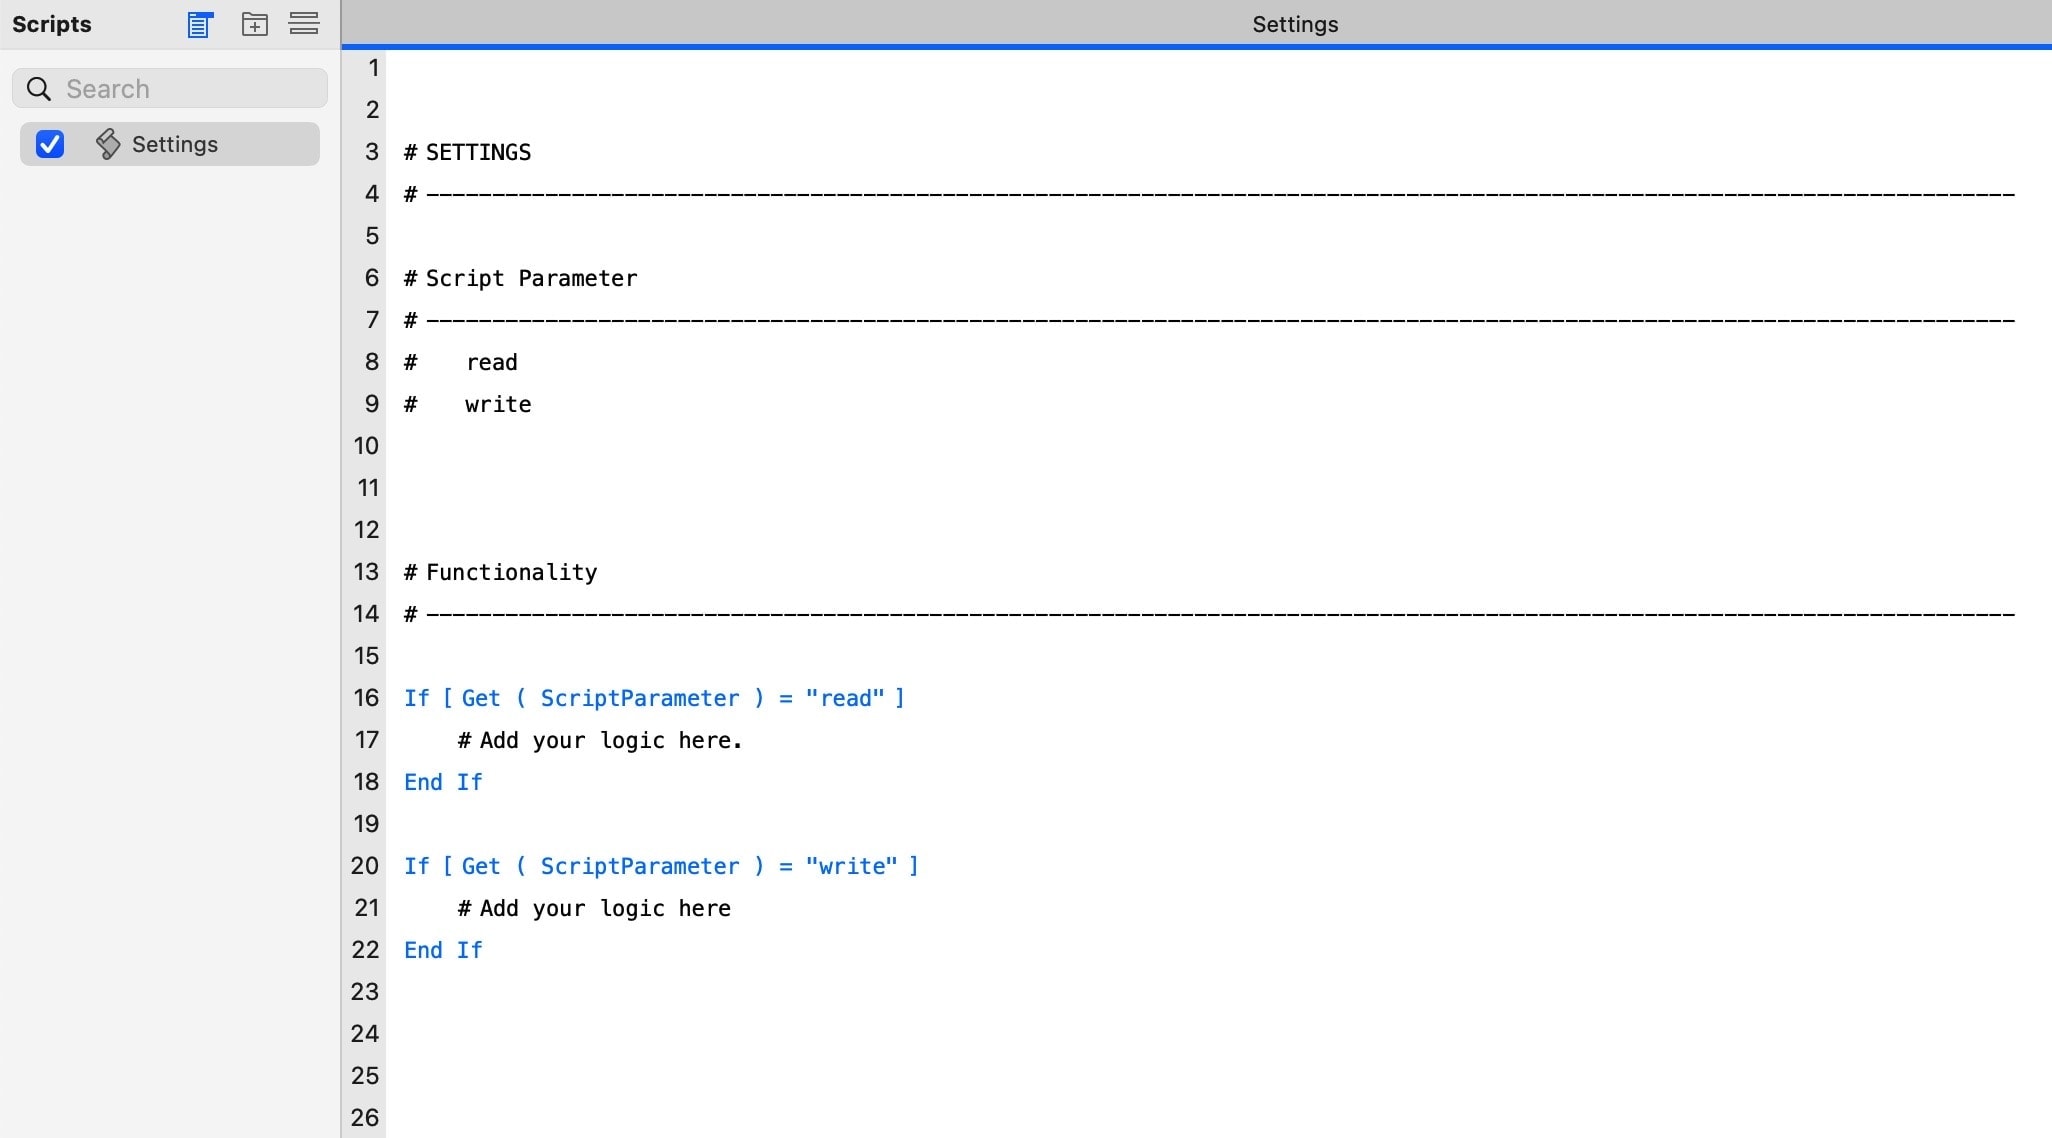
In this screenshot you can see a simplified representation. At the top is the name of the script. You can add more information there if you want. Below there is a list with all script parameters, with which the script can be called. This serves for the clarity and is at the same time something like an index to the script. The script parameters show the sections in the script. Only then follows the actual functionality.
- Script name
- List of script parameters with which the script can be called
- The actual functionality in if-requests
Each section then appears with an if-query. For example, if I want to do the reading and writing of presets in a script, the script might look like this:
If [ Get(ScriptParameter) = “write” ]
*** HERE YOUR LOGIC ***
End
If [ Get(ScriptParameter) = “read” ]
*** HERE YOUR LOGIC ***
End
This gives me a script with which I can solve various tasks. This reduces the number of scripts. I have scripts that often do up to a dozen smaller tasks. This is not a requirement, but a way to make your job easier.
Use subtasks
With this approach, subtasks can be neatly separated and still be kept together. Instead of using a script with many sub-scripts, perhaps the tasks can be combined into a single script. Each if-query can be a subtask. This keeps the scripts organized and you can call subtasks one after the other or individually.
Subtasks can be activated in two ways:
- You call the same script from the script with a different parameter
- One adds another parameter to an if-query, which is then picked up further down in the script.
For the second variant, here is an explanation: Of course, script parameters should be set when the script is called for the first time. However, this does not stop you from always specifying the next step in the course of the script – for example, with a variable.
If [ Get(ScriptParameter) = “write” ]
*** HERE YOUR LOGIC ***
set variable [ $NextStep ; value: “output” ]
End
Here a variable is set at the end of an if-query with the keyword “output”. This variable should point to the next step named “output”. Insofar as this section is included in another if-query, after the completion of the first section, the second section should now be activated. For example, you can do it like this:
If [ Get ( ScriptParameter ) = “output” or $NextStep = “output” ]
*** HERE YOUR LOGIC ***
End
The addition to the if-query is now formulated in such a way that this part can be controlled either with a script parameter or with a local variable from the script. This allows you to “work through” several sections in one run without having to call up the script multiple times.
Does this information make sense? This may not just be a question of programming style, but also has to do with the type of project you are working on. I always start with the question: “How do I keep everything as simple as possible?”.
Why should one use this?
After I posted the text above on social media, the question was asked, “Why use this?”. I realized that I had not yet said anything about the reasons why I came to this structure. Now here are a few words:
First of all, it’s just one (of many) ways to write scripts. There are no guidelines. For me there were various experiences that led to this method:
Challenges
- I had hundreds of scripts in larger databases. Many of them were made up of only a few lines.
- Often I had integrated the same function in several places, or I used multiple scripts for the same thing.
“The bigger the solution” now also meant “the more complex”. That’s what I wanted to change.
Optimization requests
- Reduce the number of scripts
- Avoid redundancies in the functions
- Make the structure of all scripts easier
- Optimize the possibilities of each individual script.
The ideas of a modular development of FileMaker functions showed me how this could be made possible. The following approaches in particular proved to be helpful:
Implementation
- If possible, group scripts according to table / layout
- Ideally, reduce scripts to your “own” tables / layouts
- Combine several functions per table / layout in a single script
- Each script has several «parts» that can be controlled by a script parameter.
Should this be a rigid rule now? No. However, it has simplified all scripts for me and drastically reduced the number of scripts. This has proven to be a valuable method for me to simplify my code.